

 Garland
G48P
Gas Pizza OvenGarland G48P Gas Deck Pizza Oven
The Garland G48P is a commercial gas deck pizza oven. A used-equipment listing gives overall dimensions of 63 × 45 inches and a height of 56 inches; its manual covers gas connection, lighting, operation and cleaning.
- Gas Type
- Propane
Garland G48P
318 compatible parts available
Genuine OEM Parts
Sourced from the manufacturer
Canadian Owned
Based in British Columbia
Canada-Wide Shipping
Every province and territory
24hr Quote Response
Answered by a real technician
Manuals & Documents
About the Garland G48P
Overview
The Garland G48P is a commercial gas pizza oven described in used-equipment listings as a deck pizza oven. The available product listing identifies a unit as used and gives its overall size as 63 × 45 inches, with a height of 56 inches. The Garland installation and operation manual provides instructions for gas connection, ventilation, lighting, heat-up, cleaning and basic troubleshooting. The appliance is intended for commercial applications; the manual states that it is not approved or supported for residential use.
Condition and asking price can vary by used-equipment listing. One Canadian listing showed a propane G48P at CAD $8,500 and marked it in stock when the listing was captured. Another listing for a used G48P showed the item as sold without a price.
Key Features
- Commercial gas deck pizza oven.
- Manual-supported operation with a gas cock, pilot burner and thermostat.
- Gas-supply setup is specific to the gas type shown on the unit’s data plate: natural gas or propane.
- Manual instructions cover lighting and shutdown, first heat-up, core-plate cleaning and troubleshooting.
Specifications
- Manufacturer: Garland.
- Model: G48P.
- Equipment type: Gas pizza oven; listed as a deck oven.
- Fuel: Natural gas or propane, according to the unit’s data plate. The manual says to connect a unit marked “NAT” only to natural gas and one marked “PRO” only to propane.
- Listed overall dimensions: 63 × 45 inches; height 56 inches. These dimensions are from a used-equipment listing.
- Gas inlet: The manual specifies a 3/4-inch NPT inlet for each deck.
- Manifold pressure setting: 6 inches water column for natural gas and 10 inches water column for propane, as specified in the manual.
- Temperature references in the manual: Initial heat-up instructions use 300°F and 475°F; the calibration procedure references 500°F; the core-plate cleaning procedure references 550°F.
The available sources do not establish a reliable G48P burner-input rating. A used-equipment listing contains an unclear BTU entry, so it is not repeated here. Confirm the rating plate on the specific oven for its input and gas configuration.
Installation & Requirements
Gas supply and connection
The manual says to check the data plate before connecting the oven: a unit marked “NAT” is for natural gas, while one marked “PRO” is for propane. It specifies a 3/4-inch NPT gas inlet for each deck. Each oven has two possible connection locations, one on the right side and one at the right rear corner. The right-side connection is plugged; if it is used, the rear connection must be capped. The manual identifies the combination valve’s regulator settings as 6 inches water column for natural gas and 10 inches water column for propane.
The manual calls for a separate, accessible shut-off valve for each oven, placed as close as possible to the gas-line entry. For gas-line pressure testing above 1/2 psi, the appliance and its shut-off valve must be disconnected from the piping system. At test pressures at or below 1/2 psi, the oven must be isolated by closing its individual manual shut-off valve. The manual also says to use pipe-joint compound resistant to liquefied petroleum gas where applicable and to check connections for leaks with a soap solution or similar method—not an open flame.
Installation must follow applicable local codes and the fuel-gas codes named in the manual. It directs the installer to have a qualified gas technician confirm that the gas supply can provide the required input without more than a 1/2-inch water-column pressure drop. The manual cautions against placing the oven on the same gas line as space heaters, broilers or other equipment with high intermittent demand.
Ventilation and air supply
The manual requires a location where ventilation allows satisfactory gas combustion and proper venting. It identifies a properly designed ventilating canopy as the ideal method and says the canopy should extend at least 6 inches beyond all sides of the appliance, except where it meets a wall in a wall installation. Sufficient room air must enter to replace air removed by the ventilation system. Keep the front airflow unobstructed, do not place large objects in front of the oven, and do not direct fans at the appliance. The manual also warns that excessive exhaust pull can draw heat out too quickly and cause uneven baking.
Operation
Lighting and shutdown
To light the oven, open the control-panel door on the right side to access the combination gas control. Turn the gas cock to “OFF” and wait five minutes. Turn it to “PILOT,” depress the control and light the pilot. Keep the control depressed for one minute after ignition, then release it; the pilot should remain lit. If it does not, the manual says to repeat the lighting steps or have a qualified serviceman check the system. Once the pilot is lit, turn the gas cock to “ON.” To shut the unit down, turn the gas cock to “OFF.”
Initial heat-up
For the initial burn-in, the manual instructs the operator to set the thermostat to 300°F, turn the gas cock to “ON,” and keep the oven at that temperature for five hours or until smoke and fumes have disappeared. The manual attributes this smoke and odour to moisture in the deck and insulation and a light oil coating. It says a damp, clean cloth with mild soap solution can remove some of the protective oil coating from the deck. After the burn-in, set the thermostat to 475°F and allow the oven to warm to that temperature for 1 to 1½ hours. The manual advises allowing a few days for the oven to cure if baking is initially uneven.
Temperature calibration
The manual says field calibration is seldom needed and should not be attempted unless cooking results indicate that the control is not maintaining its setting. Its procedure places a test thermocouple or reliable thermometer in the centre of the oven, approximately 1 to 2 inches above the hearth, without touching the hearth. It uses a 500°F thermostat setting and calls for the oven to stabilize and cycle twice before the reading is checked. If adjustment is required, the manual’s procedure continues with removal of the thermostat dial and adjustment of the calibration plate. Because this work involves the control, have a qualified service professional perform it.
Cleaning & Maintenance
Exterior and interior surfaces
Clean painted exterior surfaces when cool with mild soap and warm water on a sponge or soft cloth; rinse and dry thoroughly. The manual gives the same basic cleaning method for stainless-steel surfaces. For stubborn stains or heat tint, it permits a commercial cleaner or stainless-steel pad and says to rub in the direction of the polished lines, then rinse and dry. Clean aluminized-steel interior surfaces with a damp soft cloth and mild household detergent.
Core plates
The manual specifically cautions that using water to cool or clean the core plates will void the warranty. At the end of the cooking day, set the thermostat to 550°F and allow it to cycle for one hour. After the oven cools, cooking residue should be carbonized so it can be swept away with a stiff brush; a scraper can loosen stubborn residue. Do not use water on the core plates for cooling or cleaning.
The manual cautions that maintenance and repairs should be performed by a Garland authorized service agent using genuine Garland replacement parts. It also warns that improper installation, adjustment, operation or maintenance can affect the manufacturer’s obligations.
Troubleshooting
- Oven flame does not light or fluctuates: The manual suggests checking whether other gas appliances on the same supply are affecting the flame. If shutting them off restores a steady flame, the supply may be overloaded or the regulator may be faulty; contact a qualified service agency or the gas company.
- Burner orifice or ports are restricted: With the oven cold, the manual says to check whether the spud orifice is clear and remove carbon deposits or other restrictions from the burner ports. It cautions against enlarging the orifice. Have service work handled by a qualified professional.
- Black soot appears on the doors or in the burner compartment: The manual says this may indicate insufficient air mixing with the gas. It describes adjusting the air mixture, then checking the flame after the oven has been in use. Contact qualified service personnel if adjustment is needed.
- Hot spots on the deck: The manual’s troubleshooting guide identifies flame diverters that are not installed properly as a possible cause and says to push them all the way to the back of the oven.
The manual warns operators not to attempt repairs beyond the stated checks. Gas-pressure, burner, pilot, valve and thermostat issues should be referred to qualified service personnel.
Applications
The G48P’s listed identity as a gas deck pizza oven makes it relevant to commercial kitchens preparing pizza and other baked menu items. The manual’s operating instructions focus on maintaining a selected oven temperature and learning the oven’s baking speed after its initial heat-up. Match the unit’s gas type to the kitchen supply and verify the specific oven’s rating plate before installation or service.
Garland G48P Specifications
- Length
- 63"
- Width
- 45"
- Height
- 56"
- Gas Type
- Propane
- Model
- G48P
- Fuel Type
- Propane
- Gas Inlet Size
- 3/4” NPT inlet for each deck
- BTU Rating (listing)
- 124.000/Min
- BTU Rating (additional listing value)
- 25.000/Hr
- Manifold Operating Pressure, Natural Gas
- 6.0” water column
- Manifold Operating Pressure, Propane Gas
- 10” water column
Frequently Asked Questions
How much does a commercial oven cost?+
How much does a commercial oven for pizza cost?+
What are the dimensions of the Garland G48P?+
Does the G48P use natural gas or propane?+
What gas connection does the G48P require?+
What gas pressure does the manual specify?+
How do I light the G48P pilot?+
How should I clean the G48P core plates?+
What commercial ranges does Garland Group offer?+
What is the most expensive pizza oven?+
Need Parts for This Model?
Get a free quote for parts, service, or maintenance for the Garland G48P. We respond within 24 hours.
 Garland
View all Garland equipment →
Parts for the Garland G48P
Browse genuine OEM components, gaskets, heating elements, thermostats, and replacement hardware guaranteed to fit this equipment.
 In Stock 360°
Garland 4523654 Spring Support Bracket, 20" Oven
 In Stock
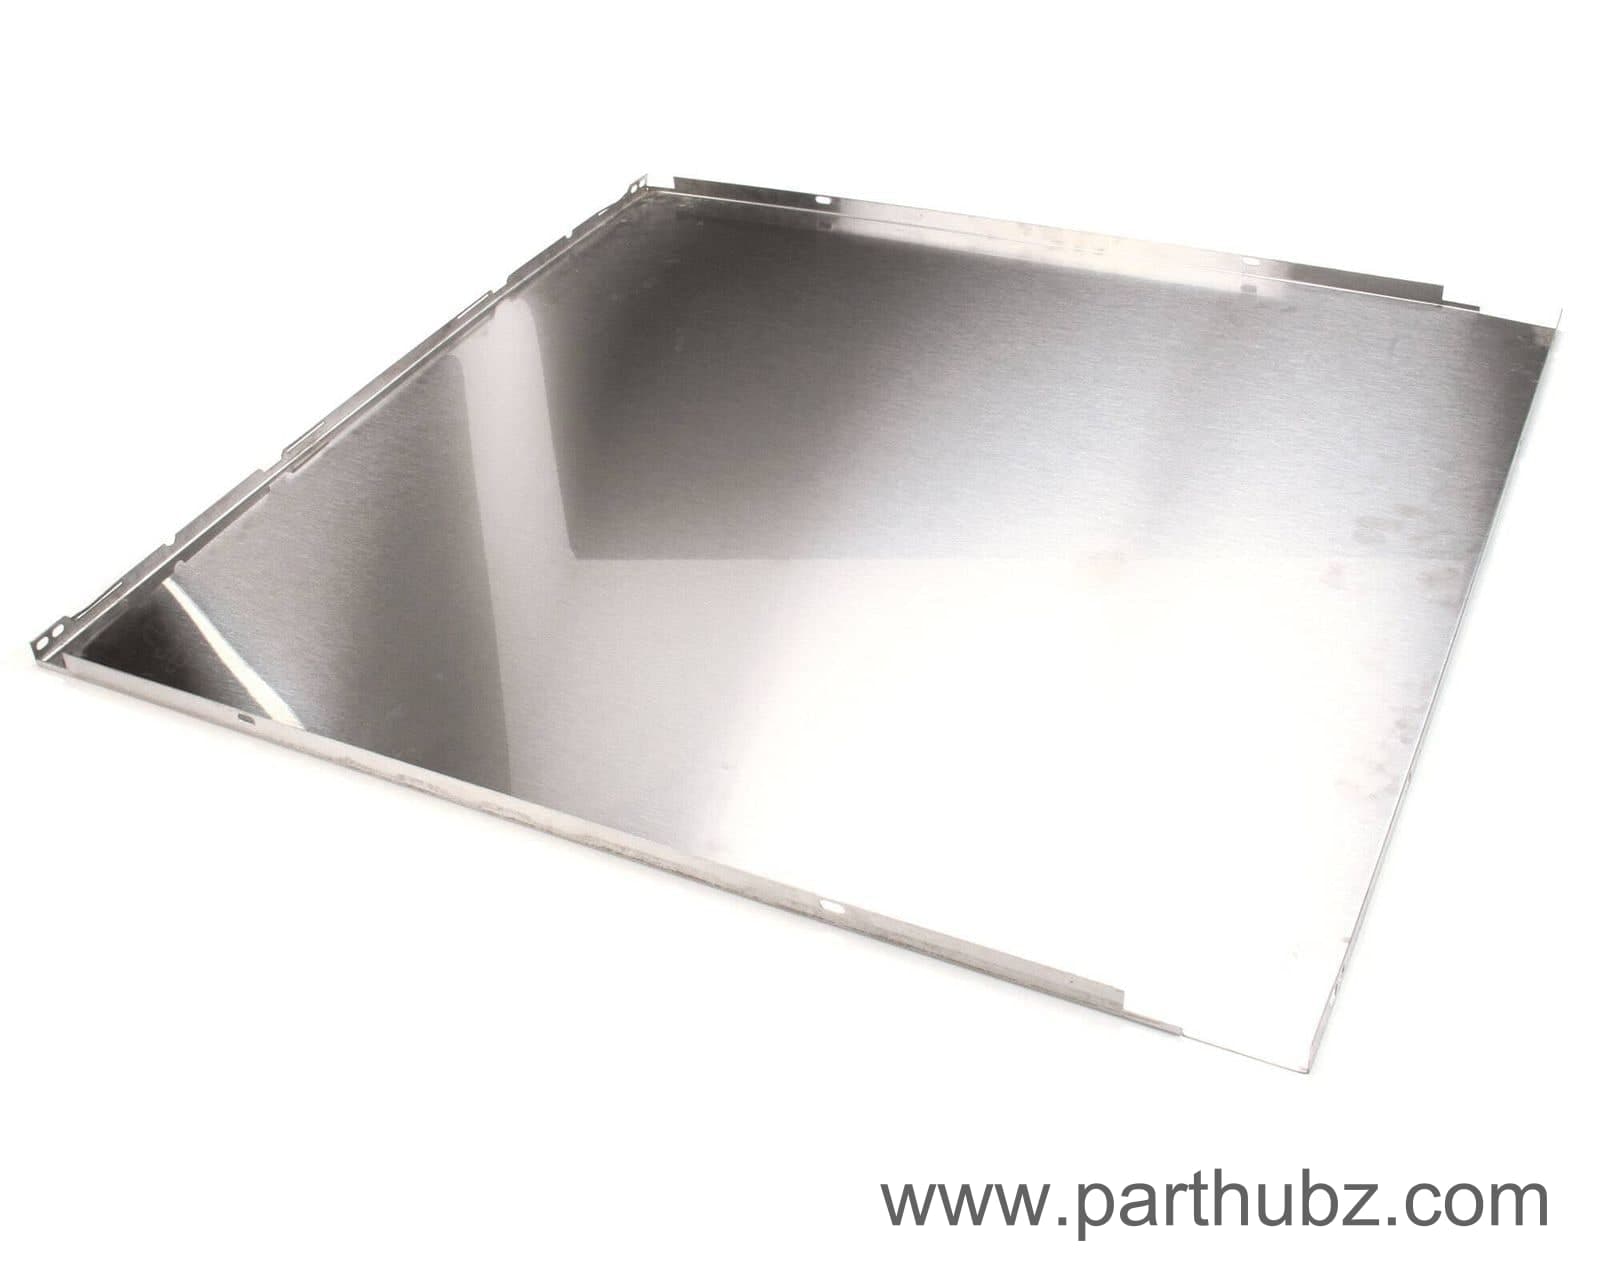
Garland 4522764 Body Side, Left or Right
 In Stock
Garland 4515934 2.5 CARRIAGE BOLT
 In Stock 360°
Garland 2200706 Retaining Nut, Thermocouple
 In Stock 360°
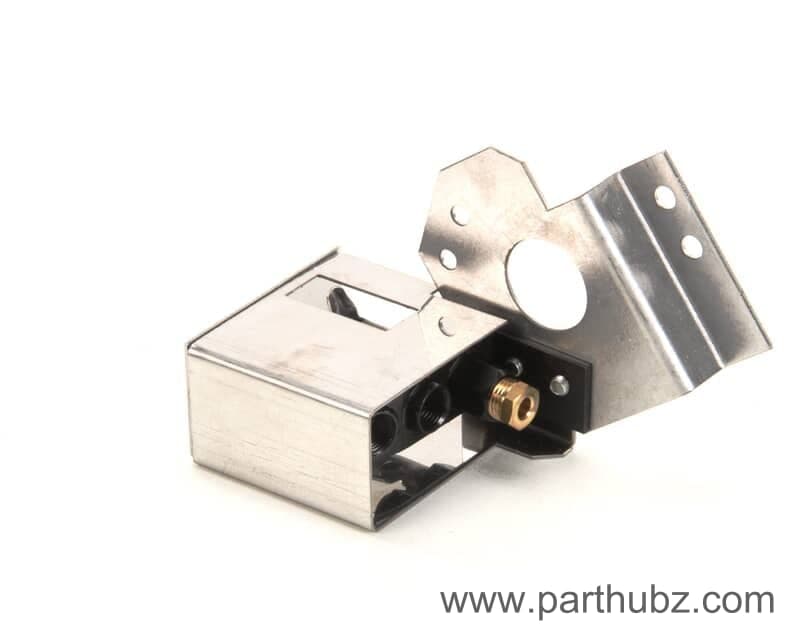
Garland 4524825 Oven Pilot Kit, Natural Gas, Right Side Of Burner
 Discontinued 360°
Garland 4525596 6 CASTER WITH BRAKE
 In Stock 360°
Garland 4522421 Gas Pressure Regulator, 1", Natural Gas
In StockGarland 2343300 Coreplate, 1-1/2" x 23-3/4" x 35-3/4"
 In Stock 360°
Garland 4523145 Tubing, Manifold to Thermostat Inlet
In StockGarland 3038601 BELLY BAR SPACER SS
 In Stock 360°
Garland 4523218 Funnel, Grease Chute
 In Stock 360°
Garland 4524287 Door Hinge Asembly, Left Hand, STG Base
 Discontinued 360°
Garland 4526324 Caster, 6", Swivel, 2 Non Locking, 2 Locking, Stem, Set of 4
 In Stock 360°
Garland 4524643 Left and Right RGB Ceramic Support
 In Stock 360°
Garland F86 Nut with K-Lok, Hex, 1/4-20
In StockGarland 4523810 MAIN SIDE LT/RT RGB
 In Stock 360°
Garland 4523483 Hot Top Valve Extension Support
In StockGarland 4523031 CAPILLARY GUARD 26W STD OVEN
 Discontinued 360°
Garland 4523127 OPEN TOP PILOT ASSEMBLY
 In Stock 360°
Garland 4522991 Corner Column, Right, 24"
 In Stock 360°
Garland F590 Lock Nut, K-Lock, #6-32, Zinc
 In Stock
Garland 4523072 Plate Rail, Front, 36"
 In Stock 360°
Garland 4522791 Insulation Filler, Door, 20W
In Stock