 Garland
MCOE5LDSMD
Half-Size, Electric Convection OvenGarland MCOE5LDSMD Electric Convection Oven
The Garland MCOE5LDSMD is a half-size electric convection oven with a solid door and McDonald’s-specific controls. Its parts documentation identifies a card reader assembly, convection blower, temperature probe and electric heating elements.
- Voltage
- 208/240V
- Phase
- 1Ph or 3Ph
- Amps
- Standard: 27A at 208V/1Ph23A at 240V/1Ph23/12/14A at 208V/3Ph20/12/14A at 240V/3Ph. Option: 39A at 208V/1Ph33A at 240V/1Ph23/21/22A at 208V/3Ph20/18/19A at 240V/3Ph
- Wattage
- 5.6 kW standard7.5 kW option
- Plug Type
- 30Amp pin and sleeveNEMA-30P cord set also listed
Garland MCOE5LDSMD
197 compatible parts available
Genuine OEM Parts
Sourced from the manufacturer
Canadian Owned
Based in British Columbia
Canada-Wide Shipping
Every province and territory
24hr Quote Response
Answered by a real technician
Manuals & Documents
About the Garland MCOE5LDSMD
Overview
The Garland MCOE5LDSMD is a half-size electric convection oven from the Master Series. Garland’s model-specific parts guide identifies it as an electric convection oven manufactured for McDonald’s. The guide lists a solid door panel and liner, an MCDS control panel, a controller and a card reader assembly. The card reader is a component of this oven configuration, not a separate cooking appliance.
The available installation and operation manual covers the related MCO-E-5-C and MCO-E-25-C family models. The parts documentation also identifies shared MCOE5-family components. The specifications below distinguish single-deck half-size information from double-deck data, which is not presented as a specification for the MCOE5LDSMD.
Key Features
- Electric convection cooking: The parts guide lists an electric element assembly, a blower wheel assembly, a motor and a fan for circulating oven air.
- Solid oven door: The MCOE5LDSMD parts guide identifies a solid door panel and solid door liner, along with the door frame, handle and latch components.
- MCDS control and card reader: The model-specific guide lists an MCDS control panel assembly, MCDS controller and card reader assembly.
- Rack-based cooking: The family manual describes loading pans on oven racks and arranging them to support airflow through the cavity.
- Serviceable components: The parts documentation identifies the temperature probe, relay board, transformer, contactor, terminal block, heating elements, fuses and door seals.
Specifications
- Product type: Half-size electric convection oven.
- Model: Garland MCOE5LDSMD.
- Deck configuration: The related manual lists MCO-E-5-C as the single-deck model and MCO-E-25-C as the double-deck model. The MCOE5LDSMD parts guide identifies the subject model as a half-size oven; double-deck shipping figures are not applied here.
- Interior dimensions per deck in the related half-size family manual: 15-1/2 inches wide by 20 inches high by 21-1/8 inches deep (393 × 510 × 537 mm).
- Single-deck shipping information in the family manual: 340 lb (155 kg) and 38.5 cubic feet.
- Power ratings in the family manual: Standard package, 5.6 kW; listed option, 7.5 kW. Confirm the rating plate on the individual oven before planning its electrical supply.
- Heating elements in the parts list: Inner, outer and center elements are listed in 208 V and 240 V versions, each rated at 2500 W in that parts documentation.
- Motor: The parts lists identify a 208–240 V, 1/3 HP motor.
- Blower wheel and fan: The parts documentation lists a blower wheel assembly and a 110 mm fan rated for 208/240 V.
- Control and electrical components: The parts lists identify a 24 V AC transformer; the later family parts list specifies a 120/240 V to 24 V, 40 VA transformer. They also identify a relay board, contactor, terminal block and RTD temperature probe.
- Door and seals: The model-specific parts guide lists a solid door panel and liner, door frame, handle, latch, door seals and insulation.
Installation & Requirements
Have the oven installed by professional personnel. The manual requires installation and electrical connection to comply with current codes, including the Canadian Electrical Code Part 1 and applicable local codes in Canada. The electrical supply must match the characteristics shown on the oven rating plate. The manual directs the installer to connect the supply at the rear of the appliance and to the terminal block, accessible by removing the right body panel. It also calls for visual inspection of electrical connections and refers to the wiring diagram attached to the rear of the oven. The manual states that the oven is wired for three-phase as standard; conversion to single-phase is to follow that wiring diagram.
Clearances and access
- Entry clearance: The related single-deck manual specifies 37 inches (940 mm) when crated and 31 inches (788 mm) when uncrated.
- Near a wall: For a single-deck oven, the manual specifies a minimum of 1 inch (26 mm) at the left side, control side and rear.
- Near high-heat equipment: For a single-deck oven, the manual specifies a minimum of 1 inch (26 mm) at the left side, 6 inches (153 mm) at the control side and 3 inches (77 mm) at the rear.
- Service access: The manual recommends at least 12 inches (305 mm) at the control side for service.
- Nearby heat-producing equipment: The manual recommends 4 inches of spacing between the oven’s control side and other heat-producing equipment. It cautions against placing the oven near equipment such as char-broilers or fryers that produce high heat and grease-laden air.
Ventilation and mobility
The manual warns that inadequate ventilation can raise the ambient temperature behind the oven and cause the blower motor’s thermal overload protection to trip. It says this condition must be corrected promptly to avoid motor damage and emphasizes maintaining airflow around the unit, especially near other heat sources. For caster-equipped installations, the manual requires a means of limiting appliance movement that does not rely on the connector wiring. It also instructs users to reconnect any restraint after moving the appliance back into position.
Operation
Before normal cooking, the manual calls for a one-hour break-in at 375°F (191°C). After the oven cools, wipe the interior and racks with a clean, damp cloth. In the event of a power failure, the manual says not to attempt to operate the oven.
For even results, center pans on the racks and load each shelf evenly so air can circulate. When baking, measure or weigh the product in each pan to help keep results consistent. When using five pans, the manual specifies rack positions 1, 3, 5, 7 and 9, starting from the top. Work quickly when loading to limit heat loss, and avoid opening the doors too often or leaving them open for long periods.
The manual notes that the oven continues heating after the timer sounds, so remove food promptly to avoid overcooking. For frozen casseroles, it recommends preheating 100° above the suggested temperature, then returning to the cooking temperature once the oven is loaded. Never place items directly on the oven cavity floor because they obstruct airflow and can cause uneven results. Moisture escaping around the doors when cooking foods with high moisture content, such as chicken or potatoes, is described as normal.
When the oven will be idle or shut down after baking or roasting, the manual recommends leaving the doors slightly open and operating the oven in COOL DOWN mode until it has cooled sufficiently.
Cleaning & Maintenance
Disconnect the line cord from the power supply before cleaning or servicing. Let the oven cool before cleaning. Wipe spills promptly and establish a regular cleaning schedule. For accessible exterior surfaces, the manual recommends mild detergent and hot water; use a non-metallic scouring pad for stubborn residue and dry surfaces thoroughly. For stainless steel surfaces, clean with mild soap and warm water, then dry. If a stubborn stain remains, use a non-metallic abrasive pad in the direction of the metal grain. The manual also permits a thin paste of water and scouring powder for heavy deposits, applied with light pressure and in the direction of the grain.
Clean the control panel with hot water, soap and a soft cloth. Do not use hard abrasives, solvent-type cleaners or metallic scouring pads on it. Do not spray water or steam into the perforated areas of the control panel; moisture can damage electrical components or expose the operator to electric shock.
For interior cleaning, cool the oven and remove the racks. Lift the rack guides off their holders; the manual says the racks and guides may be washed in a dishwasher while the cavity is cleaned. Clean the cavity with soap and water, using a non-metallic scouring pad if needed. For accumulated dirt and grease, the manual lists a mild ammonia solution or commercial oven cleaner as options. To reinstall a rack guide, place its bottom against the cavity wall, lift the top away from the wall, then push the top against the wall and down to lock it into place.
If aluminum foil is routinely used to wrap food or cooking vessels, the manual calls for preventive cleaning of the fan area: turn the power switch off, remove racks and rack guides, remove the air baffle, and clear stains or deposits. Check the blower wheel and air baffle for foil or food deposits and clean the blower wheel fins. The manual cautions that the fin edges may be sharp. Reinstall the air baffle, rack guides and racks.
The motor has sealed, self-lubricating ball bearings and is described as maintenance-free. The manual explains that the motor cools itself through air entering the rear of its case when proper clearance is available. It recommends using COOL DOWN with the door slightly open at the end of cooking or before shutting down, to let the oven cool sufficiently.
Troubleshooting
The manual’s baking recommendations include the following checks for common results:
- Cakes are dark at the sides but underdone in the centre: Lower the oven temperature.
- Cake edges are too brown: Reduce the number of pans or lower the oven temperature.
- Cakes have a light outer colour: Raise the temperature.
- A cake settles slightly in the centre: Bake longer or raise the oven temperature slightly. Avoid opening the doors too often or for extended periods.
- Cake ripples: Check whether the pans are overloaded or the batter is too thin.
If the blower motor’s thermal overload trips, the installation and ventilation section of the manual points to excessive ambient temperature at the rear of the oven as a condition to correct. For parts identification or service, use the complete model number, including its prefix and suffix, and the oven’s serial number. The manual notes that a duplicate serial number tag is behind the control panel; the serial plate location varies by production date, so check the unit itself.
Applications
The half-size convection format suits commercial kitchens that need a dedicated oven for baking, roasting, reheating and batch cooking without using a full-size cavity. The manual’s examples include cakes, chicken, potatoes and frozen casseroles. Follow the manual’s rack-loading, airflow and temperature guidance for the food being prepared, and confirm that pans fit the oven’s interior dimensions.
Garland MCOE5LDSMD Specifications
- Voltage
- 208/240V
- Phase
- 1Ph or 3Ph
- Amps
- Standard: 27A at 208V/1Ph; 23A at 240V/1Ph; 23/12/14A at 208V/3Ph; 20/12/14A at 240V/3Ph. Option: 39A at 208V/1Ph; 33A at 240V/1Ph; 23/21/22A at 208V/3Ph; 20/18/19A at 240V/3Ph
- Wattage
- 5.6 kW standard; 7.5 kW option
- Plug Type
- 30Amp pin and sleeve; NEMA-30P cord set also listed
- Model
- MCOE5LDSMD
- Manufacturer
- Garland
- Product Type
- Electric convection oven
Frequently Asked Questions
What type of oven is the Garland MCOE5LDSMD?+
What are the oven’s interior dimensions?+
What are the listed power ratings?+
Does the timer turn off the oven?+
What should I do before first use?+
How should I clean the control panel?+
What clearances does the manual specify for a single-deck oven?+
Where can I find the oven’s serial number?+
Can I place pans directly on the oven floor?+
Need Parts for This Model?
Get a free quote for parts, service, or maintenance for the Garland MCOE5LDSMD. We respond within 24 hours.
 Garland
View all Garland equipment →
Parts for the Garland MCOE5LDSMD
Browse genuine OEM components, gaskets, heating elements, thermostats, and replacement hardware guaranteed to fit this equipment.
 In Stock 360°
Garland 1960797 Baffle Assembly, Stainless Steel, MCOE5LDSMD
 In Stock
Garland 1381397 MAIN TOP S/W SS
In StockGarland 3077100 GARLAND NAMEPLATE 7 5/8IN LARG
DiscontinuedGarland 1957984 B/A MCO-E-5 IM200
 In Stock
Garland 1916903 PCB ASSEMBLY
 Discontinued 360°
Garland 1765111 Center Element, 208V, 7KW
In StockGarland 1770301 DOOR PANEL
In StockGarland 1860108 Terminal Block
 In Stock 360°
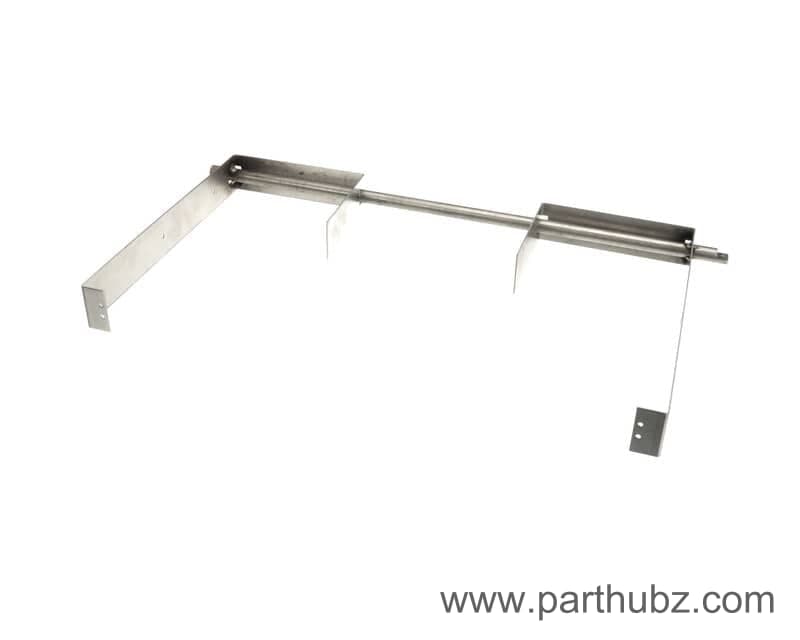
Garland 1962198 Door Frame/Pivot Rod Assembly
 In Stock 360°
Garland 1966408 Wire Harness, Main Power, MCOE5
 In Stock 360°
Garland 8003123 Screw, Phillips Head, 10-24 x 5/8"
In StockGarland 300867 Temperature Control, IM2000, 150-500F
In StockGarland 1028400 GROUND LUG
 In Stock 360°
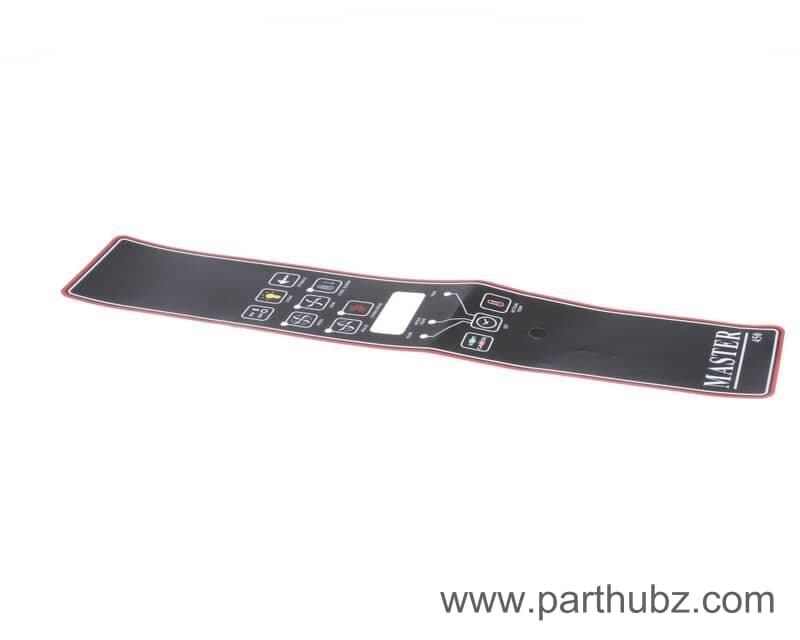
Garland 1908503 Overlay, Control Panel, Master 450 with Light, MCO
 In Stock 360°
Garland 1966401-2 Digital Oven Control, MCD, Pulse, USA
 Discontinued 360°
Garland CK1957897 Memory Overlay Kit, IM450, MCO-E-5, MCOE5, MCOE5LDSMD
 In Stock 360°
Garland 1956001 Timer, 1 Hour,115V, with Alarm
 Discontinued 360°
Garland CK1765199 Element, 208V, 7.5KW, MCOE5
 In Stock 360°
Garland 1834503 Twist Lock Plug Only, 30A, 250V, 3 PH
 In Stock 360°
Garland 1956002 Timer with Alarm, 1 Hour, 240V
 Discontinued 360°
Garland 1905901 Wire Harness, Control to Relay
DiscontinuedGarland 1917098 RELAY BOARD ASSY - 208/240V
DiscontinuedGarland 1765704 Blower Wheel, Complete
In Stock