 Groen
BPM-30E
Eclipse Ergonomic Tilting Braising PanGroen BPM-30E Electric Tilting Braising Pan
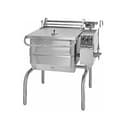
The Groen BPM-30E is a 30-gallon electric Eclipse ergonomic tilting braising pan with manual handwheel tilt and a stainless steel cooking pan. Its thermostat adjusts from 100°F to 400°F for braising, frying, simmering and other commercial kitchen tasks.
- Voltage
- 208V, 240V, 400V, 480V
- Phase
- Single-phase or three-phase
- Amps
- 56 A at 208V single-phase48 A at 240V single-phase32 A at 208V three-phase28 A at 240V three-phase17 A at 400V three-phase14 A at 480V three-phase
- Wattage
- 11.5 kW
Groen BPM-30E
40 compatible parts available
Genuine OEM Parts
Sourced from the manufacturer
Canadian Owned
Based in British Columbia
Canada-Wide Shipping
Every province and territory
24hr Quote Response
Answered by a real technician
Manuals & Documents
About the Groen BPM-30E
Overview
The Groen BPM-30E Eclipse Ergonomic Tilting Braising Pan is an electrically heated, floor-model pan with a 30-gallon capacity and manual tilt. Its stainless steel cooking pan can be used for braising, frying, simmering, heating and holding food. The manual handwheel operates a worm-and-gear tilting mechanism, giving the operator control when pouring or transferring the contents. The pan can tilt past vertical to help with cleaning.
A thermostat dial controls the cooking temperature, and an indicator light shows when the pan is heating. The standard cover is a heavy-gauge, one-piece stainless steel construction with a rear condensate drip shield underneath. It opens toward the back, independently of the pan body, and its counterbalance allows it to remain open at different positions.
Key Features
- Manual tilt: A handwheel and worm-and-gear mechanism tilt the pan body for controlled pouring and emptying.
- Thermostatic heat control: Set the pan temperature with the thermostat dial; the heat indicator light cycles as the unit heats and holds its set temperature.
- Tilting for cleaning: The pan body can be tilted past vertical to make cleaning access easier.
- Hinged cover: The cover opens to the back and moves independently from the pan body. Its counterbalance helps keep it open in position.
- Enclosed components: Heating elements and other electrical components are enclosed.
- Optional accessories: Options listed in the operator manual include a fill faucet, spray hose assembly, caster mounting kit, flanged feet kit, draw-off valve, steamer insert set, steamer pan carrier, pouring lip strainer and a strainer for a 2-inch tangent draw-off valve. The manual notes that the draw-off valve cannot be field installed.
Specifications
- Manufacturer: Groen
- Model: BPM-30E
- Product type: Eclipse ergonomic tilting braising pan
- Capacity: 30 gallons
- Heat source: Electric
- Pan material: Stainless steel
- Tilt: Manual handwheel tilt
- Pan interior, left to right: 26.25 inches
- Pan interior, front to back: 28.25 inches
- Pan interior depth: 10 inches
- Temperature control range: 100°F to 400°F
- Power: 11.5 kW
- Electrical connection: One electrical connection is required. The operator manual lists standard three-phase configurations and provides instructions for conversion to single-phase.
- 208 V, single phase: 56 A; #6 AWG supply wire
- 240 V, single phase: 48 A; #6 AWG supply wire
- 208 V, three phase: 32 A; #8 AWG supply wire
- 240 V, three phase: 28 A; #10 AWG supply wire
- 400 V, three phase, four wire: 17 A; #14 AWG supply wire
- 480 V, three phase: 14 A; #14 AWG supply wire
- Wire requirement: The operator manual specifies copper wire rated for at least 75°C.
Installation & Requirements
Set the unit in place and level it using its adjustable feet. With the pan body horizontal, check the bottom of the pan with a spirit level; the manual states that the unit must be level to avoid uneven cooking. Make a waterproof connection for the incoming power line at the electrical service entrance at the bottom of the connection box at the rear of the control console. The manual does not recommend a BX connection.
Provide the supply shown on the unit’s electrical information plate and comply with applicable local electrical requirements. Electrically ground the unit at the provided terminal. Use copper wire rated for at least 75°C and of the appropriate size for the supply configuration. The manual says units are shipped ready for 208 V, 240 V or 480 V three-phase operation, and includes directions for converting from three-phase to single-phase. Before conversion, verify that the branch circuit wiring can handle the increased amperage requirement; the conversion uses two jumper wires installed according to the wiring diagram. The manual also identifies a 400 V, three-phase, four-wire supply in its electrical table. Have electrical work completed by personnel qualified to work with electricity.
Operation
Initial start-up
Before testing the unit, remove packing materials and literature from inside and outside the pan. Turn on electrical power and add enough water to cover the pan bottom. With the pan horizontal, check how the water lies across the bottom as one way to confirm that the pan is level. Set the thermostat to 235°F; the heat indicator light should come on, and heating should continue until the water boils. Turn the thermostat to OFF to shut down. The manual then directs operators to turn the handwheel clockwise to pour out the water and check that the pan moves smoothly between horizontal and vertical.
Cooking and tilting
Set the thermostat to the desired temperature between 100°F and 400°F. The indicator light shows when the pan is heating; when it cycles on and off, the pan is holding at the set temperature. The manual notes that contactors may click during these cycles and that this is normal. For braising or frying, preheat before adding food. For more even temperature across the pan, the manual recommends preheating at 300°F or below for 15 minutes, or through several thermostat on-and-off cycles. Do not heat an empty pan for more than five minutes at settings above 300°F, as this can damage the pan.
For simmering or slow heating, the manual suggests a setting of about 210°F or lower. Lower the cover to reduce moisture loss, or leave it raised when drying or reducing a product. The cover vent can be left open to let excess steam escape. Adjust the thermostat as needed for cooking or driving off moisture.
Do not overfill the pan when cooking, holding or cleaning. Keep liquids at least 2–3 inches below the pan rim to leave room for stirring, boiling and safe transfer. Before tilting, wear protective oven mitts and an apron, use a deep container on a stable, flat surface close to the pan, and stand to the left or right of the pour path. Pour slowly while maintaining control of the handwheel, and do not overfill the receiving container. The manual warns that food in sauce or melted fat may slide forward suddenly during tilting and splash.
Cleaning & Maintenance
After use, turn the thermostat to OFF and clean food-contact surfaces. At the end of the day, or at least once every 24 hours, turn off the heat and electrical power before cleaning the interior and exterior. The manual also calls for cleaning and sanitizing inside and outside surfaces at least once every 12 hours if the unit is in continuous use.
Before cleaning, turn the thermostat to OFF. Disconnect electrical power at the circuit breaker or fuse box before cleaning any part other than the inside of the pan. Keep water and cleaning solutions out of controls and electrical equipment; do not spray or hose the control box or electrical connections, and do not use a high-pressure hose on the braising pan. The manual permits a damp cloth for the controls and console and advises against directing a pressure sprayer at the unit or its electrical parts.
Clean food-contact surfaces soon after use, preferably before the pan has completely cooled. To remove larger amounts of food, tilt the pan up and flush it with lukewarm water. Wash the inside and outside with a warm cleaning solution prepared according to the cleaner supplier’s directions, then rinse thoroughly with lukewarm water and drain completely. A cloth moistened with cleaning solution can be used on the controls, console and electric conduit. Check the underside of the cover, the console and less visible areas; the manual calls out the space between the pan body and consoles for cleaning with a brush.
For stuck-on material, use a brush, sponge, cloth, plastic or rubber scraper, or plastic wool with cleaning solution. Letting the solution soak into residue, or briefly heating the solution, can make washing easier. Do not use gritty cleaners, metal tools or steel wool: scratches can make the surface harder to clean, and steel wool fragments can cause rusting and pitting. The manual cautions against leaving chlorine sanitizer in contact with stainless steel for longer than 30 minutes. For sanitizing, it specifies a solution equivalent to one supplying 100 parts per million available chlorine. Follow cleaner labels and use protective clothing, gloves and eye protection as appropriate.
Troubleshooting
- The heat indicator light cycles on and off: The manual describes this as normal when the pan is holding at its set temperature.
- Clicking sounds from the control box: Contactors may click as the thermostat cycles; the manual says this is normal.
- The pan does not heat or tilt as expected during initial testing: The manual directs the operator to contact a local Groen service agency if the unit does not function as described during start-up checks.
- Uneven cooking across the pan: Check that the unit is level with the pan body horizontal, using a spirit level on the pan bottom as described in the installation instructions.
Applications
The BPM-30E’s 30-gallon pan and adjustable electric heat suit batch cooking in commercial kitchens. Typical uses include braising meats, frying, simmering soups and sauces, heating food, and holding prepared products. Its manual tilt can also help transfer cooked food into receiving containers; use the safe tilting procedures in the operator manual when handling hot contents.
Groen BPM-30E Specifications
- Length
- 28.25"
- Width
- 26.25"
- Voltage
- 208V, 240V, 400V, 480V
- Phase
- Single-phase or three-phase
- Amps
- 56 A at 208V single-phase; 48 A at 240V single-phase; 32 A at 208V three-phase; 28 A at 240V three-phase; 17 A at 400V three-phase; 14 A at 480V three-phase
- Wattage
- 11.5 kW
- Cover
- Vented, one-piece stainless steel cover with rear condensate drip shield
- Model
- BPM-30E
- Power
- 11.5 kW
- Pan Depth
- 10 in
- Tilt Type
- Manual
- Heating Type
- Electric
- Pan Capacity
- 30 gal
- Wire Material
- Copper
- Equipment Type
- Ergonomic tilting braising pan
- Construction Material
- Stainless steel
- Amperage at 208V, 1-phase
- 56 A
- Amperage at 208V, 3-phase
- 32 A
- Amperage at 240V, 1-phase
- 48 A
- Amperage at 240V, 3-phase
- 28 A
- Amperage at 480V, 3-phase
- 14 A
- Electrical Supply Options
- 208V or 240V, single-phase; 208V, 240V, 400V, 4-wire three-phase; or 480V, three-phase
- Temperature Control Range
- 100–400°F
- Supply Wire at 208V, 1-phase
- #6 AWG
- Supply Wire at 208V, 3-phase
- #8 AWG
- Supply Wire at 240V, 1-phase
- #6 AWG
- Supply Wire at 240V, 3-phase
- #10 AWG
- Supply Wire at 480V, 3-phase
- #14 AWG
- Minimum Wire Temperature Rating
- 75°C
- Amperage at 400V, 3-phase, 4-wire
- 17 A
- Supply Wire at 400V, 3-phase, 4-wire
- #14 AWG
Frequently Asked Questions
What is the capacity of the Groen BPM-30E?+
Is the BPM-30E manual tilt or power tilt?+
What are the pan’s interior dimensions?+
What temperature range does the thermostat provide?+
What electrical supply does the BPM-30E require?+
How much power does the BPM-30E use?+
How should I preheat the pan?+
How much room should I leave below the pan rim?+
What should I use to clean the cooking surface?+
What does a clicking sound during heating mean?+
Need Parts for This Model?
Get a free quote for parts, service, or maintenance for the Groen BPM-30E. We respond within 24 hours.
 Groen
View all Groen equipment →
Parts for the Groen BPM-30E
Browse genuine OEM components, gaskets, heating elements, thermostats, and replacement hardware guaranteed to fit this equipment.
 In Stock 360°
Groen Z012589 Stud Weld, 1/4-20 x 1 1/4" Long
 In Stock 360°
Groen Z003888 Terminal Block, 3 Pole
 In Stock 360°
Groen 175205 Overlay, Braising Pan, Power Tilt
 In Stock 360°
Groen Z005612 Hex Head Cap Screw, 3/8-16 x 1" Long
 In Stock 360°
Groen 155547 Switch, Tilt, Recessed Rocker, No Light
 In Stock 360°
Groen 148102 Contactor, 3 Pole, 24V Coil
 In Stock 360°
Groen 146628 Bullet Foot, without Adapter, BPM/BPP
 In Stock 360°
Groen 144791 Shaft, Electric Tilt
 In Stock 360°
Groen 175258 Wire Harness, Control, 24V, BPM/BPP
 In Stock 360°
Groen 137880 Gear Carrier Assembly, 2" Bore
 In Stock 360°
Groen 144834 Shaft, Handwheel, Tilt Assembly, Bpm
 In Stock 360°
Groen Z012195 Grease Fitting, 90 Degree, 1/8" NPT
 In Stock 360°
Groen 145656 Element, 208V, 1275W
 In Stock 360°
Groen Z077854 Fuse Holder, Type 3 AG
 In Stock 360°
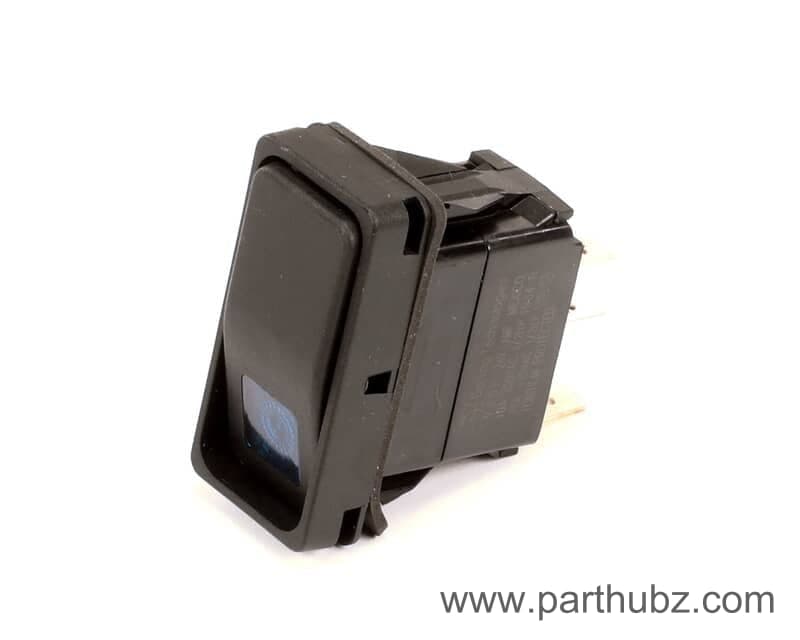
Groen 176921 Switch, Rocker, Recessed, DPDT, Power
 In Stock 360°
Groen Z003908 Knob, Thermostst, Off-200-400
 In Stock 360°
Groen Z004173 Screw, Slotted, Truss Head, 10-32 x 3/8"
 In Stock 360°
Groen 119814 Relay, 24V Coil, 30A
 In Stock 360°
Groen 176650 Probe, BPM/BPP-30/40, C2T
 In Stock 360°
Groen 174842 Control, Classic, Electric Braising Pan
 In Stock 360°
Groen 116384 GROEN 116384 LIGHT INDICATOR AMBER 24V
 In Stock 360°
Groen Z010286 Pipe Plug, 1/8" NPT, Recessed Hex
 In Stock 360°
Groen 175095 Knob, Aluminum, 2"
 In Stock 360°