

 Image not available
 Hobart
CN90
Electric Convection OvenHobart CN90 Electric Convection Oven
The Hobart CN90 is an electric convection oven with an electronic thermostat, electronic timer and fan-speed settings. Published model-family data lists 11 kW electrical loading and 208, 240 or 480 V options.
- Voltage
- 208 AC
- Phase
- 3
- Amps
- 32.0 A
- Wattage
- 11.0 kW
Hobart CN90
65 compatible parts available
Genuine OEM Parts
Sourced from the manufacturer
Canadian Owned
Based in British Columbia
Canada-Wide Shipping
Every province and territory
24hr Quote Response
Answered by a real technician
Manuals & Documents
About the Hobart CN90
Overview
The Hobart CN90 is an electric convection oven. Hobart’s installation, operation and care manual covers the CN90 together with the related CN91 and CN95 models. It describes the ovens as tools for the cooking industry, with an electronic thermostat for temperature control and an electronic timer that displays the remaining cooking time.
Individual used listings provide additional details about the particular ovens offered for sale. One listing describes a used CN90 as a five-shelf electric oven, mounted on a stainless steel stand, with dimensions of 30 inches wide by 20 inches high by 22 inches deep. Those listing details describe that unit and should not be assumed to establish the configuration of every CN90.
Key Features
- Electronic temperature control: The thermostat controls oven temperature, and the heat indicator illuminates while the heating elements are producing heat.
- Electronic cooking timer: The keypad sets a cooking period and counts down the remaining time. The timer sounds a buzzer at the end of the cycle.
- Fan-speed selection: The manual recommends the usual operating speed for regular use and the low setting for delicate foods, such as meringue, that may be disturbed by airflow.
- Door interlock: Opening the door de-energizes the fan and heating elements. The cooldown setting operates the fan with the door open to help cool the oven.
- Model-family replacement-parts documentation: The CN90 parts catalog covers heating, electrical component panel, control panel and oven assemblies. It lists heating-unit assemblies for 208 V, 240 V and 480 V models.
Specifications
- Manufacturer: Hobart.
- Model: CN90.
- Equipment type: Electric convection oven.
- Related models covered by the operation manual: CN91 and CN95.
- Electrical load: 11 kW for a single oven.
- Electrical supply: 208, 240 or 480 V; the manual provides three-phase loading data and says the ovens leave the factory wired for three-phase connection. It also describes changing wiring at the terminal block for single-phase connection.
- Nominal current at 208 V: 32.0 A, 27.9 A and 32.0 A on lines L1, L2 and L3, respectively.
- Nominal current at 240 V: 27.7 A, 24.2 A and 27.7 A on lines L1, L2 and L3, respectively.
- Nominal current at 480 V: 13.9 A, 12.0 A and 13.9 A on lines L1, L2 and L3, respectively.
- Temperature range reported in a used-equipment listing: 100°F to 450°F.
- Used listing details: One listing reports a five-shelf unit, 30 inches wide × 20 inches high × 22 inches deep, mounted on a stainless steel stand, with a timer and a 208 V, 60-cycle electrical supply. Confirm the details of the specific unit being considered.
- Parts manual coverage: The replacement-parts catalog covers CN90, CN91 and CN95, including specified machine serial/model numbers listed in the manual.
Installation & Requirements
The manual says to check the oven for possible shipping damage after unpacking and contact the carrier within 15 days of delivery if damage is found. Before installation, verify that the electrical service matches the oven data plate. Electrical and grounding connections must comply with applicable national and local electrical codes. The manual warns to disconnect electrical power and tag the disconnect switch before working on the circuit.
The basic oven is installed on legs or mounted on a modular stand. The manual cautions that installing the oven on a concrete base or another support that restricts air circulation beneath the oven will void the warranty. For a modular-stand installation, the oven is set on the stand after uncrating. The chimney and flue extension are removed from the rear motor compartment and fastened at the top rear of the oven; the chimney flanges go under the top cover, and the flue extension is attached.
For a single oven, the electrical supply must match the data plate and the wiring diagram attached to the oven. The manual describes removing the wiring-compartment cover at the lower front of the control panel, removing the appropriate bottom knock-out, attaching the supply conduit and making the connections according to the oven wiring diagram. The manual states that the 208, 240 and 480 V ovens are for connection to a one- or three-phase power system. Units leave the factory wired for three-phase service; the wiring can be changed at the terminal block for single-phase service. Level the oven by adjusting its legs so the oven racks are level in the installed position.
Operation
To set the electronic timer, press CLEAR, enter the cooking time in hours and minutes, and press START. The display shows the set time and counts down. To enter a different time, press CLEAR and enter the new setting. CLEAR also silences the buzzer. Set the thermostat to the desired cooking temperature; the heat light indicates when the heating elements are producing heat.
For fan speed, the manual identifies the usual operating speed for normal cooking and the low setting for delicate products that might be blown around. The electrical door interlock de-energizes the fan and heating elements when the door is open. Selecting COOLDOWN operates the fan only while the door is open, helping cool the oven.
For preheating, close the doors, set the thermostat to the desired temperature and turn on the oven. The manual says the oven reaches 350°F in 10 minutes. Preheating is complete when the heat light goes off, indicating that the thermostat temperature has been reached. For a full-capacity load, the manual suggests setting the preheat temperature 50°F above the required cooking temperature, then returning the setting to the appropriate cooking temperature after loading. Keep the doors open for as little time as possible to limit heat loss.
The manual advises turning off unused equipment and avoiding unnecessary door openings; the oven window can be used to observe food. Its cooking examples include fish, poultry, pot pies, macaroni and cheese, stuffed peppers, pizza and potatoes. For the delicate meringue example, it recommends the low fan setting.
Cleaning & Maintenance
Allow the oven to cool before cleaning. If the oven is hot, keep the doors only slightly ajar to reduce exposure to hot air. To speed cooling, select COOLDOWN; the fan runs with the doors open. Keep the oven interior and racks clean. The manual notes that food particles or carbon buildup can prevent the doors from closing tightly, wasting heat and affecting operation. Escaping steam and vapour can also cause condensation that deteriorates the finish around the oven front and door lining.
For standard aluminized-steel liners, clean frequently while the oven is cold using mild detergent or soap and water. If soil remains, loosen it with a wooden tool, then use a non-etching cleaner recommended for aluminized steel. Rinse with clear water and dry with a soft, clean cloth. Do not use steel wool, wire brushes or caustic solutions such as lye, soda ash or ammonia.
For stainless-steel liners, routine cleaning can use soap or detergent and water, followed by drying with a soft, clean cloth. For burned-on food or grease, the manual permits an abrasive cleanser mixed into a paste and applied with stainless-steel wool or a sponge, rubbing with the grain. Rinse and dry. For Teflon-coated liners, clean panels as soon as soil begins to brown. Remove and wash them with hot, sudsy water using a sponge or web pad; rinse and dry. Do not use sharp instruments, abrasive materials, oven cleaners or steel-wool pads on Teflon surfaces.
Wash exterior surfaces at least daily with warm water and mild soap or detergent, then rinse and dry. For stainless-steel surfaces, clean with a damp cloth and polish with a soft, dry cloth. If stronger cleaning is needed for stubborn stainless-steel discoloration, the manual permits a self-soaping scouring pad; rub horizontally with the grain, rinse, dry and polish. Avoid gritty soaps and harsh cleaners. For a Permalucent finish, the manual says not to use a scouring pad.
To clean the blower wheel, disconnect electrical power and tag the disconnect switch. Remove the racks, lift out the rack supports, then lift and pull out the blower baffle. Wash the blower with hot, sudsy water using a sponge or plastic web pad; rinse, dry and reinstall the hardware in reverse order. The manual also describes removing the interior panels and rack guides for cleaning. Disconnect and tag power before panel removal, and reverse the removal procedure to reassemble.
Troubleshooting
- Doors do not close tightly: Check for food particles or carbon buildup that may be preventing closure. The manual notes that poorly closed doors waste heat and allow steam and vapour to escape.
- Oven is still preheating: The heat light remains on while the heating elements are producing heat. The manual identifies the light going off as the indication that the thermostat temperature has been reached.
- Fan or heat stops when the door opens: This is the stated action of the electrical door interlock. To run the fan while the door is open for cooling, use the COOLDOWN setting.
- Oven does not match the electrical service: Check the data plate and oven wiring diagram. The manual instructs installers to verify the supply and wiring before energizing the oven.
Applications
The manual’s cooking examples show the CN90 family used for products including fish, chicken, turkey, pot pies, macaroni and cheese, stuffed peppers, pizza and potatoes. The examples include delicate items for which the low fan setting is recommended, as well as full-capacity loading guidance intended to limit temperature loss while loading. Match the oven’s electrical requirements and the specific unit’s configuration to the kitchen’s intended use.
Hobart CN90 Specifications
- Voltage
- 208 AC
- Phase
- 3
- Amps
- 32.0 A
- Wattage
- 11.0 kW
- Model
- CN90
- Power
- 11.0 kW
- Frequency
- 60 Hz
- Shelf Count
- 5
- Manufacturer
- Hobart
- Cooking Timer
- Electronic timer
- Equipment Type
- Electric convection oven
- Temperature Control
- Electronic thermostat
- Preheat Time to 350°F
- 10 minutes
- Nominal Current at 208 V
- 32.0 A
Frequently Asked Questions
What is the average cost of a commercial oven?+
What is the price of an industrial oven for a bakery?+
Which oven is best for commercial use?+
What is the price of a commercial combi oven?+
What are the Hobart CN90’s electrical requirements?+
What temperature range does the CN90 have?+
How do I set the CN90 timer?+
How should I clean the CN90 oven interior?+
What dimensions and shelf count are reported for the CN90?+
Need Parts for This Model?
Get a free quote for parts, service, or maintenance for the Hobart CN90. We respond within 24 hours.
 Hobart
View all Hobart equipment →
Parts for the Hobart CN90
Browse genuine OEM components, gaskets, heating elements, thermostats, and replacement hardware guaranteed to fit this equipment.
 Available to Order
Vulcan Hart 345519-1 PLUG
 Available to Order
Hobart 00-347463-00001 DOOR HANDLE KIT
Available to OrderVulcan Hart 00-342125-00002 OUTER DOOR ASSEMBLY
 In Stock
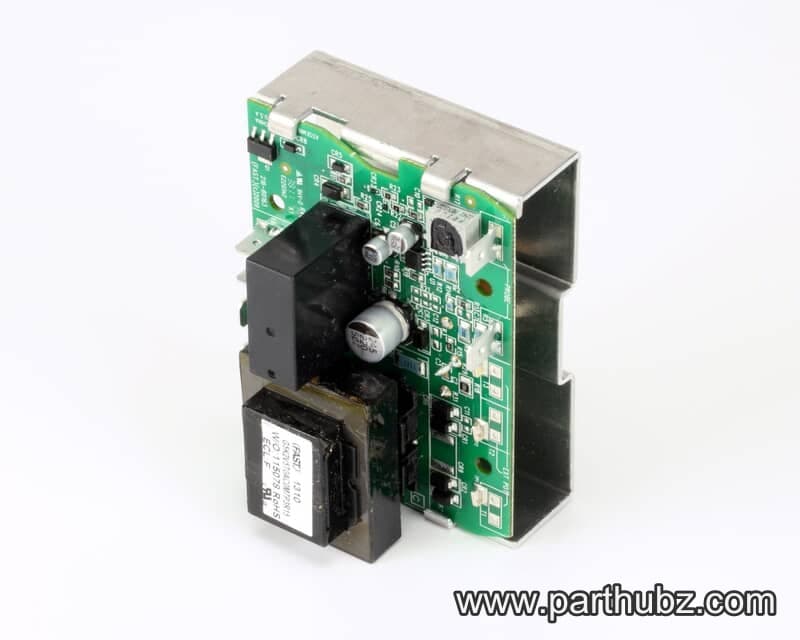
Hobart 00-416280-00001 Temperature Control, CN90
Available to OrderVulcan Hart SC-114-29 MACH SCREW
 In Stock 360°
Vulcan Hart 00-340324-00009 Switch, Toggle, Dpdt
 In Stock 360°
Vulcan Hart 00-353484-00001 Retainer
Available to OrderVulcan Hart 00-347193-00001 HEATING UNIT
 In Stock 360°
Vulcan Hart 00-347545-00001 Catch Assembly, Door, Roller Ball Style
 In Stock 360°
Vulcan Hart SC-114-27 Machine Screw, Phillips Pan Head, 8-32 x 1/2
 In Stock 360°
Vulcan Hart 00-353589-00001 Temperature Probe
 In Stock 360°
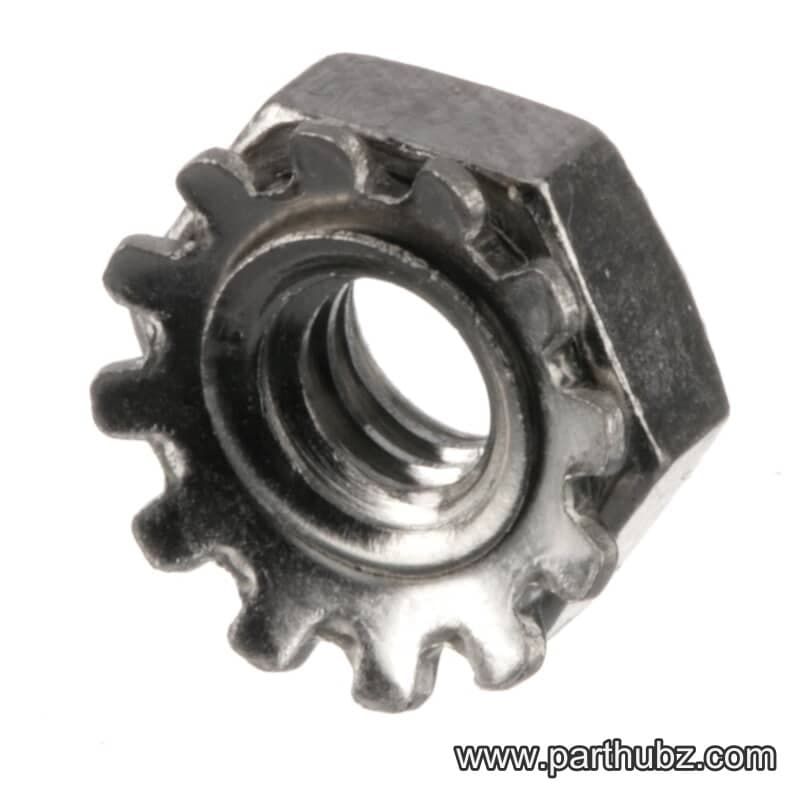
Hobart NS-046-51 Lock Nut, Hex with External Tooth Washer, 8-32
Available to OrderVulcan Hart 343508-2 TOP-REAR
 Available to Order
Vulcan Hart 00-342206-00001 BLOWER HUB ASSEMBLY
Available to OrderVulcan Hart 00-347193-00002 HEATING UNIT
Available to OrderVulcan Hart 00-342154-00002 PLUG
Available to OrderHobart SC-116-86 SCREW
 Available to Order
Vulcan Hart 00-353560-00001 PLATE
 In Stock 360°
Vulcan Hart 00-354071-00001 Mercury Relay, 3 Pole, 208/240V Coil
Available to OrderVulcan Hart 00-350660-00010 BUSHING
Available to OrderVulcan Hart 00-353619-00001 FILTER
 In Stock 360°
Vulcan Hart 00-342141-00002 Rack Support, Right Hand
 In Stock 360°
Vulcan Hart 00-342150-00005 Leg Assembly, CN90/ECO
 In Stock 360°
