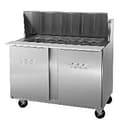
 Hobart
CU48
Undercounter Food Service CabinetHobart CU48 Undercounter Refrigerator
Hobart CU48 compact undercounter food storage cabinet with two doors, adjustable wire shelving and a self-contained refrigeration system. The manual covers plug-connected operation, installation, cleaning and troubleshooting.
- Voltage
- 120V
- Amps
- 6.7A
Hobart CU48
26 compatible parts available
Genuine OEM Parts
Sourced from the manufacturer
Canadian Owned
Based in British Columbia
Canada-Wide Shipping
Every province and territory
24hr Quote Response
Answered by a real technician
Manuals & Documents
About the Hobart CU48
Overview
The Hobart CU48 is part of Hobart’s CU Series compact undercounter food storage cabinets. It is identified in the parts manual as a refrigerator, model ML-111185 for the listed Kansas City serial-number group. The installation manual also lists CU48 with model numbers ML-111175 and ML-111185. A listing for a CU48 describes a two-door, caster-mounted refrigerator. The CU Series is self-contained and supplied with a cord and plug, so the cabinet does not require a separate refrigeration system.
The manual describes spring-loaded doors that stay open at 105° and self-close below 90°. The doors can be reverse-hinged at the installation site. Vinyl door gaskets with magnetic seals are intended to close the door opening, and wire shelves sit on adjustable clips and pilasters. A thermometer is provided on CU Series refrigerators.
Key Features
- Undercounter refrigerated storage: The CU48 is a compact food storage refrigerator in Hobart’s CU Series.
- Two doors: The CU48 auction listing identifies it as a double-door refrigerator. The manual describes spring-loaded doors that stay open at 105° and self-close below 90°.
- Reversible door hinges: The manual states that doors can be reverse-hinged at the installation site.
- Adjustable shelving: Wire shelves rest on shelf clips fitted into pilaster slots, allowing shelf height to be changed.
- Magnetic-seal gaskets: Vinyl gaskets have magnetic seals and can be cleaned with mild household liquid dishwashing detergent.
- Self-contained, cord-connected refrigeration: The manual describes the CU Series as self-contained and equipped with a cord and plug as standard.
- Accessory choices: The manual lists options for the CU Series that include legs, casters, a field-installed stainless steel worktop with backsplash, a field-installed stainless steel worktop with backsplash and removable polyethylene worktop, additional shelves, overshelves and a stainless steel clad back. Options are not available on every model; confirm CU48 compatibility for a particular accessory.
Specifications
- Manufacturer and model: Hobart CU48.
- Equipment type: Compact undercounter food storage cabinet; refrigerator.
- Manual model numbers: CU48 is listed as ML-111175 and ML-111185 in the installation manual. The parts manual identifies CU48 refrigerator ML-111185 for machines starting with serial number 32XXXXXXX.
- Door configuration: Two doors, as identified in the CU48 listing.
- Dimensions: 48 × 31 × 33 inches, as reported in the CU48 listing.
- Electrical details: The CU48 listing reports 120V and 6.7A. The parts manual separately lists a 115V, 15A service cord. Check the individual cabinet’s data plate before connection; the manual locates it on the upper left wall inside the cabinet.
- Connection: The manual describes a three-prong grounding plug and states that the receptacle must be properly grounded.
- Construction details from the manual: Wire shelves, vinyl magnetic-seal door gaskets, a clear-coated cabinet interior and stainless steel portions.
- Listing details: The CU48 auction listing describes the unit as caster-mounted and identifies NSF. These details refer to the listed unit; verify the configuration and markings on the cabinet being considered.
Installation & Requirements
Before installation, check that the electrical service agrees with the specifications on the data plate inside the cabinet. The manual says to keep the cabinet upright during unpacking and installation: do not lay it on its back, front or sides. Inspect for shipping damage after unpacking; if damage is found, the manual directs the recipient to retain the packaging and contact the carrier within 15 days of delivery.
Condenser performance depends on adequate ventilation. The manual requires adequate clearance at the ventilator locations underneath the cabinet and states that no clearance is required at the sides, rear or top. Do not install the cabinet without legs, casters or a front-ventilated utility base. The utility base described in the manual is an option for 27-inch models only, not the CU48.
If fitting legs or casters, block and stabilize the cabinet before installation, raising it at least 7 inches from the floor. Thread the legs or casters into the holes underneath and tighten securely using the octagon-shaped head of the bolt underneath, not the round flange on top. The manual says to install brake casters at the front. Level units with legs by adjusting the feet side to side and front to back; units with casters should be placed on a level floor.
The CU Series has a three-prong grounding plug. The outlet must be properly grounded; if the receptacle is not the correct grounding type, the manual directs the user to contact an electrician. Before connecting electrical power, check that the compressor floats freely on its rubber vibration-isolator mounts; the manual says no bolts need to be loosened. Also check exposed refrigeration lines for dents or kinks, look for tubing shifted during shipping, and confirm that the condenser fan rotates freely.
Operation
Allow the cabinet to reach normal operating temperature before loading food. The manual says the CU Series can refrigerate an assorted load of food items. Leave space between stored items so air can circulate freely, and do not load a large quantity of warm product at once expecting it to cool immediately. Use the supplied thermometer to check the cabinet temperature.
The temperature control is factory set, although local conditions may require a small adjustment. On current models, the control is on the right side of the evaporator housing. Turn its adjustment screw clockwise, a small amount at a time, to lower the temperature. The current control has an OFF position fully counterclockwise; this interrupts power to the compressor and condenser fan, not to the entire refrigerator. On earlier 48-inch and 60-inch models, the control was mounted inside the cabinet, turning counterclockwise lowers the temperature, and there is no OFF position. The manual describes the earlier control dial as marked from −30°F to 90°F. Check the control arrangement on the specific cabinet before adjusting it.
Cleaning & Maintenance
Disconnect electrical power before cleaning unit components, including the condenser coil and the evaporator and condensate components. The manual calls for a weekly check of the condenser coil so air can circulate freely through it. To clean, remove the lower rear panel and carefully remove dirt and lint with a vacuum cleaner, whisk broom or soft brush. Do not use a wire brush, and take care not to damage the coil fins. Replace the panel before reconnecting power.
Clean the clear-coated cabinet interior with a soft cloth moistened with warm water, then wipe it thoroughly dry. Do not use grit, abrasive materials, bleach or harsh chemicals. The manual advises testing new or improved cleaning formulas before use, then rinsing thoroughly and drying with a clean soft cloth. Clean the door gaskets and the plastic breaker strip around the opening with mild household liquid dishwashing detergent. Keep concentrated cleaners and disinfectants off the gaskets, as they can cause premature failure of the gasket material. Clean stainless steel portions with a recognized stainless steel cleaner. Remove shelves and wash them in a sink.
When needed, a qualified service technician can flush the evaporator coil, condensate loop and condensate removal pan with fresh water. The manual says this can be part of routine maintenance and may prolong equipment life. Condensate is removed by evaporation at the lower rear of the cabinet, so a drain is not needed. The condensate removal box may need periodic cleaning: remove the lower rear panel and wipe the box with a clean damp cloth, taking care around the condensate loop. Replace the panel and reconnect power after cleaning.
Troubleshooting
If the condensing unit does not operate, the manual lists power failure, a loose plug, a blown fuse or tripped circuit breaker, and the temperature control being OFF as possible causes. Check the power supply and plug, check the fuse or circuit breaker, and confirm the control is not OFF. The manual’s additional instruction to wait 30 minutes if a freezer is in a defrost cycle applies to freezer models, not the CU48 refrigerator.
Applications
The CU48 is suited to commercial kitchens that need refrigerated food storage in an undercounter footprint. Its adjustable shelves support changing storage arrangements, while the self-contained, plug-connected format is relevant where a separate remote refrigeration system is not part of the installation. The manual’s operating guidance emphasizes leaving room for air circulation and allowing the cabinet to reach normal operating temperature before food is loaded.
Hobart CU48 Specifications
- Width
- 48"
- Height
- 33"
- Voltage
- 120V
- Amps
- 6.7A
- Depth
- 31 in
- Model
- CU48
- Amperage
- 6.7A
- Mounting
- Caster mounted
- Manufacturer
- Hobart
- Product Type
- Commercial undercounter refrigerator
- Certification
- NSF
- Door Configuration
- Double door
- Manufacturer Model Number
- ML-111185
Frequently Asked Questions
What is the Hobart CU48?+
What are the listed dimensions of the CU48?+
What electrical service does the CU48 require?+
Does the CU48 need a drain?+
How do the CU48 doors operate?+
Can the CU48 shelf height be adjusted?+
How should the CU48 temperature be adjusted?+
How often should the condenser coil be checked?+
What should I check if the condensing unit does not run?+
Can a worktop or overshelf be added to the CU48?+
Need Parts for This Model?
Get a free quote for parts, service, or maintenance for the Hobart CU48. We respond within 24 hours.
 Hobart
View all Hobart equipment →
Parts for the Hobart CU48
Browse genuine OEM components, gaskets, heating elements, thermostats, and replacement hardware guaranteed to fit this equipment.
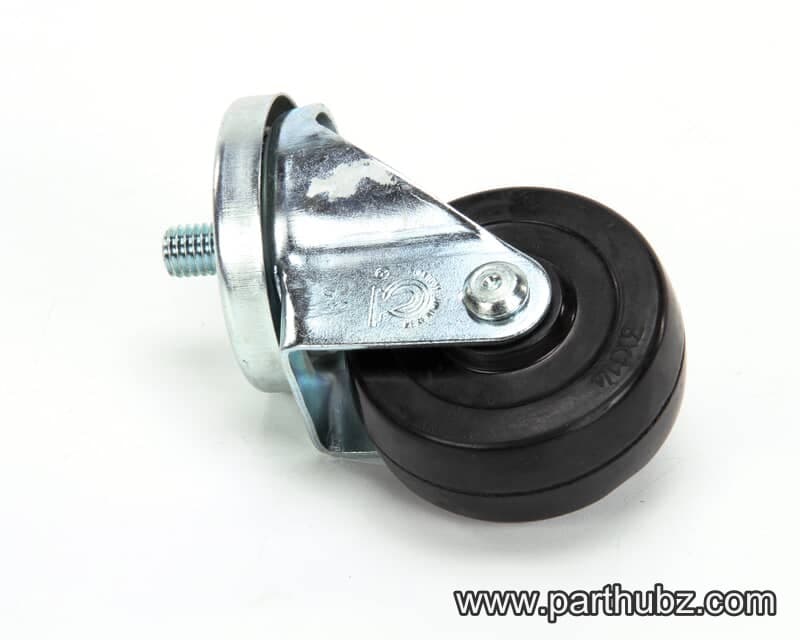 Available to Order 360°
Traulsen 282559-2 CASTER 3 IN W/O BRAKE
 Available to Order
Traulsen 434097 SUPPORT MULLION PILASTER
Available to OrderTraulsen 434133 BRACKET, BOARD SUPPORT 48 X 12
Available to OrderTraulsen 434000 TUBEDISCHARGE COMP
Available to OrderTraulsen 358-60720-00 PIN 5/16-18 THREADED GUIDE
Available to OrderTraulsen 284185-13 CASTER STEM 3.625 IN W/BRAKE
Available to OrderTraulsen 433648-8 SHELF, ROLL TOP 8 PAN
 In Stock
Traulsen 433687-2 Cutting Board, 8" x 48"
 In Stock 360°
Traulsen 19023 Wire Shelf/Rack, Lower, 21 3/4 x 15 3/8", CU48
 In Stock 360°
Traulsen 434724-2 Pillaster, Keyhole
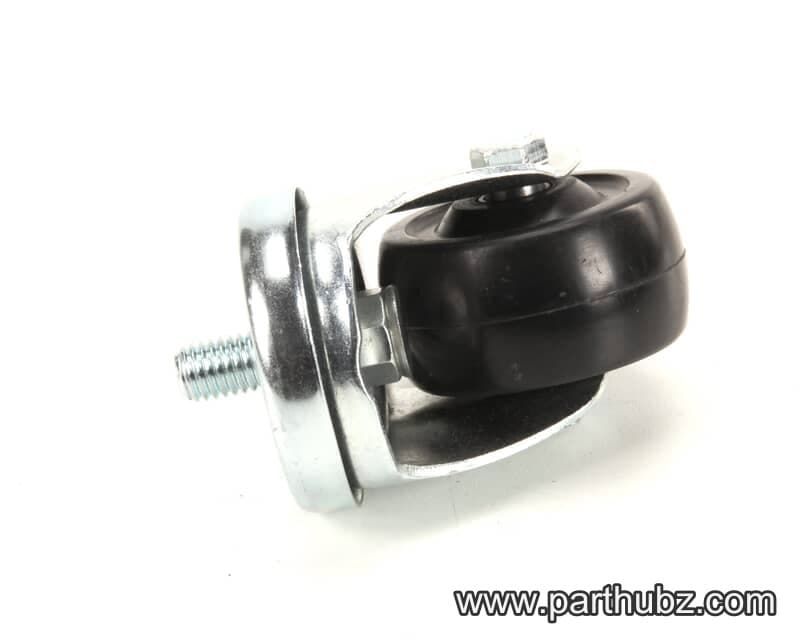 Available to Order
Traulsen 284185-14 CASTER 2.5 IN W/O BRAKE
Available to OrderTraulsen 433980 COVER EVAPORATOR TOP
Available to OrderTraulsen 433676-17 DOOR,CU48 SST W/ABS DRUM HL
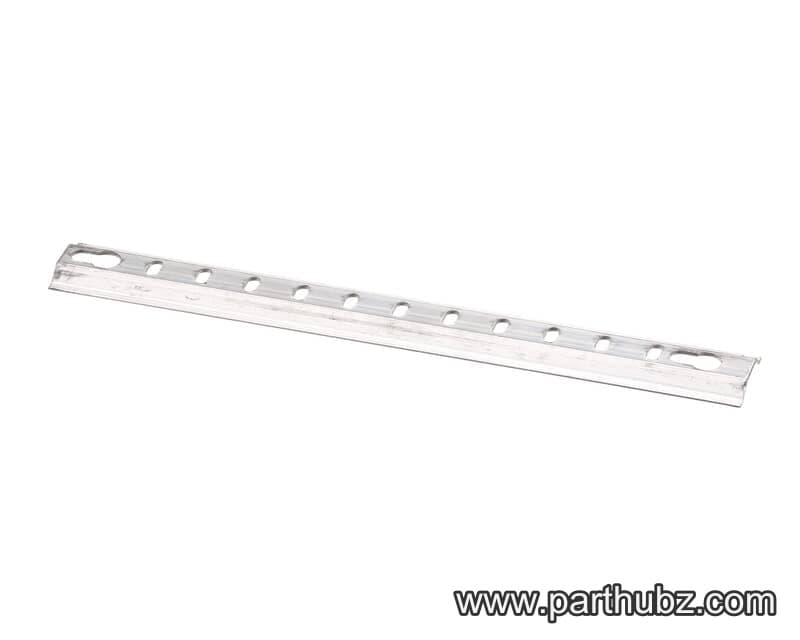 In Stock 360°
Traulsen 434724-3 Pilaster with Keyhole, UPT6024
 In Stock 360°
Traulsen CK20 Caster, 6" Swivel, Stem, Set Of 4
Available to OrderTraulsen 434106-2 BAFFLE EVAPORATOR SIDE
Available to OrderTraulsen 433648-2 SHELF ROLL TOP 18 PAN
Available to OrderTraulsen 433981 PANEL EVAPORATOR FAN
 In Stock 360°
Traulsen 433623-2 DOOR GASKET, CU48
 In Stock 360°
Traulsen CK22 Caster With Brake, 4", Swivel, Set Of 4
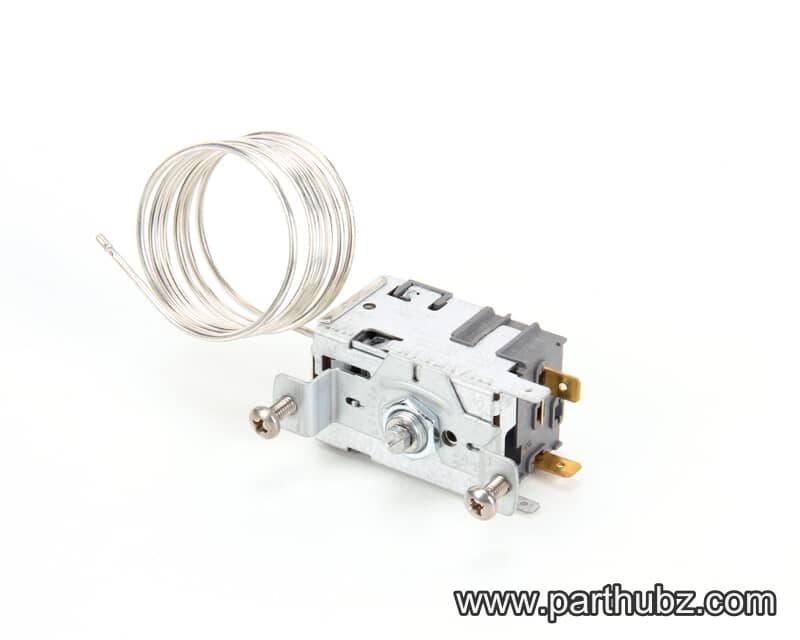 In Stock 360°
Traulsen 337-60387-00 Thermostat, Compact Refrigerator
Available to OrderTraulsen 433722-2 COVER 3 ROW 48-60
Available to OrderTraulsen 434106-1 BAFFLE EVAPORATOR SIDE
Available to Order