

 Image not available
 Hobart
FT900SD
DishwasherHobart FT900SD Flight-Type Conveyor Dishwasher
The Hobart FT900SD is a flight-type continuous-racking dishwasher in the FT900 series. Its manual identifies it as a dual-rinse model and provides installation, operation, cleaning and troubleshooting guidance.
Hobart FT900SD
1154 compatible parts available
Genuine OEM Parts
Sourced from the manufacturer
Canadian Owned
Based in British Columbia
Canada-Wide Shipping
Every province and territory
24hr Quote Response
Answered by a real technician
Manuals & Documents
About the Hobart FT900SD
Overview
The Hobart FT900SD is a flight-type continuous-racking automatic dishwasher in the FT900 series. Hobart’s installation and operation manuals list the FT900SD as one of the models covered and identify it as a dual-rinse machine. The manual also covers the FT900SD’s conveyor, wash and rinse components, tanks, drains, controls and routine care.
The FT900SD shares its manual with related FT900-series models, including the FT900, FT900BD, FT900S, FT900SBD, FT900D, FT900DBD, FT900SDBD, FT950 and FT950BD. Details below are limited to information applying to the FT900SD or to the series as a whole.
Key Features
- Continuous-racking operation: The machine uses a conveyor to move ware through the dishwasher. Conveyor sections are joined during installation and must be aligned before operation.
- Dual-rinse configuration: The FT900SD is identified in the manual as a model with dual-rinse components. Its care instructions cover dual-rinse arms, a dual-rinse tank and strainer pan.
- Multiple tanks and wash stages: The manual describes prewash, powerwash and power-rinse tanks, with a dual-rinse tank where equipped.
- Operator controls and sensors: The manual refers to a control keypad, a dish-limit switch and photoelectric sensors at the load end.
- Cleaning access: Front access doors, removable wash arms, strainer baskets, strainer pans and top covers provide access to components described in the cleaning instructions.
Specifications
- Manufacturer and model: Hobart FT900SD.
- Equipment type: Flight-type continuous-racking automatic dishwasher.
- Series: FT900.
- Rinse configuration: Dual rinse; the manual specifically includes the FT900SD among models with dual-rinse components.
- Drain connection: A 2-inch NPT threaded fitting is provided at the load or unload end, as specified on the order. The plug fitting and threaded drain fitting can be interchanged to reverse the drain end.
- Final-rinse connection: The final-rinse connection point has a 3/4-inch NPT female fitting.
- Electrical supply: The supply voltage must match the machine data plate. The electrical diagram is inside the control-box door.
- Dispenser power: The machine electrical supply can power a rinse-aid dispenser and/or detergent dispenser, up to 1.5 amperes each. The manual identifies separate terminal connections for each.
- Water quality: Recommended water hardness is 3 grains or less per gallon. Chlorides must not exceed 50 ppm.
- Final-rinse temperature: The manual identifies 180°F as the NSF-required minimum for final-rinse water and describes a low-temperature alarm for that condition.
- Final-rinse water pressure: 15 to 25 psi is recommended in the spotting troubleshooting guidance.
- Steam supply, when equipped: The manual specifies 15 to 50 psig flowing pressure at the dishwasher.
- Drain flow when a grease trap is required by code: The drain should have a flow rate of 40 gallons per minute.
Installation & Requirements
Before installation, check the machine for shipping damage and retain packaging if damage is found. The manual says to contact the carrier within 15 days of delivery. Confirm that the electrical service matches the specifications on the control-box data plate. Check that the location has the required electrical, plumbing and exhaust accommodations, and compare site connection measurements with the machine before connecting it.
Position and level the center section before assembling the other sections. The manual calls for leveling it end to end and front to back. For center sections with hinged doors, it cautions against checking the level on top of the doors and says not to adjust the doors until the machine is assembled and ready for initial testing with the pumps running.
For the conveyor, install numbered sections in sequence. The flight links point toward the load end, and the links face up as the conveyor is fed through the machine. The conveyor rollers must not be fed under the tracks. After installation, run the conveyor continuously for 15 minutes, check its alignment, adjust if needed, run it for another 15 minutes and recheck. Retighten the take-up-unit locknuts when alignment is complete.
Connect the drain at the specified end of the machine. When installing the drain pipe between adjoining tank sections, align the molded arrows on the drain T-connectors with the direction of flow. The manual specifies lubricating the molded connectors with Parker Super-O-Lube or household liquid dishwashing detergent; it says not to use animal-, vegetable- or petroleum-based lubricants. Position the hose clamps against the drain T-connectors and tighten them. Do not overtighten fittings. If a grease trap is required by code, the manual specifies a drain flow rate of 40 gallons per minute.
For final rinse, the manual identifies a 3/4-inch NPT female connection. It instructs installers to remove the final-rinse arms and purge the final-rinse system for 3 to 5 minutes before operation, then reinstall the arms. Open the required water and steam supply valves, if equipped, and check water and steam unions for tightness and drain piping for leaks. Line strainers should be cleaned after installation and within the first week of operation.
For dispenser connections, the machine supply can provide power to a detergent dispenser and/or rinse-aid dispenser up to 1.5 amperes each. The manual identifies separate terminal connections for detergent and rinse aid and describes connection locations for dispenser plumbing and wiring. It cautions not to use a saddle valve. The manual does not provide a gas connection specification for this model.
Operation
Before starting, open the machine doors and check that components are in their proper operating positions. Confirm that wash arms, the final-rinse arm and the flush arm are installed and latched correctly; strainer baskets must sit in the strainer pans. Curtains and drainback pans must be in their proper positions.
Open the water and steam supply valves, if equipped, and turn on the electrical supply. Close all drains and doors. The drain handles are near the floor at the front of each tank; turn them clockwise to the vertical position to close them. On dual-rinse machines, including the FT900SD, the dual-rinse tank drain handle is at the unload end beside the control box. Press the power key on the control keypad to turn the machine on.
The manual recommends water hardness of 3 grains or less per gallon and states that chlorides must not exceed 50 ppm. Its operating parameters include conveyor speed adjustment; it cautions that increasing conveyor speed can increase throughput but may reduce the machine’s ability to clean difficult items, such as pots and pans with cooked-on food particles.
Cleaning & Maintenance
The manual says to clean the dishwasher thoroughly at the end of each working shift or after each meal. Turn the machine off, disconnect electrical power and follow lockout/tagout procedures before cleaning. Open the access doors and drain the tanks by turning the drain handles counterclockwise to the horizontal position. The manual says tank draining takes approximately 5 to 10 minutes.
Remove and clean the curtains. Before removing strainer baskets and pans, hose down the interior and tank shelves and direct debris toward the strainers. Release the wash-arm latches, remove the arms and end caps, and clean the arms in a sink. Remove and clean the flush arm and its nozzles, strainer baskets, strainer pans and pump-intake screens. Remove and clean the drainback-pan strainers where present. On FT900SD dual-rinse machines, remove the dual-rinse arms and clear debris from their metal nozzles with a straightened paper clip. The manual says not to attempt to clean Opti-Rinse final-rinse nozzles; replace them if clogged or if their spray pattern is ineffective.
Flush the tanks with a hose to remove food soil. Reinstall the arms in their proper locations and orientations: flush-arm nozzles point horizontally toward the prewash tank, upper-arm nozzles point down and lower-arm nozzles point up. Reinstall the pump-intake screens, strainer pans and baskets, and rehang the curtains. Leave the doors open so the interior can air out and dry. Clean the exterior with a damp cloth and mild soapy water. Flush the sensor openings at the load end, but do not clean them with a metallic object, which could damage the sensors. Do not use steel wool on warewasher surfaces; use products formulated for stainless steel.
Clean the top duct about every two weeks, as appropriate for the location. Disconnect electrical power and follow lockout/tagout procedures first. Remove the top covers and clean the inside of the duct and both sides of the covers with a mild detergent and warm-water solution, using a brush, cloth or sponge. Rinse with clean water and return each cover to its correct position.
Clean water or steam line strainers one week after installation and periodically thereafter. The motors have sealed bearings and require no lubrication maintenance. Check the conveyor gearmotor oil level every six months; the oil should reach the bottom of the fill-plug hole. The manual specifies Mobilgear #630 to replenish or replace the oil. Inspect the conveyor drive chain regularly and lubricate it.
Troubleshooting
The manual advises contacting Hobart service if symptoms persist after checking the listed possible causes. Disconnect electrical power and follow lockout/tagout procedures before maintenance work.
- Machine does not operate after Start is pressed: Check for a blown fuse or tripped power-supply circuit breaker, open inspection doors, a jammed conveyor, or drains that are not closed and tanks that are not full.
- Ware is not clean: Check pre-scraping and tank-water condition; confirm the wash-arm end plugs are present, nozzles are clear, manifold O-rings are not allowing water to leak, and wash arms are installed correctly. Check for pump obstructions and water-temperature problems, including the electric-heat circuit breaker or fully open main steam valve. The manual also lists detergent dispensing, a tripped pump-motor overload and improper loading as possible causes. To check pump obstructions, disconnect power, drain the tank and inspect the pump intake.
- Vacuum breaker leaks: Foreign material or corrosion may prevent correct valve operation. Shut off incoming water, remove the bonnet from the valve body, clean the valve and reassemble it.
- Ware has spots: Check loading, final-rinse temperature and pressure, rinse-aid dispensing, water hardness, detergent suitability, clogged rinse nozzles and rinse-arm alignment. The manual specifies a minimum final-rinse temperature of 180°F and recommends 15 to 25 psi final-rinse water pressure. It recommends water hardness of 3 grains or less per gallon.
- Rinse is inadequate: Clean dirty line strainers after shutting off the water supply, and check supply-line pressure and rinse-arm seating in the hubs. On FT900SD dual-rinse machines, check for clogged dual-rinse nozzles and a clogged dual-rinse tank strainer pan.
- Rinse runs continuously: Clean blocked photoelectric-sensor openings. The manual also lists a malfunctioning rinse solenoid valve or conveyor motor drive as possible causes. For a possible drive reset, place the machine in standby for at least 60 seconds, then turn it back on. Contact Hobart service if the problem persists.
- Tanks do not heat: Check water level and whether the lower floats move freely. For electric heat, check the heat-system circuit breaker; a tripped over-temperature protector or failed heating element requires Hobart service. For steam heat, check that the steam supply valves are fully open and that supply pressure is adequate.
- Motor trips: Allow the motor to cool, then press the manual reset button on the motor junction box. If a motor continues to trip, contact Hobart service.
Applications
The FT900SD is a continuous-racking dishwasher for commercial warewashing. Its conveyor-based operation is suited to kitchens processing ware through a continuous machine path; the manual also notes that conveyor speed affects throughput and the cleaning of difficult items such as pots and pans with cooked-on food particles.
Hobart FT900SD Specifications
- Model
- FT900SD
- Equipment Type
- Conveyor dishwasher
- Drain Connection
- 2-inch NPT threaded fitting
- Conveyor Speed Range
- 4–6.3 feet per minute
- Steam Supply Pressure
- 15 to 50 psig flowing pressure at the dishwasher (when equipped)
- Dispenser Power Supply
- Up to 1.5 amperes each for rinse aid and detergent dispensers
- Final Rinse Connection
- 3/4-inch NPT female fitting
- Maximum Chloride Level
- 50 ppm
- Recommended Water Hardness
- 3 grains or less per gallon
- Final Rinse Minimum Temperature
- 180°F (82°C)
- Dish Limit Magnet Factory Setting
- 0.104 inches above tank bottom
- Internal Electric Booster Options
- 15 kW or 30 kW
- Conveyor Sprocket Inside Dimension
- 28 3/16 inches (+1/8 / −0)
- Recommended Final Rinse Water Pressure
- 15 to 25 psi
- Recommended Drain Flow Rate When Grease Trap Is Required
- 40 gallons per minute
- Booster Calibration Minimum Incoming Hot Water Temperature
- 105°F
Frequently Asked Questions
What type of dishwasher is the Hobart FT900SD?+
What does the FT900SD dual-rinse setup include?+
How do I drain an FT900SD?+
What water quality does the FT900SD manual recommend?+
What final-rinse temperature and pressure are specified?+
How often should I clean the FT900SD?+
Why might the FT900SD not start?+
What should I check if ware is not clean or the rinse is inadequate?+
What routine maintenance does the FT900SD manual specify?+
Need Parts for This Model?
Get a free quote for parts, service, or maintenance for the Hobart FT900SD. We respond within 24 hours.
 Hobart
View all Hobart equipment →
Parts for the Hobart FT900SD
Browse genuine OEM components, gaskets, heating elements, thermostats, and replacement hardware guaranteed to fit this equipment.
 Available to Order
Hobart 00-748333-00009 CONVEYOR,POSITION 1,FT917S
 Available to Order
Hobart 00-476544 Strainer, Final Rinse, Makeup Unit, FT900
Available to OrderHobart 00-294777 RELAY CLIP
Available to OrderHobart 00-748333-00049 CONVEYOR,POSITION 1,FT937
 In Stock 360°
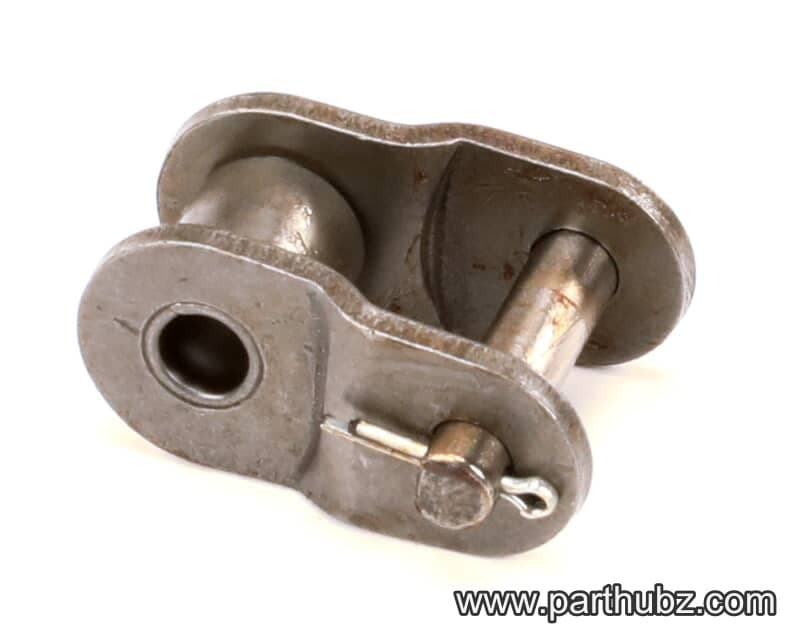
Hobart 00-062805 Link, Offset, Conveyor Drive, FT900
 Available to Order
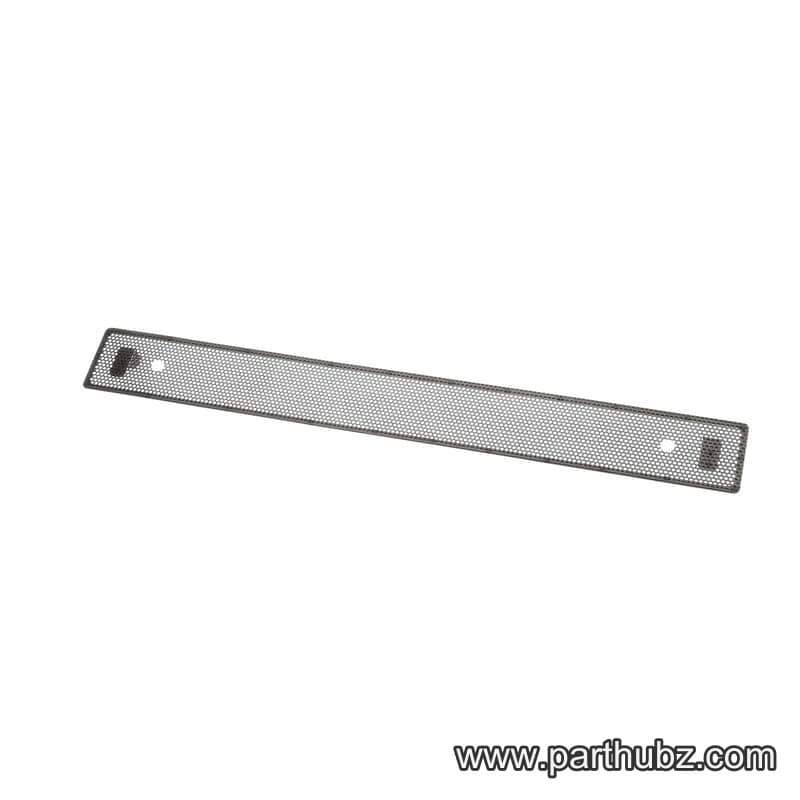
Hobart 00-476208-00002 Bracket, Door Seal, FT900S
 In Stock 360°
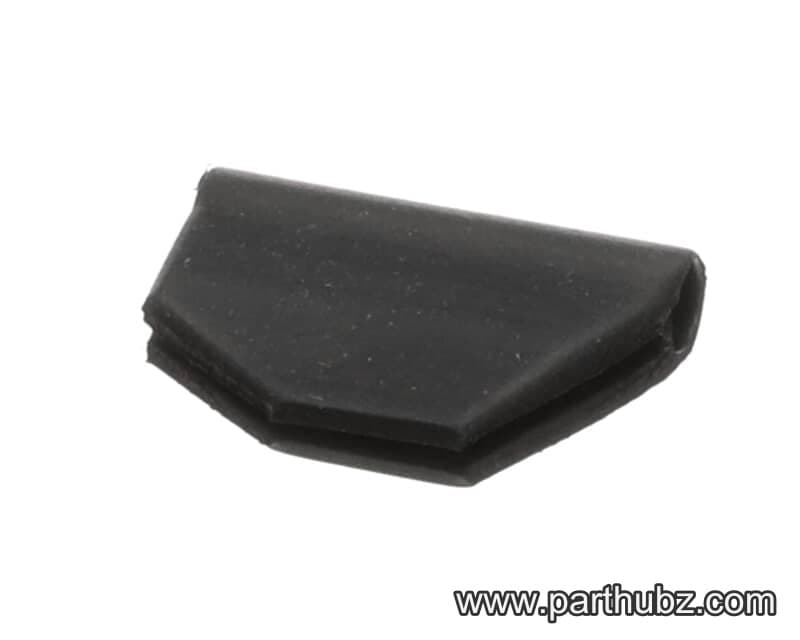
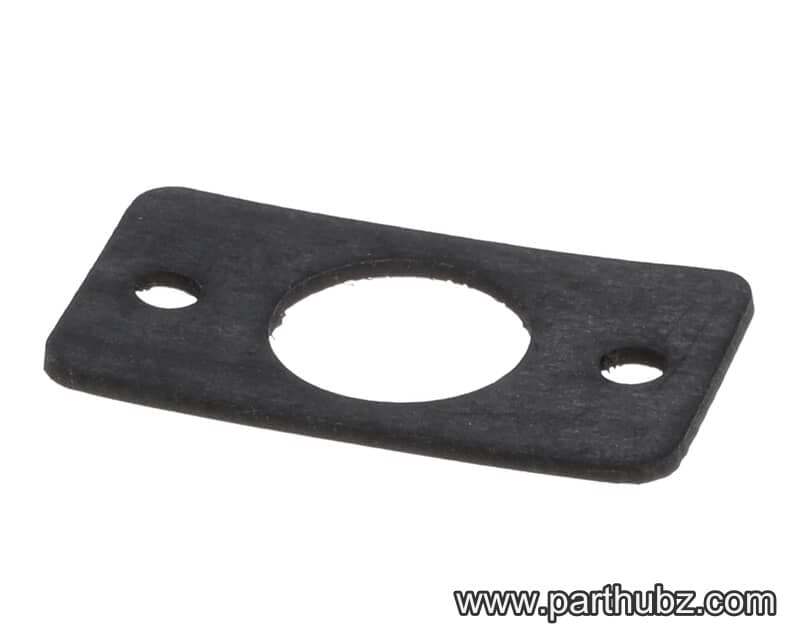
Hobart 00-892497 Gasket, Lower Door, Corner, FT900S
 In Stock
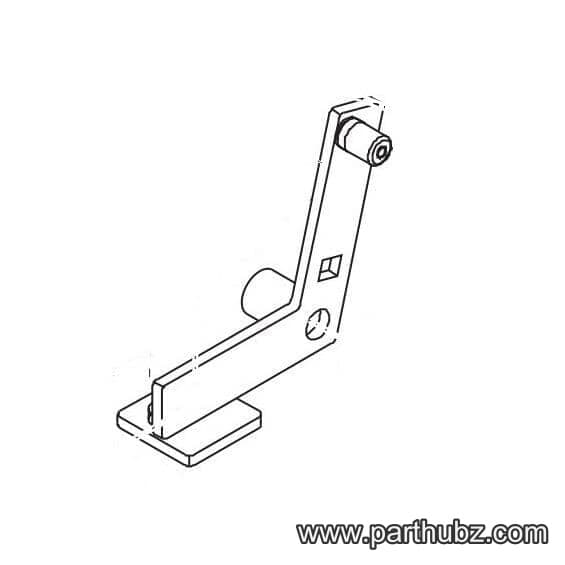
Hobart 00-892543-00001 BELLCRANK,WELDMENT,ANTI-JAM,R-L
Available to OrderHobart 00-892566-00014 CONVEYOR,TYPE BB,FT926
 In Stock 360°
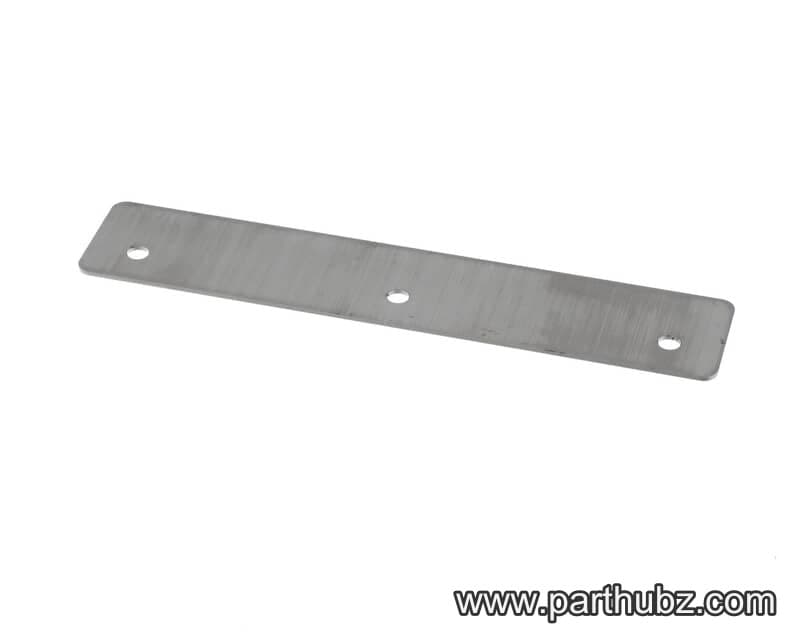
Hobart 00-892213-00002 Plate, Lower Seal Spacer
Available to OrderHobart 00-748407-00004 CONVEYOR,ASSEMBLY,TYPE A,FT916S
In StockHobart 00-287188-00006 WATER HEATER
Available to OrderHobart 00-748333-00024 CONVEYOR,POSITION 2,FT924
Available to OrderHobart 00-748407-00025 CONVEYOR,ASSEMBLY,TYPE A,FT937
Available to OrderHobart 00-748522-00011 CONVEYOR,27"OVAL TRAY,FT923
 Available to Order
Hobart 00-475980-00001 Track Weldment, 5 Foot Load, Right to Left Front/Left to Right Rear, FT900
Available to OrderHobart 00-476745-00005 CABLE,ASSEMBLY,WASH FILL VALVE
 Available to Order
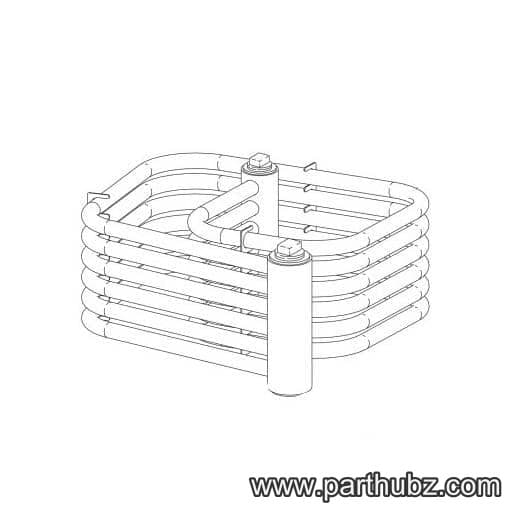
Hobart 00-919419 FT900D DUAL RINSE STEAM COIL (
 Available to Order
Hobart 00-749975-00003 Lens, LED Indicator Light, Red
Available to OrderHobart 00-748333-00048 CONVEYOR,POSITION 2,FT936
Available to OrderHobart 00-748333-00041 CONVEYOR,POSITION 1,FT933
 Available to Order
Hobart 00-892543-00002 Bellcrank, Anti Jam, Left to Right, FT900S
Available to OrderHobart 00-476481-00003 SPACER,TUBE,RINSE,3.030
 In Stock 360°

