

 Image not available
 Hobart
HPX5
SteamerHobart HPX5 Electric Pan Steamer
The Hobart HPX5 is an electric pan steamer rated at 15 kW, with timed and continuous cooking modes. Its compartment accepts combinations of 12 x 20-inch pans, and the unit is filled manually.
- Voltage
- 208 V
- Phase
- 1 phase
- Wattage
- 15.0 kW
Hobart HPX5
8 compatible parts available
Genuine OEM Parts
Sourced from the manufacturer
Canadian Owned
Based in British Columbia
Canada-Wide Shipping
Every province and territory
24hr Quote Response
Answered by a real technician
Manuals & Documents
About the Hobart HPX5
Overview
The Hobart HPX5 is an electric pan steamer for preparing vegetables, frankfurters, eggs, chicken, sausage, fish, corned beef and other foods. Hobart’s manual describes the HPX5 as a 15 kW steamer, with a field conversion option to 10 kW using an optional 2/3 connection. That conversion should be handled by a local Hobart service technician.
The cooking compartment is filled manually. It does not require a plumbing connection, and the manual specifies that the drain should empty into a suitable container rather than being connected solidly to drain piping. The HPX5 provides timed and continuous cooking modes. Allow approximately 10 minutes for warm-up; the heater light going off indicates that the unit is ready to cook.
Key Features
- Electric steam cooking: The HPX5 is rated at 15 kW, with a manual-described optional 10 kW field conversion.
- Timed or continuous operation: Select the cooking mode using the cooking mode switch.
- Manual-fill compartment: Add water to the compartment’s marked water level before operation.
- 12 x 20-inch pan format: The compartment accepts combinations of solid or perforated pans in this size.
- Versatile preparation: The manual describes cooking vegetables, fruit, meat, seafood, poultry and other foods, as well as heating canned foods and preparing items such as rice and hot cereals.
Specifications
- Manufacturer: Hobart.
- Model: HPX5.
- Manual model number: ML-126827.
- Equipment type: Electric pan steamer.
- Rated power: 15 kW.
- Optional field conversion: 10 kW with an optional 2/3 connection; the manual advises contacting a local Hobart service technician.
- Cooking modes: Timed and continuous.
- Pan size: Combinations of solid or perforated 12 x 20-inch pans.
- Water and drain connections: No plumbing connection is required for filling. The steamer is filled by hand; the drain empties into a suitable container with a 3-gallon minimum capacity.
- Electrical configuration in one reseller listing: 208 V, single phase, 60 Hz. Confirm the requirements for the actual unit from its data plate before installation; HPX5 electrical service must match the machine’s specifications.
- Dimensions reported in that reseller listing: 29 1/2 inches high x 21 inches wide x 26 inches deep overall; interior dimensions reported as 17 inches high x 13 1/2 inches wide x 21 inches deep. Treat these as listing measurements for that unit.
- Support legs: The manual describes four 4 1/2-inch support legs supplied with the steamer.
Installation & Requirements
Electrical service
Before installation, compare the electrical supply with the specifications on the data plate on the left side panel. Do not proceed if the supply and equipment requirements do not agree. The manual requires the steamer to be grounded and specifies copper wire suitable for at least 200°F (90°C). Electrical and grounding connections must comply with applicable codes. In Canada, the manual names local codes and the Canadian Electric Code, CSA C22.2, latest edition. The wiring diagram is inside the right panel. The manual also states that units wired for single phase can be changed to three phase, or vice versa, by relocating jumper wires on the terminal block as shown in that diagram.
Placement and drain
Allow the manual’s minimum clearances for air circulation: 2 inches on the sides and 6 inches at the back. Install the four support legs before placing the steamer on a countertop; the manual says not to mount it directly to a countertop without the legs in place. Level the unit front to back and side to side using its adjustable feet.
No water-supply connection is needed because the compartment is filled manually. No drain connection is required. Drain the steamer into a suitable container with a capacity of at least 3 gallons. Do not connect the drain solidly to drain piping: the manual warns that the drain must vent to the atmosphere to avoid back-pressure and possible back-siphoning into the compartment.
Ventilation and codes
Some local codes may require the steamer to be located under an exhaust hood. The manual refers to NFPA No. 96, Standard for Vapor Removal from Cooking Equipment, for information on ventilation hoods. Follow applicable local requirements for the installation.
Operation
Before cooking
- Close the drain valve.
- Open the door and pour water into the cooking compartment up to the water-level mark on the back wall.
- Select TIMED or CONTINUOUS on the cooking mode switch.
- Close the door and allow approximately 10 minutes for the steamer to warm up. When the heater light goes off, the manual indicates that the unit is ready.
The manual’s testing procedure also directs the operator to check that the door opens and closes properly. During the test, the heater light should come on with the door closed and go off when the door is opened. The manual cautions that the compartment contains live steam and hot water and that the unit and its parts become hot. Stay clear when opening the door.
Choosing pans and preparing food
Use combinations of 12 x 20-inch solid or perforated pans. The manual recommends perforated pans for root vegetables. Other vegetables can also be cooked in perforated pans unless their juices are being saved. A solid pan can be placed beneath a perforated pan to collect juices. Solid pans are useful for puddings, rice and hot breakfast cereals; vegetables and fruit can be cooked in solid pans in their own juices. Opened cans can be heated in solid pans, or their contents can be transferred to pans.
Separate frozen foods into smaller pieces for more efficient cooking. If a precooked frozen dish cannot be cooked in its covered packaging and needs more than 15 minutes, use a pan cover; the manual says a cover adds approximately one-third to the cooking time. Frozen-food cooking time depends on how much thawing is needed. Partial thawing in a refrigerator can reduce cooking time.
For service, the manual advises keeping hot-food holding time to a minimum and preparing small batches, cooking more as demand requires. It notes that vegetables retain colour and are more nutritious when served soon after cooking. If prepared ahead, plunge vegetables into cold water, preferably with ice, drain thoroughly and refrigerate. Reheating takes approximately 5 to 10 minutes, depending on the amount and variety. Sausage, chicken or fish may be browned after steaming, and saved cooking juices can be used in soups, sauces or casseroles.
Shutdown
- Turn the cooking mode switch to OFF.
- Allow the steamer to cool.
- Open the drain valve and drain the water into a suitable container.
- Open the compartment door to let the interior dry.
- Clean the steamer following the manual’s cleaning instructions.
Cleaning & Maintenance
The manual directs operators to clean the steamer daily and to follow the shutdown procedure first. At the end of each day, remove the stainless-steel pan supports and clean them in a sink. Clear the drain opening, lift the vent baffle assembly straight up for removal, and wash it with hot, soapy water. Wipe the compartment with hot, soapy water using a soft cloth or sponge, rinse thoroughly with warm, clean water and dry with a clean, dry cloth. Clean the exterior with a damp cloth and polish it with a soft, dry cloth. The manual also advises leaving the door open overnight after cleaning so the interior can dry.
Use a nonabrasive cleaner for discolourations. Do not use steel wool or other metallic pads. Never use a high-chlorine or bleach solution on the door gasket. The manual warns that the steamer and its parts are hot and that the cooking compartment contains live steam and hot water. Before working on the electrical circuit, disconnect the power supply and place a tag at the disconnect switch to indicate that work is in progress.
Troubleshooting
If the steamer will not operate, the manual lists these possible causes: no power to the steamer, the steamer is not turned on, the drain valve is open, there is no water in the compartment, no time is set on the timer, the door is not tightly closed, or there is a problem with the door switch.
- Check that power is connected or that the power cord is plugged in.
- Turn the steamer power switch to ON.
- Close the drain valve and add water to the marked level in the compartment.
- For timed cooking, set the required time and turn on the steamer.
- Close the door securely.
- If the door switch is suspected, contact a local Hobart service office. The manual directs operators to contact a local Hobart service office for repairs or adjustments.
Applications
The HPX5 can support commercial kitchen preparation of vegetables, fruit, frankfurters, eggs, chicken, sausage, fish, corned beef and other meats. Its pan-steaming format also suits items such as rice, hot cereals, puddings and canned foods. Perforated pans allow steam to circulate around food, while solid pans can retain cooking juices or hold foods that need a solid cooking surface. The manual also describes reheating prepared foods and collecting cooking juices for use in other dishes.
Hobart HPX5 Specifications
- Length
- 26"
- Width
- 21"
- Height
- 29.5"
- Voltage
- 208 V
- Phase
- 1 phase
- Wattage
- 15.0 kW
- Model
- HPX5
- Pan Size
- 12" x 20"
- Rated Power
- 15.0 kW
- Manufacturer
- Hobart
- Support Legs
- Four 4 1/2" legs
- Warm-Up Time
- Approximately 10 minutes
- Water Supply
- Filled manually; no plumbing connection required
- Recommended pH
- 7.0 to 7.5
- Drain Connection
- No drain connection required; drain into a container with a minimum 3 gallon capacity
- Optional Power Rating
- 10 kW with optional 2/3 connection
- Minimum Rear Clearance
- 6"
- Minimum Side Clearance
- 2"
- Water Hardness Recommendation
- 2 grains or 35 ppm
- Recommended Total Dissolved Solids
- 60 ppm
Frequently Asked Questions
What is the Hobart HPX5 rated at?+
What electrical service does the HPX5 require?+
Does the HPX5 need a water line?+
How should the HPX5 be drained?+
What pans fit the HPX5?+
How long does the HPX5 take to warm up?+
What cooking modes does the HPX5 have?+
What clearances does the manual specify?+
How should the HPX5 be cleaned?+
What should I check if the steamer will not operate?+
Need Parts for This Model?
Get a free quote for parts, service, or maintenance for the Hobart HPX5. We respond within 24 hours.
 Hobart
View all Hobart equipment →
Parts for the Hobart HPX5
Browse genuine OEM components, gaskets, heating elements, thermostats, and replacement hardware guaranteed to fit this equipment.
 Available to Order
Hobart 00-851004 ROD,HINGE
 Available to Order
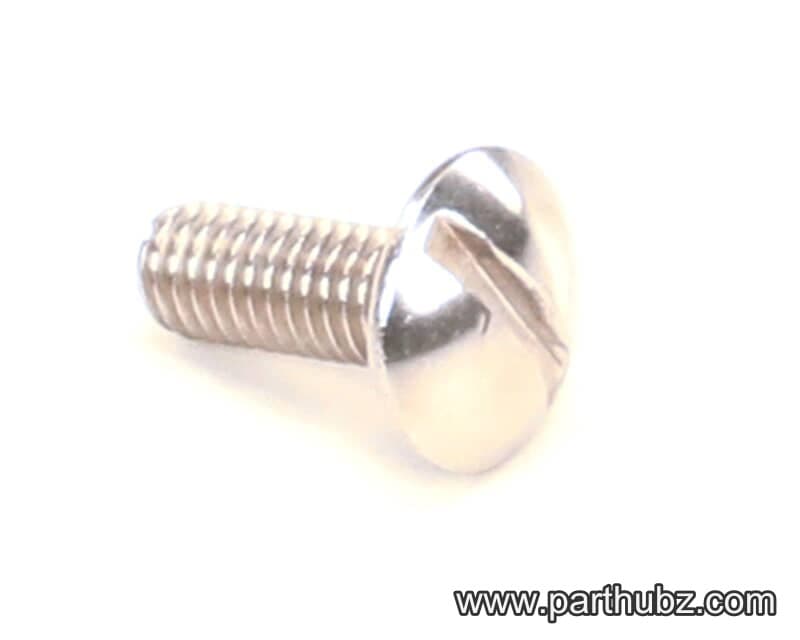
Hobart 00-844453 SCREW,10-32 X 1/2 SST
 Available to Order
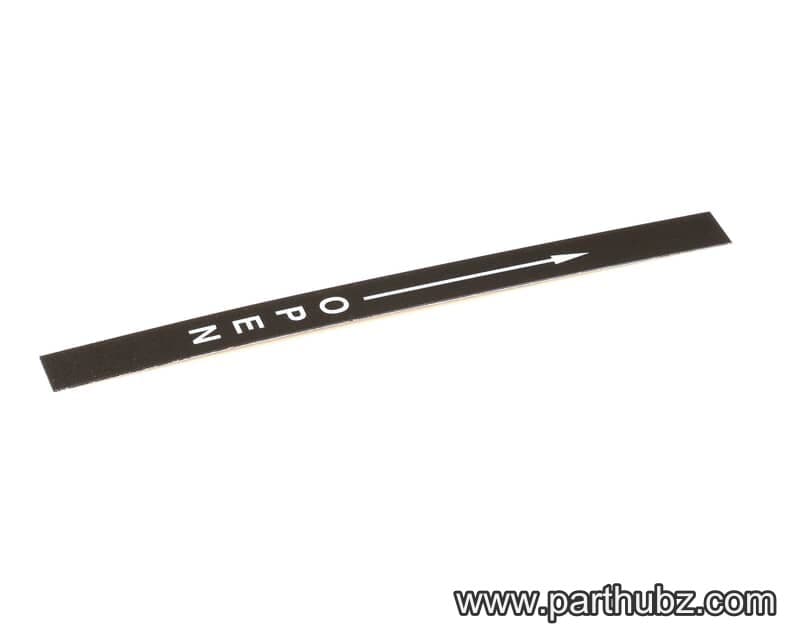
Hobart 00-850193 DECAL,DOOR HANDLE
Available to OrderHobart 00-853989 WASHER,
Available to OrderHobart 00-854295 ELEMENT,ASSY 220V 9KW VPX35
Available to OrderHobart 00-850076 NUT
Available to OrderHobart 00-853990 HARNESS,WIRE ASSY
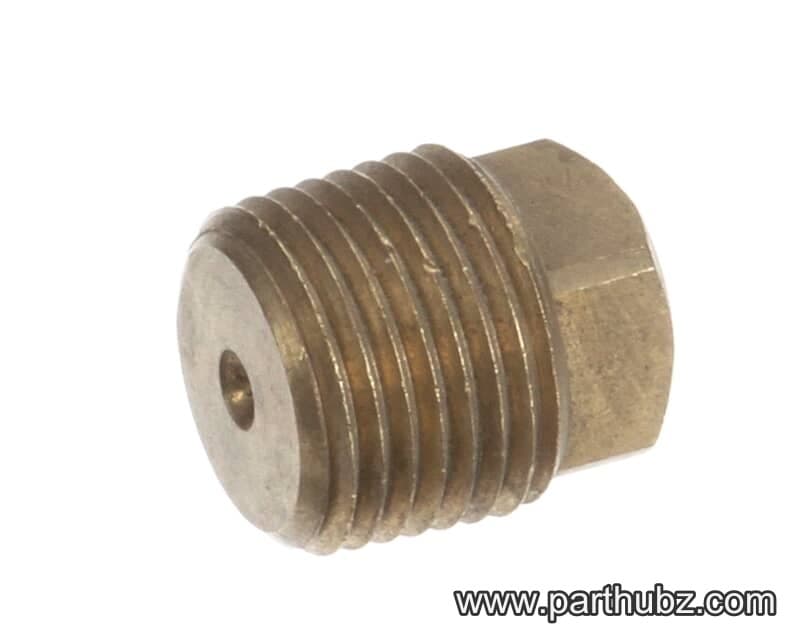 Available to Order