

 Image not available
 Hobart
L800C
MixerHobart L800C Mixer
The Hobart L800C is an 80-quart, medium-duty mixer for general kitchen applications. The L800 series manual specifies a 2 HP motor, a timer and #12 attachment hub as standard equipment, and compatibility with smaller bowls when used with adapters and special agitators.
- Voltage
- 200V, 230V, 200–230V, 400/460V
- Phase
- 1 or 3
- Amps
- 12.7A, 11.0A, 7.4A, 3.7A
Hobart L800C
374 compatible parts available
Genuine OEM Parts
Sourced from the manufacturer
Canadian Owned
Based in British Columbia
Canada-Wide Shipping
Every province and territory
24hr Quote Response
Answered by a real technician
Manuals & Documents
About the Hobart L800C
Overview
The Hobart L800C belongs to the L800 series, which Hobart’s installation and operation manual describes as a medium-duty, 80-quart mixer intended primarily for general kitchen applications. The manual lists a 2-horsepower motor, timer and #12 attachment hub as standard L800 equipment. A bowl guard is also standard on the H600 and L800 models covered by the manual. A programmable timer controller is optional, and stainless steel finish is available as an order option.
The L800 series can use 30-, 40- or 60-quart bowls when fitted with the required bowl adapters and special agitators. The manual’s L800 model list includes model numbers associated with the L800C, and the parts catalog identifies L800C within the H600 and L800 series.
Key Features
- 80-quart bowl capacity: The L800 series is specified as an 80-quart mixer.
- 2-horsepower motor: The manual identifies a 2 HP motor for the L800.
- Four mixing speeds: The manual describes speed 1 through speed 4, from low to high.
- Timer: A timer is standard equipment. Depending on the unit, the control is electromechanical or a programmable timer controller; the programmable controller is optional.
- #12 attachment hub: The manual lists this as standard equipment. Attachments are installed in the hub and secured with its thumb screw.
- Interlocked bowl guard: The wire cage must be in its front-center operating position for the mixer to run.
- Smaller-bowl options: With the appropriate bowl adapters and special agitators, the L800 can use 30-, 40- or 60-quart bowls.
Specifications
- Product type: Commercial mixer
- Series classification: Medium-duty
- Intended application: General kitchen use
- Maximum bowl capacity: 80 quarts
- Motor: 2 horsepower
- Speeds: Four, identified in the manual as speed 1 (low), speed 2 (medium-low), speed 3 (medium-high) and speed 4 (high)
- Timer: Standard; electromechanical timer controls or optional programmable timer controller, depending on equipment
- Attachment hub: #12, standard
- Bowl guard: Standard wire cage assembly
- Additional bowl sizes: 30, 40 or 60 quarts with bowl adapters and special agitators
- Finish option: Stainless steel finish can be ordered
- Conduit opening: The manual specifies an opening for 3/4-inch trade-size conduit at the top of the pedestal.
Installation & Requirements
Before installation, check the mixer for shipping damage. If damage is found after unpacking, the manual says to keep the packaging and contact the carrier within 15 days of delivery. Before connecting the machine, verify that the electrical service matches the specifications on its data plate. Electrical and grounding connections must comply with applicable electrical codes.
Place the mixer where operators can use the controls and install or remove bowls. The space above the mixer must allow the top cover to be removed for routine maintenance and service. The base has holes for permanent floor bolting, although the manual says bolting is not necessary in normal installations. If the holes are not used, the supplied plastic plugs can be fitted. Level the mixer by placing a level on the machined surface of the transmission case and using shims under the base legs as needed.
The mixer is shipped with oil in the transmission. The manual directs users to check oil levels before starting. Planetary lubrication depends on production date: mixers produced before September 2002 have oil in the planetary; those produced after that date have grease in the planetary. Follow the manual’s applicable lubrication procedure for the unit.
For three-phase machines, check that the planetary rotates in the direction of the arrow on the drip cup. The manual’s procedure is to select speed 1, momentarily run the mixer with the bowl support raised, and check rotation. If rotation is incorrect, disconnect power and interchange two incoming power leads.
Operation
Controls and safety interlocks
The mixer has either electromechanical timer controls or an optional programmable timer controller. With electromechanical controls, START starts the mixer and STOP stops it. For timed mixing, set the timer for the desired period; for non-timed mixing, set it to HOLD and stop the mixer with the STOP button. The programmable controller provides preset-time keys and a time knob; its idle display indicates that no time has been set.
Keep hands, clothing and utensils out of the bowl while the beater is moving, and do not operate the mixer without its interlocked guard. The wire cage assembly must be in position for the mixer to operate. If the bowl support is not fully raised, the manual says the mixer will not run unless the START button is held in.
Installing the bowl and using the speeds
Lower the bowl support fully before fitting a bowl. Position the bowl so its rear alignment bracket sits under the retainer on the support and the front alignment pins fit into the bowl holes. Rotate the bowl clamps over the bowl ears to secure it. If using a bowl adapter, fit it to the support in place of the bowl, then install the bowl on the adapter. The bowl must be installed before the agitator.
The manual assigns speed 1 (low) to heavy mixtures such as pizza dough, heavy batters and potatoes. Speed 2 (medium-low) is for cake batters, mashing potatoes and developing bread dough. Speed 3 (medium-high) is for incorporating air into light batches and finishing whipped items. Speed 4 (high) is for maximum and accelerated air incorporation in light mixtures. The attachment hub is operated with the bowl support fully raised and the wire cage in its front-center position. The manual says not to use the attachment hub while mixing.
Using the attachment hub
To fit an attachment, loosen the hub thumb screw, remove the plug, insert the attachment with its square shank aligned to the mixer’s square driver, and tighten the thumb screw. Select the desired speed. For a meat and food chopper attachment, the manual specifies second or third speed. If material in the cylinder stalls the mixer, stop it immediately; do not restart at a lower speed. Clear the obstruction by removing the adjusting ring, knife, plate and worm. The manual also warns not to use this attachment to chop bread crumbs.
Cleaning & Maintenance
Daily cleaning
Disconnect electrical power and follow lockout/tagout procedures before cleaning. The manual says to clean the mixer thoroughly each day and not to use a hose. Wash the mixer with a clean, damp cloth. The base provides room to clean underneath. The apron can be removed by loosening its thumb screws; an access cover behind it can also be removed for cleaning. Periodically remove the planetary drip cup-splash guard and wipe it clean.
For the wire cage assembly, hold it securely with both hands and press the black release knob to lower and remove it. Wash the cage in a sink, rinse with clear water and dry with a clean cloth. The stainless steel splash guard can be wiped or washed with a cloth or sponge and warm soapy water, then rinsed and dried. To reinstall the cage, position the grooves in its three nylon retainers around the ridge on the planetary drip cup. The cage is correctly assembled when all three retainers straddle the ridge. Return it to the front-center position for operation.
Lubrication and adjustment
On planetary units produced before September 2002, periodically check the planetary oil with power disconnected and the drip cup-splash guard removed. The oil should reach the bottom of the fill-plug hole. If draining is necessary, the manual specifies replacing the drained oil with 6 fluid ounces of the recommended planetary lubricant. Planetaries produced after September 2002 are grease-filled and do not require routine lubrication maintenance. If the planetary seal becomes dry and squeaks, apply lubricant under the seal lip.
Check transmission oil with the motor stopped; it should be level with the mark on the oil-level gauge. If it is below the mark, disconnect power, remove the top cover and fill plug, and add a small amount of the recommended oil. Do not overfill. The manual recommends contacting a local Hobart Service Office for the correct transmission oil. Lubricate the bowl-support slideways and lift screw approximately twice a year: lower the support fully, remove the apron, and apply a thin coat of Lubriplate 630AA to the bowl-clamp area, slideways and lift screw. For units with a manual bowl lift, periodically lubricate the handwheel gearing with Lubriplate 630AA, with electrical power disconnected.
Check agitator clearance with each bowl change. The agitator must not touch the bowl. The manual gives a maximum clearance of 1/8 inch (3 mm) between the bowl bottom and a B flat beater, and 5/16 inch (8 mm) between the bowl bottom and an E or ED dough arm. To measure, cover the bowl bottom with flour, briefly run the mixer in speed 1 with the bowl raised, then turn off and disconnect power before measuring the beater’s traced path. Adjust the stop screw if needed, tighten its locking nut, and check that the bowl-height sensing switch button is 1/8 inch (3 mm) above the bottom of the nylon actuator when the support is fully raised. The manual cautions that the switch button must never sit below the actuator’s bottom.
Troubleshooting
If the mixer will not start, the manual lists these possible causes:
- The gear shift lever is between gears and not fully engaged.
- The circuit protector is open; check the fuse or disconnect switch.
- The mixer or attachment is overloaded.
- The bowl is not fully raised.
- The wire cage assembly is not in the front-center position.
For three-phase units that rotate in the wrong direction, disconnect power before interchanging two incoming power leads. If a mixer stalls while operating the meat and food chopper attachment, stop it at once and clear the obstruction rather than restarting at a lower speed.
Applications
The L800 series is specified for general kitchen mixing. The manual’s examples include heavy mixtures such as pizza dough, heavy batters and potatoes; cake batter and bread dough development; and incorporating air into light batches and finishing whipped items. Bowl adapters and special agitators allow the mixer to be configured for smaller 30-, 40- or 60-quart bowls. A separate Hobart Use and Applications Handbook, furnished with the mixer according to the manual, provides further mixing procedures and information about agitators, attachments and accessories.
Hobart L800C Specifications
- Voltage
- 200V, 230V, 200–230V, 400/460V
- Phase
- 1 or 3
- Amps
- 12.7A, 11.0A, 7.4A, 3.7A
- Model
- L800C
- Motor power
- 2 horsepower
- Product type
- Medium-duty, 80-quart mixer
- Bowl capacity
- 80 quarts
- Mixing speeds
- 4
- Model designation
- L800C ML-134204
- Standard equipment
- Timer and #12 Attachment Hub
- Standard bowl guard
- Yes
- Stainless steel finish
- Available to order
- Programmable timer controller
- Optional
- Compatible bowl sizes with bowl adapters and special agitators
- 30-, 40- or 60-quart
Frequently Asked Questions
What is the bowl capacity of the Hobart L800C?+
How powerful is the Hobart L800C motor?+
How many speeds does the L800C have, and what are they used for?+
Can the L800C use bowls smaller than 80 quarts?+
Does the L800C include an attachment hub?+
Why might the L800C not start?+
How should the L800C be cleaned?+
Need Parts for This Model?
Get a free quote for parts, service, or maintenance for the Hobart L800C. We respond within 24 hours.
 Hobart
View all Hobart equipment →
Parts for the Hobart L800C
Browse genuine OEM components, gaskets, heating elements, thermostats, and replacement hardware guaranteed to fit this equipment.
 In Stock 360°
Hobart 00-121110 Switch, Starting, Stationary Part
 In Stock 360°
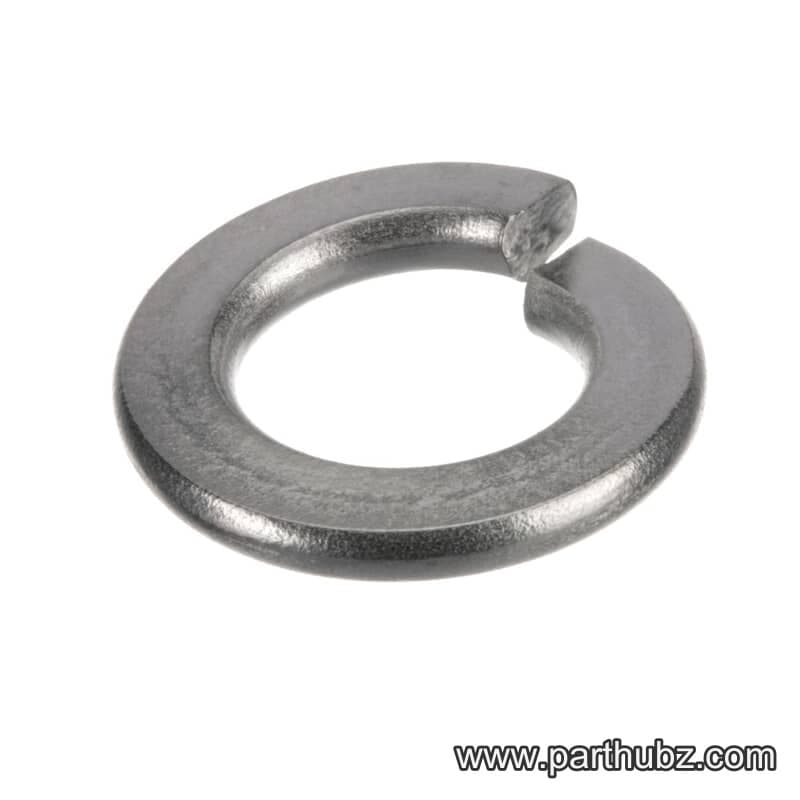
Hobart WL-006-27 Lock Washer, Split, 3/8", Stainless Steel
 In Stock 360°
Hobart WL-012-05 Lock Washer, External Tooth, W 04
 Available to Order
Hobart WS-030-06 WASHER
 In Stock 360°
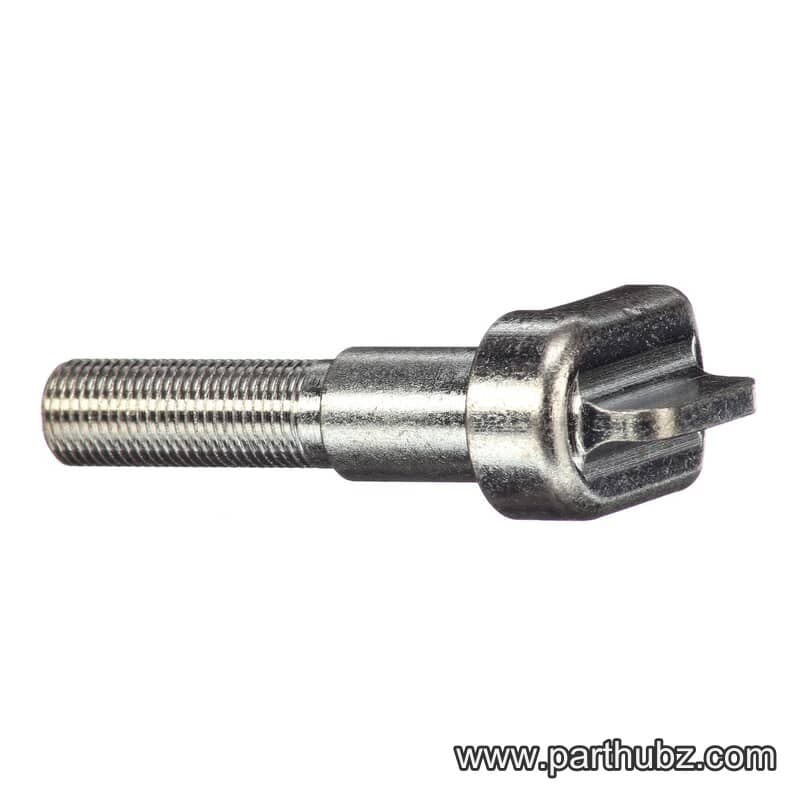
Hobart 00-008100-00001 Stud Clamp
 In Stock 360°
Hobart 00-061498 Shock Absorber
 In Stock
Hobart 00-061506 Sleeve, Square Drive
 Available to Order
Hobart 00-120924 TERMINAL BOARD
 In Stock 360°
Hobart 00-087711-071-1 Microswitch, Interlock, Shifting Unit
Available to OrderHobart 00-295648 Bowl, 30 Quart, SST
 Available to Order
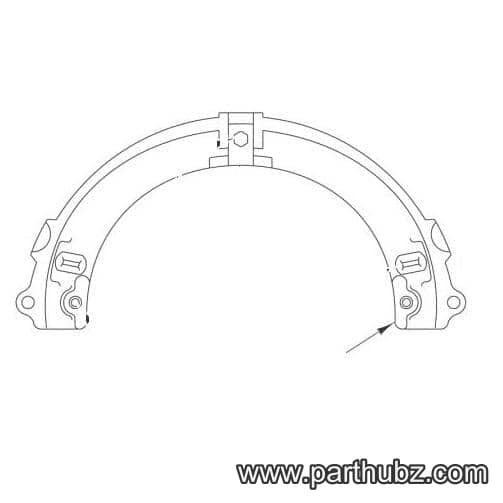
Hobart 00-111165-00001 ADAPTER - STD
 In Stock 360°
Hobart RP-002-03 Roll Pin, 3/16" x 1 1/4" Long
Available to OrderHobart SC-111-34 CAP SCREW
Available to OrderHobart 00-068236 COVER, RIGHT SLIDEWAY
 In Stock 360°
Hobart SC-018-20 MACHINE SCREW
 Available to Order 360°
Hobart BB-009-37 Ball Bearing, Upper, Shaft-Worm Gear
 In Stock
Hobart RR-005-02 Retaining Ring, Spirolox, Bowl Lift
 In Stock 360°
Hobart BB-013-03 Ball Bearing, #12 Hub
 Available to Order
Hobart 00-060486 Shield, Planetary Oil
 In Stock 360°
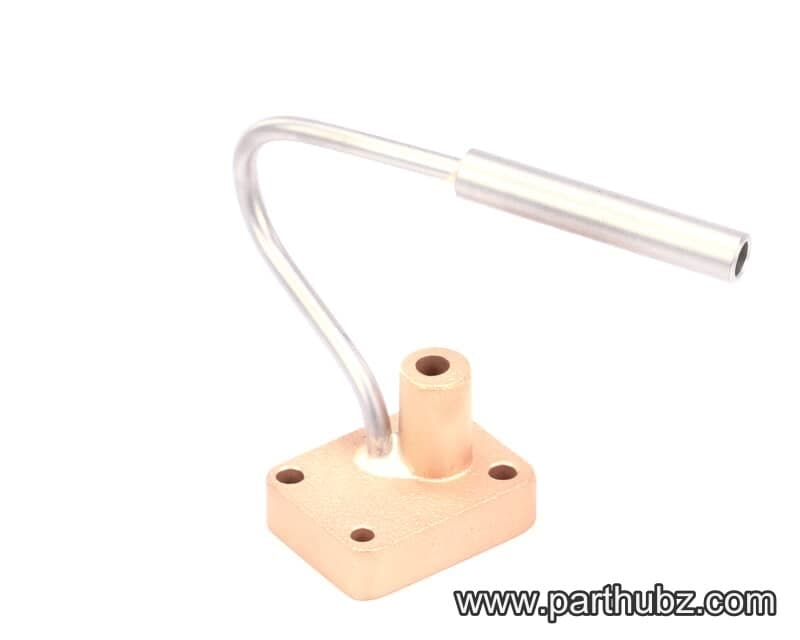
Hobart 00-123679 Housing & Tube Assembly
 In Stock 360°
Hobart PG-007-19 Grooved Pin, 1/4 x 2 3/4"
Available to OrderHobart 00-437441 SPACER,MOUNTING
 In Stock 360°
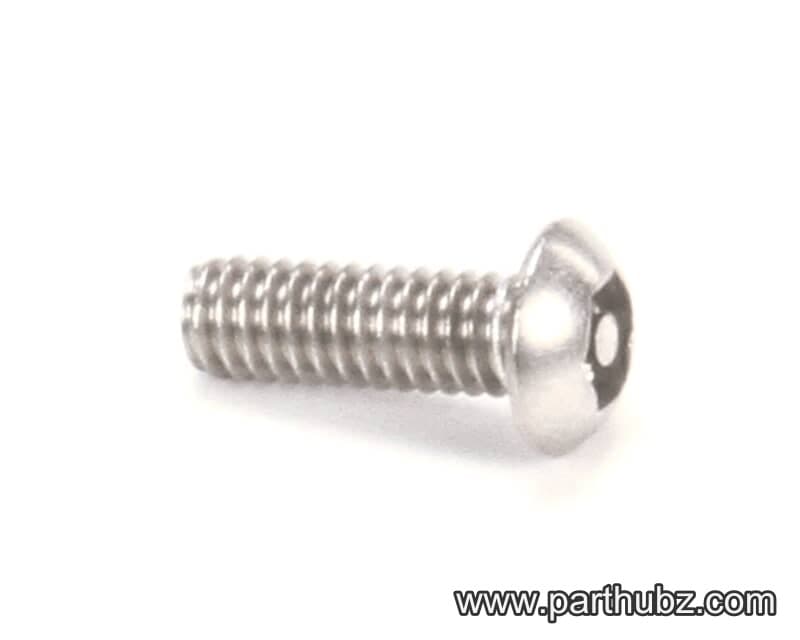
Hobart SC-122-76 Screw, Tamper Resistant Hex Button Head Socket, 8-32 x 1/2"
 In Stock 360°
