

 Image not available
 Hobart
L800D
MixerHobart L800D Commercial Mixer
Hobart L800D is an 80-quart commercial mixer for general kitchen applications. Compatible 80-quart bowls and attachments are available, and the Hobart L800-series manual details mixing, operation and care.
Hobart L800D
273 compatible parts available
Genuine OEM Parts
Sourced from the manufacturer
Canadian Owned
Based in British Columbia
Canada-Wide Shipping
Every province and territory
24hr Quote Response
Answered by a real technician
Manuals & Documents
About the Hobart L800D
Overview
The Hobart L800D is an 80-quart commercial mixer for general kitchen applications. Hobart’s L800-series manual describes an 80-quart L800 mixer with a timer and #12 attachment hub as standard equipment, a bowl guard, and four mixing speeds. A programmable timer controller is optional. The manual also describes compatible smaller bowl configurations when bowl adapters and special agitators are used.
Parts and accessories identified as compatible with the L800D include an 80-quart dough hook, an 80-quart mixing whip and an 80-quart stainless steel bowl. Compatibility can depend on the specific attachment or bowl; the listed universal dough hook is not for Legacy-series mixers.
Key Features
- 80-quart capacity: The L800 manual describes the mixer as an 80-quart model, and L800D-compatible 80-quart bowls and agitators are identified in the supplied product sources.
- Four mixing speeds: Hobart describes speed settings for heavy mixtures, batters and lighter mixtures that require air incorporation.
- Attachment hub: The L800 manual identifies a #12 attachment hub as standard equipment. The hub is for attachments and must not be used while mixing.
- Timer controls: The mixer is equipped with either an electromechanical timer or, when fitted, a programmable timer controller.
- Bowl guard: The manual identifies a bowl guard as standard equipment and states that the wire cage must be in its operating position for the mixer to run.
Specifications
- Product: Hobart L800D mixer.
- Capacity: 80 quarts, supported by L800D-compatible 80-quart bowl and attachment listings and the L800 manual.
- Application described in the manual: general kitchen applications.
- Motor: 2 horsepower, as stated for the L800 in the supplied manual.
- Standard equipment described for the L800: timer, #12 attachment hub and bowl guard.
- Mixing speeds: four settings—Speed 1 (low), Speed 2 (medium-low), Speed 3 (medium-high) and Speed 4 (high).
- Smaller bowl options described for the L800: 30-, 40- or 60-quart bowls, used with bowl adapters and special agitators.
- Timer options: electromechanical timer or optional programmable timer controller.
- Finish: the manual says the mixer can be ordered with a stainless steel finish.
The supplied manual gives different electrical data for L800 configurations and instructs installers to check the machine data plate against the electrical service. It does not establish which electrical configuration applies to a particular L800D. Confirm the individual unit’s data plate before making electrical connections.
Installation & Requirements
On unpacking, the manual instructs the installer to check for shipping damage. If damage is found, retain the packaging and contact the carrier within 15 days of delivery. Before installation, test the electrical service to confirm that it agrees with the machine data plate.
Place the mixer where there is room to operate the controls and install or remove bowls. The area above the mixer must allow removal of the top cover for routine maintenance and servicing. Holes in the base allow the mixer to be bolted to the floor, although the manual says this is not necessary for normal installations; four supplied plastic plugs can cover unused holes. Level the mixer after placing it in position. The manual describes checking level on the machined transmission-case surface and using shims under the base legs as needed.
The mixer is shipped with oil in the transmission. The manual says to check oil levels before starting. It also notes that planetary lubrication depends on production date: mixers produced before September 2002 have oil in the planetary, while those produced after that date have a grease-filled planetary. Check the individual mixer and follow the manual’s applicable lubrication procedure.
Electrical and grounding connections must comply with the applicable National Electrical Code and local electrical codes. The manual directs installers to disconnect power and follow lockout/tagout procedures before service work. A conduit opening is located at the top of the pedestal, and electrical connections are made according to the wiring diagram inside the top cover. For three-phase machines, the planetary must rotate in the direction shown by the arrow on the drip cup. The manual gives a rotation-check procedure and says to disconnect power and interchange two incoming leads if rotation is incorrect.
Operation
Controls and safety
The START button starts the mixer and the STOP button stops it. With an electromechanical timer, set a mixing time to stop the mixer automatically when the preset time elapses. For non-timed mixing, set the timer to HOLD and stop the mixer with the STOP button. On a unit with a programmable timer controller, the display shows that no time is set when idle. The controller’s P1 and P2 keys hold up to four preset times each, and the TIME knob changes the displayed time; SAVE replaces a stored preset.
Keep hands, clothing and utensils out of the bowl while the beater is moving. Do not operate the mixer without its interlocked guard. The wire cage must be in its front-center operating position or the mixer will not run. The manual also states that the mixer will not operate unless the bowl support is all the way up, except when the START button is held in.
Bowls and agitators
Install the bowl before the agitator. Lower the bowl support fully, position the bowl so its rear alignment bracket fits beneath the bowl-support retainer, and align the front pins with the bowl holes. Secure the bowl by rotating the bowl clamps over its ears. If using a bowl adapter, fit it to the bowl support first, then install the bowl on the adapter. With the bowl installed and fully lowered, fit the agitator to the agitator shaft according to the manual’s installation instructions.
Check agitator clearance whenever the bowl is changed. The agitator must not touch the bowl. The manual specifies a maximum clearance of 1/8 inch (3 mm) between the bowl bottom and a B flat beater, and 5/16 inch (8 mm) between the bowl bottom and an E or ED dough arm. If adjustment is needed, the manual instructs the operator to remove the apron, loosen the lower locking nut and turn the stop screw to increase or decrease clearance, then tighten the locking nut while holding the screw. It also gives a position check for the bowl-height sensing switch after adjustment.
Choosing a speed and using attachments
- Speed 1 (low): Heavy mixtures such as pizza dough, heavy batters and potatoes.
- Speed 2 (medium-low): Cake batters, mashed potatoes and developing bread dough.
- Speed 3 (medium-high): Incorporating air into light batches and finishing whipped items.
- Speed 4 (high): Maximum and accelerated air incorporation into light batches.
To fit a hub attachment, loosen the thumb screw and remove the hub plug. Insert the attachment with its square shank engaged in the mixer’s square driver, then tighten the thumb screw. Select the speed required by the attachment. For attachment operation, the manual specifies raising the bowl support fully and putting the wire cage in its front-center position. It says meat and food chopper attachments should be used in second or third speed. If material in a chopper stalls the mixer, stop it at once; do not try to restart in a lower speed. Clear the obstruction from the attachment first. The hub must not be used while mixing, and the manual says not to use the attachment to chop bread crumbs.
The wire cage can be rotated out of the way for access to the bowl and agitator or to add ingredients. Some liquids or powders may be added through the cage while mixing, and the manual identifies an ingredient chute as an available accessory. Return the cage to its front-center position before operating the mixer.
Cleaning & Maintenance
Cleaning
Disconnect electrical power and follow lockout/tagout procedures before cleaning. Hobart recommends thorough daily cleaning. Do not hose down the mixer; wash it with a clean, damp cloth. The manual says the base allows room to clean beneath the mixer. The apron can be removed by loosening its thumb screws, and the access cover behind it can be removed for cleaning. Periodically remove the drip cup-splash guard and wipe it clean.
A flat scraper is supplied for cleaning bowls and agitators. Wash new bowls and agitators with hot water and mild soap, rinse with a mild soda or vinegar solution, then rinse thoroughly with clear water. The manual says to follow this procedure before first use and before whipping egg whites or whole eggs. It also describes cleaning the wire cage in a sink, rinsing it with clear water and drying it with a clean cloth. Wipe or wash the stainless steel splash guard with warm soapy water, rinse and dry.
Lubrication
For planetary assemblies on mixers produced before September 2002, the manual says to check planetary oil periodically. With power disconnected, remove the drip cup-splash guard and fill plug; oil should reach the bottom of the fill-plug hole. If draining is necessary, the manual directs the operator to place a suitable catch pan beneath the drain plug and refill the planetary with 6 fluid ounces of the recommended lubricant. Mixers produced after September 2002 have a grease-filled planetary and do not require routine planetary lubrication maintenance. The manual advises contacting a local Hobart Service Office for the recommended planetary lubricant.
Check transmission oil with the motor stopped. The level should be even with the line on the oil-level gauge. If low, disconnect power, remove the top cover and fill plug, then add a small amount of the recommended transmission oil until the level returns to the line. Do not overfill. Lubricate the bowl-support slideways and lift screw approximately twice a year. The manual specifies a thin coat of Lubriplate 630AA on the bowl-clamp area of the supports, slideways and lift screw. For a manual bowl lift, lubricate the handwheel gearing periodically with Lubriplate 630AA, with power disconnected and the top cover removed. If the planetary seal becomes dry and squeaks, the manual says to apply lubricant beneath the seal lip.
Troubleshooting
If the mixer will not start, the manual lists these possible causes: the gear-shift lever is between gears rather than fully engaged; a circuit protector is open, so check the fuse or disconnect switch; the mixer or attachment is overloaded; the bowl is not fully raised; or the wire cage assembly is not in its front-center position. Check the listed operating conditions before resuming work.
If the agitator touches the bowl, stop the mixer and check its clearance. The manual says to check clearance with each bowl change and provides the stop-screw adjustment procedure in the Operation section above. Do not operate with an agitator that contacts the bowl.
Applications
The L800 manual describes the mixer for general kitchen applications. Its speed guidance covers heavy doughs and batters, potatoes, cake batters, bread-dough development and lighter mixtures where air incorporation is needed. Compatible hub attachments can extend its use beyond bowl mixing; the manual provides specific operating directions for meat and food chopper attachments.
Hobart L800D Specifications
- Speeds
- 4
- Speed 1
- Low; for heavy mixtures such as pizza dough, heavy batters and potatoes
- Speed 2
- Medium-low; for cake batters, mashing potatoes and developing bread dough
- Speed 3
- Medium-high; for incorporating air into light batches and finishing whipped items
- Speed 4
- High; for maximum and accelerated air incorporation into light batches
- Bowl guard
- Standard
- Mixer type
- Medium-duty, 80-quart mixer
- Bowl capacity
- 80 quart
- Attachment hub
- #12 Attachment Hub
- Conduit opening
- 3/4" trade size
- Available finish
- Stainless steel
- Motor horsepower
- 2 horsepower
- Standard equipment
- Timer
- Intended application
- General kitchen applications
- Available timer option
- Programmable timer controller
- Compatible bowl sizes with adapters and special agitators
- 30-, 40- or 60-quart
Frequently Asked Questions
What is the capacity of the Hobart L800D?+
Can the L800D use smaller bowls?+
How many speeds does the Hobart L800 mixer have?+
Does the L800D have an attachment hub?+
What timer controls are available?+
How do I clean the mixer?+
Why might the mixer not start?+
What electrical connection does the L800D require?+
Need Parts for This Model?
Get a free quote for parts, service, or maintenance for the Hobart L800D. We respond within 24 hours.
 Hobart
View all Hobart equipment →
Parts for the Hobart L800D
Browse genuine OEM components, gaskets, heating elements, thermostats, and replacement hardware guaranteed to fit this equipment.
 In Stock 360°
Hobart 00-121110 Switch, Starting, Stationary Part
 In Stock 360°
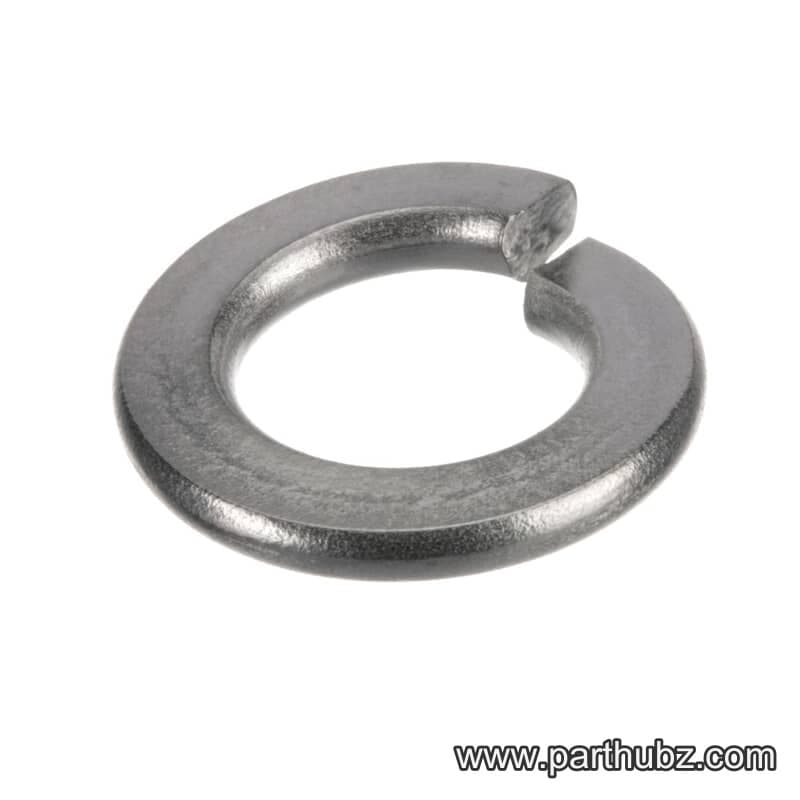
Hobart WL-006-27 Lock Washer, Split, 3/8", Stainless Steel
 In Stock 360°
Hobart WL-012-05 Lock Washer, External Tooth, W 04
 In Stock 360°
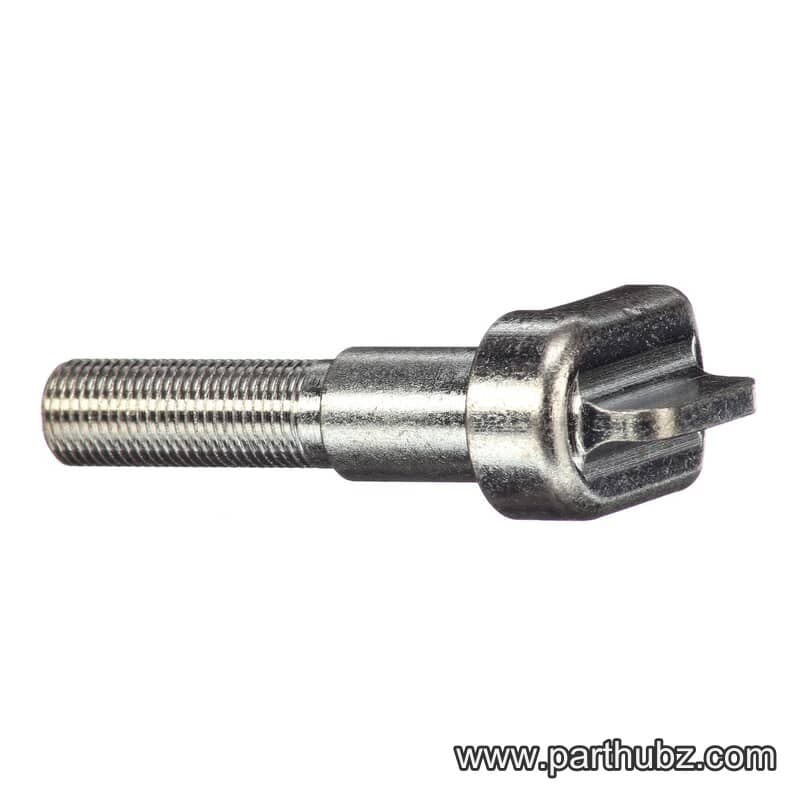
Hobart 00-008100-00001 Stud Clamp
 In Stock 360°
Hobart 00-061498 Shock Absorber
 In Stock 360°
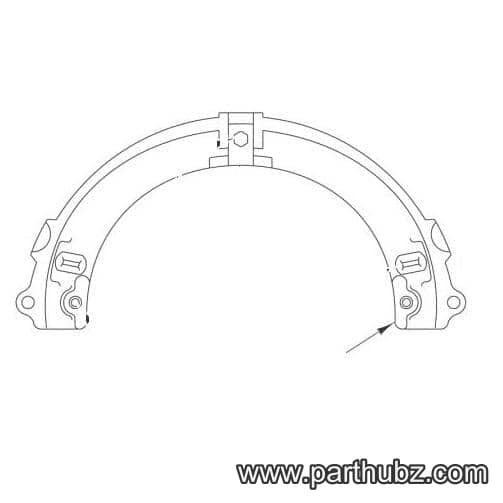
Hobart 00-087711-071-1 Microswitch, Interlock, Shifting Unit
 Available to Order
Hobart 00-111165-00001 ADAPTER - STD
 In Stock 360°
Hobart RP-002-03 Roll Pin, 3/16" x 1 1/4" Long
 In Stock 360°
Hobart SC-018-20 MACHINE SCREW
 Available to Order 360°
Hobart BB-009-37 Ball Bearing, Upper, Shaft-Worm Gear
 In Stock
Hobart RR-005-02 Retaining Ring, Spirolox, Bowl Lift
 In Stock 360°
Hobart BB-013-03 Ball Bearing, #12 Hub
 Available to Order
Hobart 00-060486 Shield, Planetary Oil
 In Stock 360°
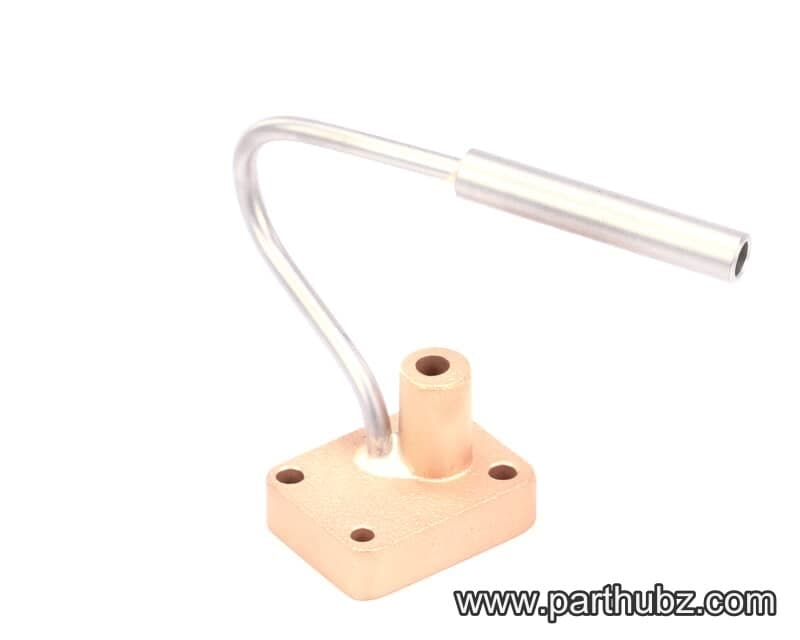
Hobart 00-123679 Housing & Tube Assembly
 In Stock 360°
Hobart PG-007-19 Grooved Pin, 1/4 x 2 3/4"
 In Stock 360°
Hobart 00-087711-183-4 Switch, Pushbutton
 In Stock 360°
Hobart SC-037-85 SCREW
 In Stock 360°
Hobart 00-012430-00195 Key
 In Stock 360°
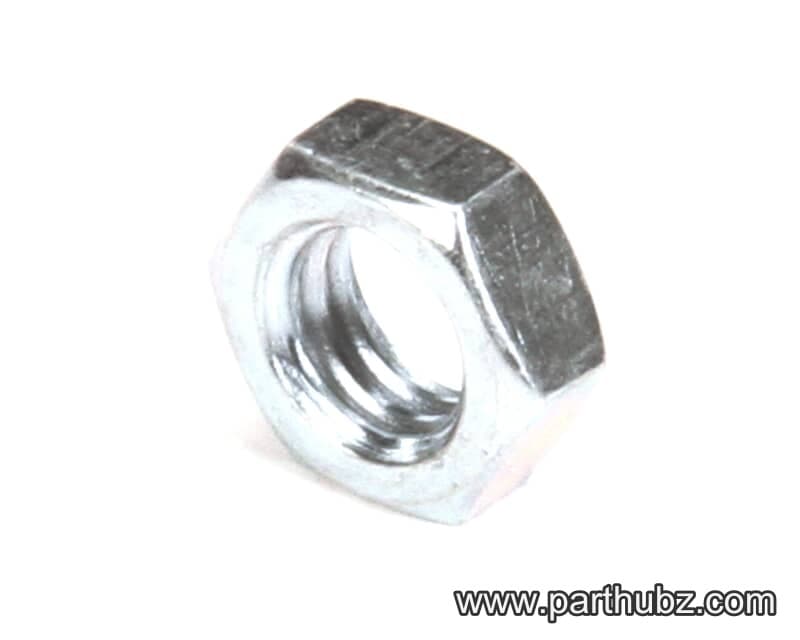
Hobart NS-017-16 Nut, Hex, 3/8-16
 In Stock 360°
Hobart 00-024195-00002 Gear, Bowl Lift Miter, 23 Teeth
 In Stock 360°
Hobart 00-012430-00060 Key
 In Stock 360°
Hobart 00-087713-101-1 Contactor With Auxillary Switch, 30A, 3 Pole
 In Stock 360°
Hobart 00-123109 Screw, Phillips Serrated Head, 6-32 x 3/8"
 In Stock 360°
