

 Hobart
M802
MixerHobart M802 Commercial Mixer
The Hobart M802 is an 80-quart commercial mixer listed with a 2 hp motor and 208 V, three-phase power. Its manual covers bowl and agitator setup, operation, cleaning, lubrication and troubleshooting.
- Voltage
- 200 V., 230 V., 460 V., 575 V.415 V.
- Phase
- 1 Ph.3 Ph.
Hobart M802
546 compatible parts available
Genuine OEM Parts
Sourced from the manufacturer
Canadian Owned
Based in British Columbia
Canada-Wide Shipping
Every province and territory
24hr Quote Response
Answered by a real technician
Manuals & Documents
About the Hobart M802
Overview
The Hobart M802 is an industrial commercial mixer identified in listings as an 80-quart mixer, with one listing also describing it as a 20-gallon mixer. It is intended for batch mixing in commercial food preparation and bakery settings. A listing describes it as suitable for dough mixing; actual batch suitability depends on the recipe, ingredients and the specific machine configuration.
The M802 installation and operation manual covers the mixer’s installation, controls, bowl and agitator handling, cleaning, lubrication, adjustments and troubleshooting. The parts catalog identifies M802 models and several model variants, so check the machine’s data plate and model details when confirming parts or electrical service.
Key Features
- Large-capacity mixer listed with an 80-quart bowl.
- Power bowl lift operated with the mixer’s START control and lift lever.
- Clutch control offers RUN and STOP positions for the planetary and agitator.
- Wire cage assembly can be moved to access the bowl and add ingredients; some ingredients may be added through the cage while mixing.
- The manual describes use with bowls and agitators such as beaters, whips and dough arms. Listings also show M802 configurations with a bowl, whip, hook and beater or paddle attachments; included items depend on the particular machine listing.
Specifications
- Manufacturer: Hobart.
- Model: M802.
- Equipment type: Industrial/commercial mixer; listings identify it as a dough or planetary mixer.
- Capacity: 80 quarts; one listing also states 20 gallons.
- Motor and electrical configuration: One listing specifies 2 hp, 208 V, three phase. Confirm the exact requirements on the individual machine’s data plate.
- Motor configurations in the M802 parts catalog: The catalog lists motor assemblies for 200 V, 60 Hz, three phase; 230 V, 60 Hz, three phase; 460 V, 60 Hz, three phase; 575 V, 60 Hz, three phase; 415 V, 50–60 Hz, three phase; and 200 V or 230 V, 60 Hz, single phase. These are cataloged configurations, not a guarantee of the electrical setup on a particular unit.
- Speed count: A listing describes an M802 as having four speeds. Verify the controls and configuration on the specific machine.
- Dimensions and weight: Not stated in the available sources.
Installation & Requirements
Before installation, inspect the mixer after unpacking. If shipping damage is found, the manual says to retain the packaging and contact the carrier within 15 days of delivery. Before connecting power, test the electrical service against the specifications on the machine data plate. The manual requires electrical and grounding connections to comply with applicable national and local electrical codes. It directs the installer to make connections using the wiring diagram inside the top cover; a threaded opening for 3/4-inch trade-size conduit is at the top of the pedestal.
Position the mixer with enough space for operating the controls and installing or removing bowls. Allow access above the mixer to remove the top cover for routine service. Holes in the base allow permanent floor bolting, though the manual says bolting is not necessary in normal installations; plastic plugs are supplied for unused holes. Level the machine front-to-back and side-to-side by placing a level on the machined transmission-case surface and shimming under the base legs as needed.
Check the transmission and planetary oil levels before starting. For three-phase machines, the manual requires the planetary to rotate in the direction of the arrow on the drip cup. It describes checking rotation with the gear shift lever on Speed 1 and the timer set to HOLD, or with the programmable timer in its operating setting. The manual does not provide a general ventilation requirement or specify a required installation clearance measurement.
Operation
Installing the bowl and agitator
Lower the bowl support fully before installing a bowl. Position the bowl so its rear alignment bracket sits under the bowl-support retainer and the front alignment pins fit into the bowl holes. Rotate the bowl clamps over the bowl ears to lock it in place. If a bowl adapter is required for the bowl being used, install the adapter on the support before fitting the bowl. Install the bowl before the agitator. With the bowl installed and fully lowered, push the agitator up onto its shaft and turn it clockwise until the shaft pin seats in the slot in the agitator shank.
Controls and bowl lift
For power bowl lift operation, the wire cage assembly must be at the front-center position. Press and hold START while moving the power bowl lift lever clockwise to raise the bowl or counterclockwise to lower it. Before lowering the bowl onto a bowl truck, unlock both bowl clamps. The lift’s overload slip clutch ratchets at the upper and lower stops to signal the end of travel and protect the mechanism. The manual notes that on new machines the lift lever may need to be returned manually to its centre neutral position until parts have broken in.
With the clutch lever in RUN, the planetary and agitator mix at the speed selected by the gear shift lever. With the clutch at STOP, they do not mix. Depending on the timer fitted, the mixer can operate with the electro-mechanical timer at HOLD or with a time set, or with the programmable timer at its indicated run setting or with a time set. The wire cage assembly can be rotated out of the way to reach the bowl and agitator. The manual says some ingredients, including liquids or powders, may be added through the cage while the mixer is operating.
Cleaning & Maintenance
Cleaning
Disconnect the electrical supply and place a tag at the disconnect switch before cleaning. The manual calls for thorough daily cleaning and specifically says not to hose the mixer. Wash it with a clean damp cloth. A flat scraper is furnished to help clean bowls and agitators. The apron can be removed by loosening its thumb screws, and the drip cup-splash guard, secured by three screws, should be removed periodically and wiped clean. Follow the manual’s bowl-guard cleaning instructions for the wire cage assembly and splash guard.
Before first use, wash new bowls and agitators—including beaters, whips and dough arms—with hot water and a mild soap solution, rinse with a mild soda or vinegar solution, then rinse thoroughly with clear water. The manual calls for the same cleaning procedure before whipping egg whites or whole eggs.
Lubrication and adjustment
Check planetary oil periodically with power disconnected. Remove the drip cup-splash guard and planetary fill plug; the oil should be level with the bottom of the fill-plug hole. If draining is necessary, the manual specifies adding 6 fluid ounces of the recommended planetary lubricant after the oil has drained and the drain plug has been replaced. Contact Hobart service for the recommended lubricant. A dry planetary seal may squeak; the manual says to work a little lubrication under the seal lip.
With the motor off, transmission oil should reach the line on the oil-level gauge. If it is below the line, disconnect power, remove the top cover and add a small amount of recommended transmission oil through the fill opening. Do not overfill, as the manual warns that leakage may result. For the bowl lift, lubricate the bowl-clamp area, slideways and lift screw two or three times per year depending on use; the manual also describes lubricating the slideways and lift screw approximately twice a year. It specifies a thin coat of Lubriplate 630AA on the bowl-clamp area, each slideway and the lift screw.
Check agitator clearance with each bowl change. The manual gives maximum clearance between the bowl bottom and the B flat beater as 1/8 inch, and between the bowl bottom and the E or ED dough arm as 5/16 inch. To measure, cover the bowl bottom with flour, raise the bowl fully and briefly run Speed 1, then disconnect power and measure the flour depth along the agitator’s path at several points. To adjust, remove the apron, loosen the stop-screw lock nut, turn the stop screw counterclockwise to increase clearance or clockwise to decrease it, then tighten the lock nut while holding the screw. Replace the apron and carefully operate the bowl lift to check the adjustment.
Troubleshooting
- Mixer will not start: Check whether the gear shift lever is between gears rather than fully engaged; whether power is interrupted, the breaker or disconnect is off, or a fuse is blown; whether the mixer or attachment is overloaded; whether the bowl is fully raised; and whether the wire cage assembly is in the front-centre position.
- Agitator touches the bowl: Check that the bowl clamps are closed and properly adjusted, and check agitator clearance using the manual’s adjustment procedure.
- Planetary seal squeaks: The manual says the seal may need occasional lubrication; work a little lubrication under its lip.
The manual advises contacting a local Hobart Service Office if service is needed.
Applications
The listed 80-quart capacity makes the M802 relevant to commercial kitchens and bakeries mixing larger batches. The available sources specifically mention dough mixing, including pizza dough, and describe the mixer as suitable for bakery use. Its manual covers beaters, whips and dough arms, supporting mixing tasks that use those agitators. Confirm the recipe, bowl, agitator and machine configuration before use.
Hobart M802 Specifications
- Voltage
- 200 V., 230 V., 460 V., 575 V.; 415 V.
- Phase
- 1 Ph.; 3 Ph.
- Model
- M802
- Capacity
- 20 gallon
- Manufacturer
- Hobart
- Equipment type
- Mixer
- Motor voltage options
- 200 V, 230 V, 460 V, and 575 V (60 Hz, 3-phase); 200 V and 230 V (60 Hz, 1-phase); 415 V (50–60 Hz, 3-phase)
Frequently Asked Questions
What are the specifications of the Hobart M802?+
How much does a Hobart M802 mixer weigh?+
How much does a Hobart 80-quart mixer weigh?+
What is the best 20-quart commercial mixer?+
How long do Hobart mixers last?+
How can I tell the age of a Hobart M802?+
How much does a Hobart M802 cost?+
How should I clean the Hobart M802?+
What should I check if the M802 will not start?+
Need Parts for This Model?
Get a free quote for parts, service, or maintenance for the Hobart M802. We respond within 24 hours.
 Hobart
View all Hobart equipment →
Parts for the Hobart M802
Browse genuine OEM components, gaskets, heating elements, thermostats, and replacement hardware guaranteed to fit this equipment.
 Available to Order 360°
Hobart 00-103652 Clutch Spring Screw Assembly
 In Stock 360°
Hobart PC-003-34 COTTER PIN
 Available to Order
Hobart 00-291680-00003 HUB,ATTACHMENT
 In Stock 360°
Hobart 00-064483 Shaft, Brake
Available to OrderHobart SC-037-98 SCREW
Available to OrderHobart 00-438499-00002 BUZZER ASSEMBLY
Available to OrderHobart 00-478239 PULLEY,TIMING-20T X 150-60HZ
 Available to Order
Hobart 00-275836 Pastry Knife, 80 Quart, Tinned
 In Stock 360°
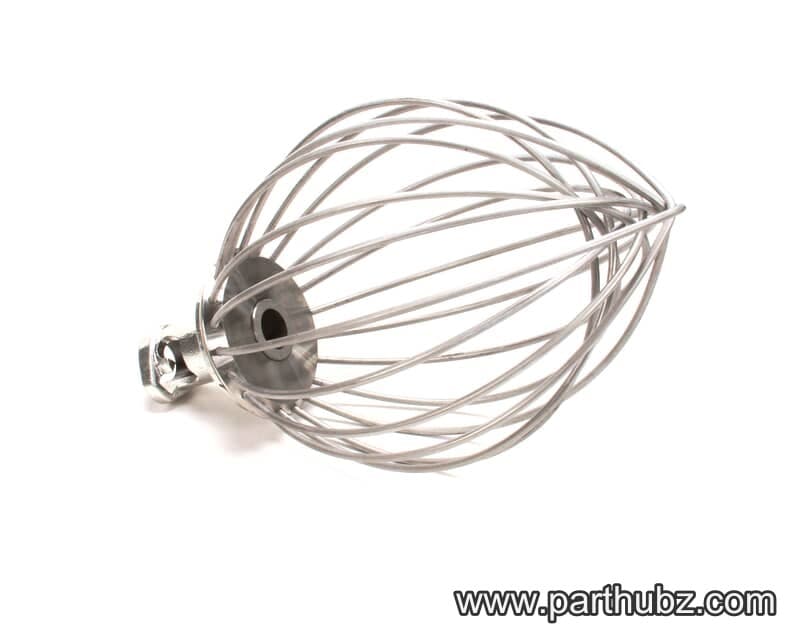
Hobart 00-295155 Wire Whip, I, 60Qt, Stainless Steel
 In Stock 360°
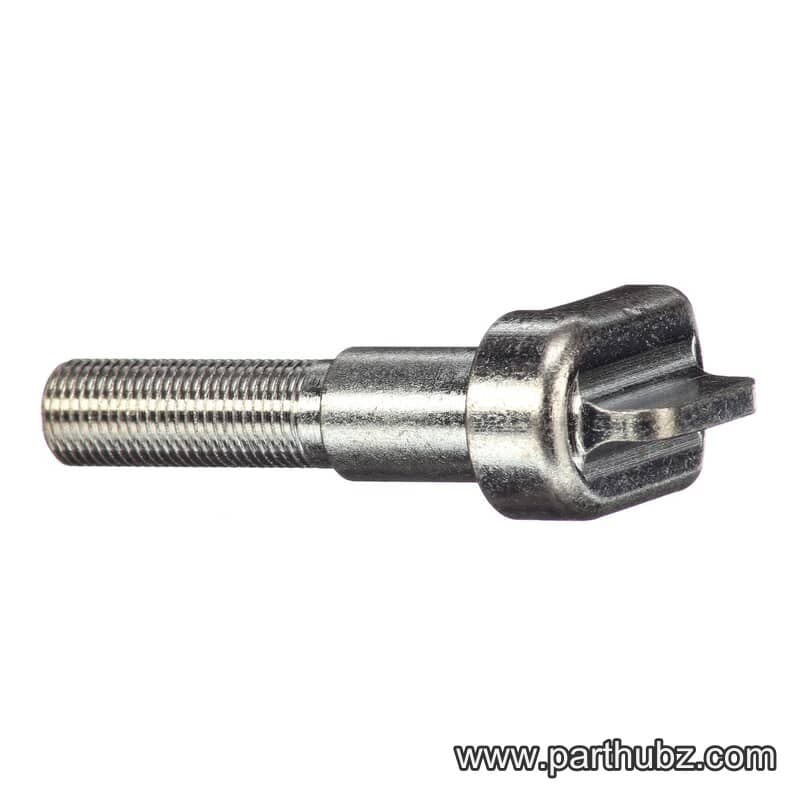
Hobart 00-008100-00001 Stud Clamp
 Available to Order
Hobart 00-064532 YOKE
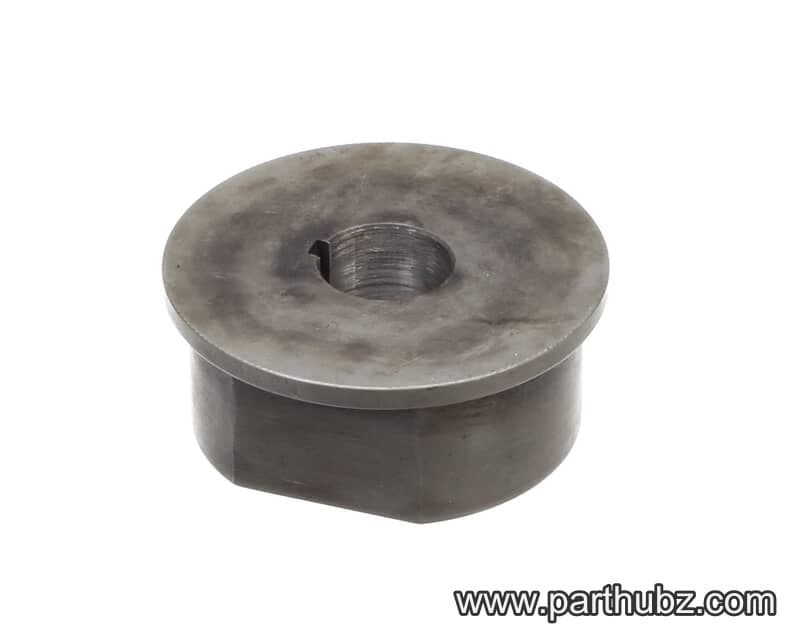 In Stock 360°
Hobart 00-064479 Hub, Brake
Available to OrderHobart SC-110-22 SCREW,MACH 3/8-16
 In Stock 360°
Hobart 00-478567 Clutch Spring Kit
 In Stock
Hobart 00-064554 Drive Gear, 25 Tooth, Oil Pump
 In Stock 360°
Hobart SC-012-47 SCREW
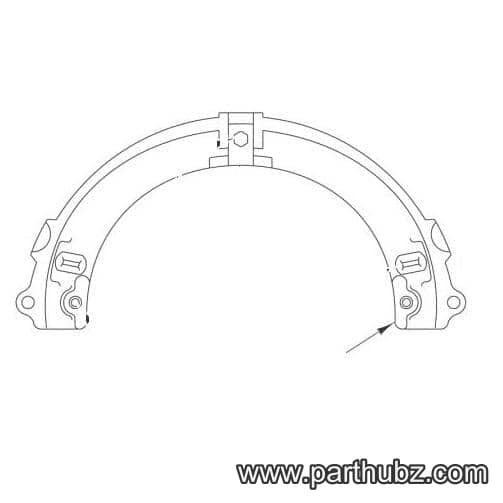
Available to OrderHobart 00-104532-00001 PLANETARY UNIT ASY
 Available to Order
Hobart 00-111165-00001 ADAPTER - STD
Available to OrderHobart 00-315286-00001 BOWL SCRAPER 80 QT
 Available to Order
Hobart 00-067955 Retainer, Nut, Bowl Lift Screw
 In Stock 360°
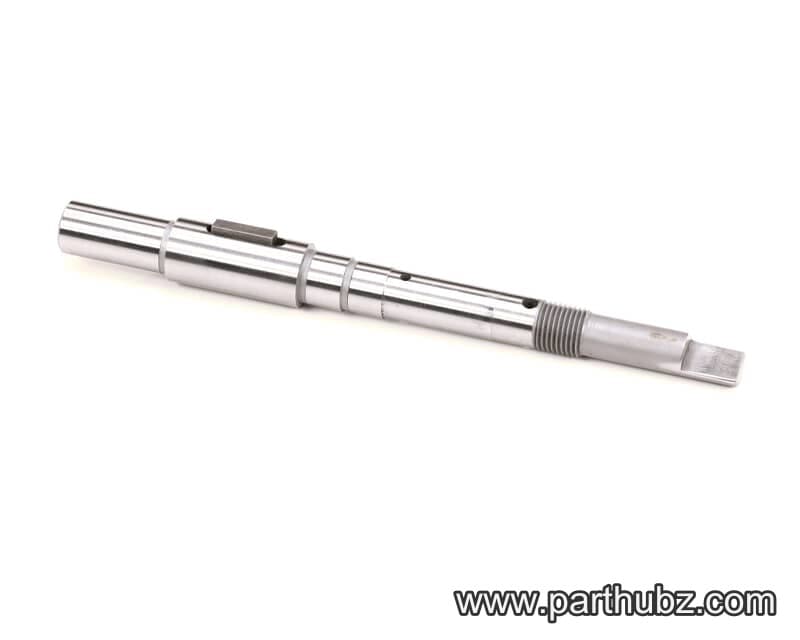
Hobart 00-438001 Shaft and Key Assembly
Available to OrderHobart SC-123-82 SCREW,CAP 3/8-16 X 1-3/4
 In Stock 360°
Hobart 00-913102-00365 Gear Clutch Kit
 In Stock 360°
