

 Pitco
SGM34
Pitco SGM34 Gas Floor Fryer
Pitco SGM34 is a commercial floor-model gas fryer with a 34 x 24 in. fry area and a listed 210 lb capacity. It measures 35.63 x 38.50 x 48.25 in. and weighs 495 lb.
- Voltage
- 120 VAC, 60Hz (North America)220 (or 240) VAC, 50Hz (International)
- Amps
- 0.5 Amps
Pitco SGM34
383 compatible parts available
Genuine OEM Parts
Sourced from the manufacturer
Canadian Owned
Based in British Columbia
Canada-Wide Shipping
Every province and territory
24hr Quote Response
Answered by a real technician
Manuals & Documents
About the Pitco SGM34
Overview
The Pitco SGM34 is a commercial floor-model gas fryer identified as a MegaFry solid-state deep fryer. Its 34 x 24 in. fry area and listed 210 lb capacity make it a large-format fryer for commercial kitchens preparing fried foods during regular service. The SGM-series manual describes installation, safe operation, filtering and cleaning procedures applicable to the fryer family. Follow the data plate on the individual unit for its fuel type and electrical requirements.
Key Features
- Commercial floor-model gas fryer.
- 34 x 24 in. fry area.
- Listed 210 lb capacity.
- Solid-state fryer model.
- An optional I12 Intellifry computer is listed with time compensation and 12 product timer keys; it is available at additional cost.
Specifications
- Brand: Pitco
- Model: SGM34
- Equipment type: Commercial gas floor fryer
- Fryer type: MegaFry solid-state deep fryer
- Fry area: 34 x 24 in.
- Listed capacity: 210 lb
- Dimensions: 35.63 in. W x 38.50 in. D x 48.25 in. H
- Weight: 495 lb
- Power information in the SGM-series manual: North American input voltage 120 VAC, 60 Hz; 0.5 A per fryer. The manual lists 7.0 A for the filter system.
- International electrical information in the SGM-series manual: 220 or 240 VAC, 50 Hz; 0.5 A per fryer. The manual lists 4.0 A for the filter system.
- Optional control: I12 Intellifry time-compensating computer with 12 product timer keys; additional cost.
Installation & Requirements
The manual strongly recommends installation by qualified professionals familiar with local building codes. The fryer must be installed with adequate access for servicing and proper burner operation, and combustion and ventilation openings must remain unobstructed. The manual's clearance table for combustible construction specifies 6 in. at the back and sides, and 9 in. from a combustible floor. For non-combustible construction, it specifies 0 in. at the back and sides and 9 in. from the floor. It also calls for at least 21 in. in front of the fryer for servicing. Confirm the requirements for the specific unit and site before installation.
Use only the fuel type shown on the data plate inside the fryer door. The manual warns against adapting an undersized gas supply line to fit the fryer connection, since insufficient gas flow can affect burner operation. Size and install the gas supply in accordance with applicable local codes; the manual cites CAN/CGA-B149.1 or .2 and local codes for Canada. Test gas connections for leaks with soap and water when the line is pressurized. Never use an open flame to check for leaks. If a gas line is tested above 1/2 PSIG (3.45 kPa), disconnect the fryer from the line; at or below that pressure, the manual says the fryer may remain connected with its gas valve shut.
Electrical service must comply with local codes. The manual directs Canadian installations to CSA Standard C22.1 and local requirements. Ground the fryer as required by the applicable code. Wiring diagrams are located inside the fryer control box. The manual advises connecting the electrical supply to a receptacle controlled by the ventilation system so the fryer cannot be operated without ventilation.
Provide proper ventilation and a fire safety system. The manual states that exhaust gas temperatures can reach 1000°F and calls for at least 18 in. of open space between the flue opening and the exhaust-hood intake. Avoid drafts and down drafts at the flue, which can interfere with exhaust and cause overheating. Do not place objects on the flue or obstruct its exhaust flow.
Operation
This appliance is for indoor, professional use by fully trained and qualified personnel. Keep the oil or shortening at or above the minimum level marked in the fry tank. Never add water to hot oil, and do not add oil while the fryer is at operating temperature. Hot oil can cause severe injury. Keep the fryer restrained as required by its installation to prevent tipping. If the fryer has casters and a flexible gas line, the manual requires a compliant gas connector, quick-disconnect device and a means of limiting movement.
Before lighting, fill the kettle. The manual's lighting instructions begin by directing the operator to turn the combination gas valve to ON; the available excerpt does not include the full lighting sequence, so use the instructions supplied with the unit for the remaining steps. If gas flow is interrupted or the pilot goes out, wait 5 minutes before attempting to relight so residual gas can dissipate. Shut down for a brief pause by turning the thermostat or controller OFF; the manual calls this standby and says not to leave the fryer in standby overnight. For complete shutdown, turn the gas valve to OFF. Shut the fryer down before draining oil.
Cleaning & Maintenance
Disconnect the power supply before servicing, maintaining or cleaning. The fryer is not jet-stream approved; do not clean it with a water jet. The manual recommends a yearly inspection by a qualified service technician. Keep combustible materials away from the appliance, which contains an open flame and can become hot enough to ignite nearby materials.
The manual recommends thorough cleaning once a week, including draining the fryer and performing a boil-out. Shut the fryer down before replacing oil with water and again when the heating portion of cleaning is complete. Drain the oil using the fryer drain procedure, remove the filter pan if equipped, take out the tube rack or mesh tube screens and clear large debris from the tank. Close the drain valve, fill the tank with water and noncaustic detergent, and place a suitably sized container under the drain to catch the cleaning water. The manual names Pitco Fryer Cleaner P6071397 as a cleaning option. When the water reaches 212°F, the computer automatically enters boil mode; turn fryer power off to exit that mode. After the water reaches a slow boil, turn the fryer off and allow it to soak as directed in the complete manual.
For a fryer equipped with the filter system described in the manual, wear oil-proof, insulated gloves when handling hot oil. Never operate the filter system without filter bag or paper, never drain oil before turning off the fryer burners, and store the filter unit in the fryer filter cavity. Before filtering, inspect the filter media for clogged or torn areas and replace it if damaged. Turn off the tank being filtered, remove baskets and tube screens, then slowly open the tank drain valve. Brush crumbs from the drain and clean the tank sides as oil drains. When the tank is empty, close the drain valve and open the return valve to pump oil back into the tank. When bubbles emerge from the return spout, close the return valve to stop the pump; restore the oil level to the fill mark if needed. The filter pan is sized to hold the contents of one tank at a time.
To drain a tank, use a container capable of holding oil at 400°F and protective gloves. Extend the drain spout into the container, open the drain valve, and close it when the container is full or the tank is empty. Repeat as needed until the tank is drained. The manual warns not to use the filter pan to drain cleaning water and not to pump water through the filter pump, because water left in filter lines can mix with hot oil. Empty the crumb catch and filter pan into a fireproof container at the end of each day's frying; food particles left soaking in oil or shortening can ignite.
Troubleshooting
If burner performance is poor, confirm that the fryer is supplied with the fuel type listed on its data plate and that the gas supply line can provide adequate flow. The manual cautions that an undersized line or an incorrect fuel type can cause improper operation. A qualified professional should check gas-line connections for leaks and verify that supply pressure meets the requirements for the installation.
If the pilot goes out or gas flow is interrupted, wait 5 minutes before relighting. If the flame appears starved for air, ensure that air openings are clear and that ventilation does not create a down draft at the flue; the manual warns that inadequate air can produce dangerous carbon monoxide. If the fryer overheats or does not exhaust properly, check for obstructed flue flow or a down draft and have the installation assessed. For a filter that does not return oil as expected, confirm that filter media is installed and not clogged or torn, the drain valve is closed after filtering, and the return valve is opened to start the pump. Stop the pump when bubbles appear at the return spout. Gas pressure checks, adjustments and service work should be performed by qualified personnel using the applicable service instructions.
Applications
The SGM34 is suited to commercial kitchens that need a floor-model gas fryer with a 34 x 24 in. fry area. It can support menu preparation such as fries, breaded items and other fried foods in restaurant and foodservice operations. Match the fryer’s listed capacity, available fuel and site electrical service to the kitchen’s operating requirements before purchase.
Pitco SGM34 Specifications
- Voltage
- 120 VAC, 60Hz (North America); 220 (or 240) VAC, 50Hz (International)
- Amps
- 0.5 Amps
- Model
- SGM-34-SSTC
- Fry area
- 34 x 24
- Product type
- Mega high-efficiency gas fryer
- Current per fryer
- 0.5 Amps
- Filter system current
- 7.0 Amps (North America); 4.0 Amps (International)
- Electrical input voltage
- 120 VAC, 60Hz (North America); 220 (or 240) VAC, 50Hz (International)
Frequently Asked Questions
How much does the Pitco SGM34 cost?+
What is the price of a commercial gas fryer?+
Is Pitco a good fryer brand?+
What are common problems with Pitco fryers?+
What are the Pitco SGM34's dimensions and weight?+
What is the SGM34 fry area and capacity?+
What electrical service does the SGM34 require?+
What optional control is available?+
How should the fryer be cleaned?+
Need Parts for This Model?
Get a free quote for parts, service, or maintenance for the Pitco SGM34. We respond within 24 hours.
 Pitco
View all Pitco equipment →
Parts for the Pitco SGM34
Browse genuine OEM components, gaskets, heating elements, thermostats, and replacement hardware guaranteed to fit this equipment.
 In Stock 360°
Pitco 60148401 Connector, Power In and Our, IEC-320
 In Stock 360°
Pitco P7036603 Coupling, 3/4" NPT Female, CRS
 In Stock 360°
Pitco A7016401 Insulator, Flush Hose Coupling Body
 In Stock 360°
Pitco 60148701 Gas Valve, Combi, 24V, 50/60HZ, Natural Gas
 Discontinued 360°
Pitco B6675003-C Filter Pump Control Box Assembly, 220/240V
 In Stock 360°
Pitco B6661002 Filter Return Nozzle Weldment, 1"
 In Stock
Pitco A1907902-C Channel/Connecting Strip, 24 1/4", CAB JNG SG to SG,
 In Stock 360°
Pitco 60133501 Heater Tape, 120V, 25W, 1/2" x 33"
 In Stock 360°
Pitco P6071343 Orifice Tip, #43, Natural
 In Stock 360°
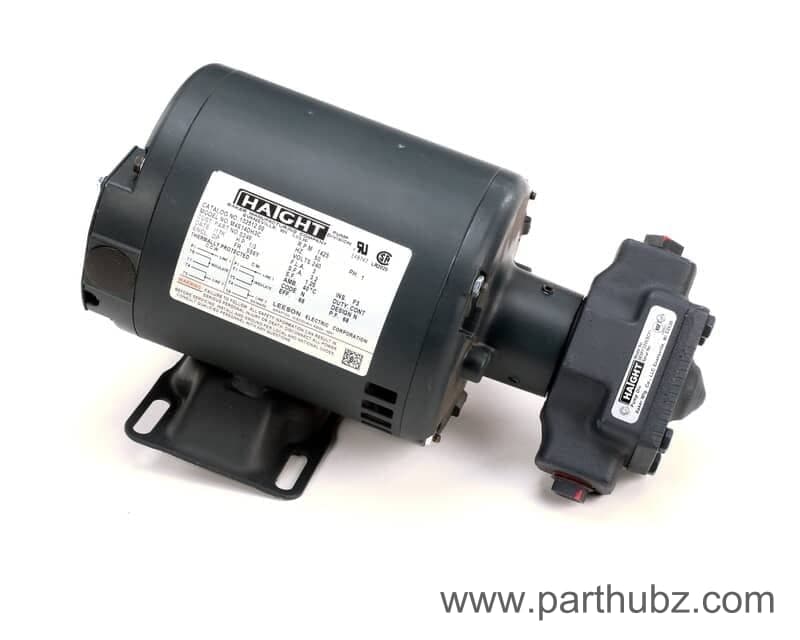
Pitco 60130807 Pump/Motor Assembly, 240V, 5Gpm, 1/3Hp
 In Stock 360°
Pitco P7037355 Nipple, 3/4" x 2", Black Iron
 In Stock
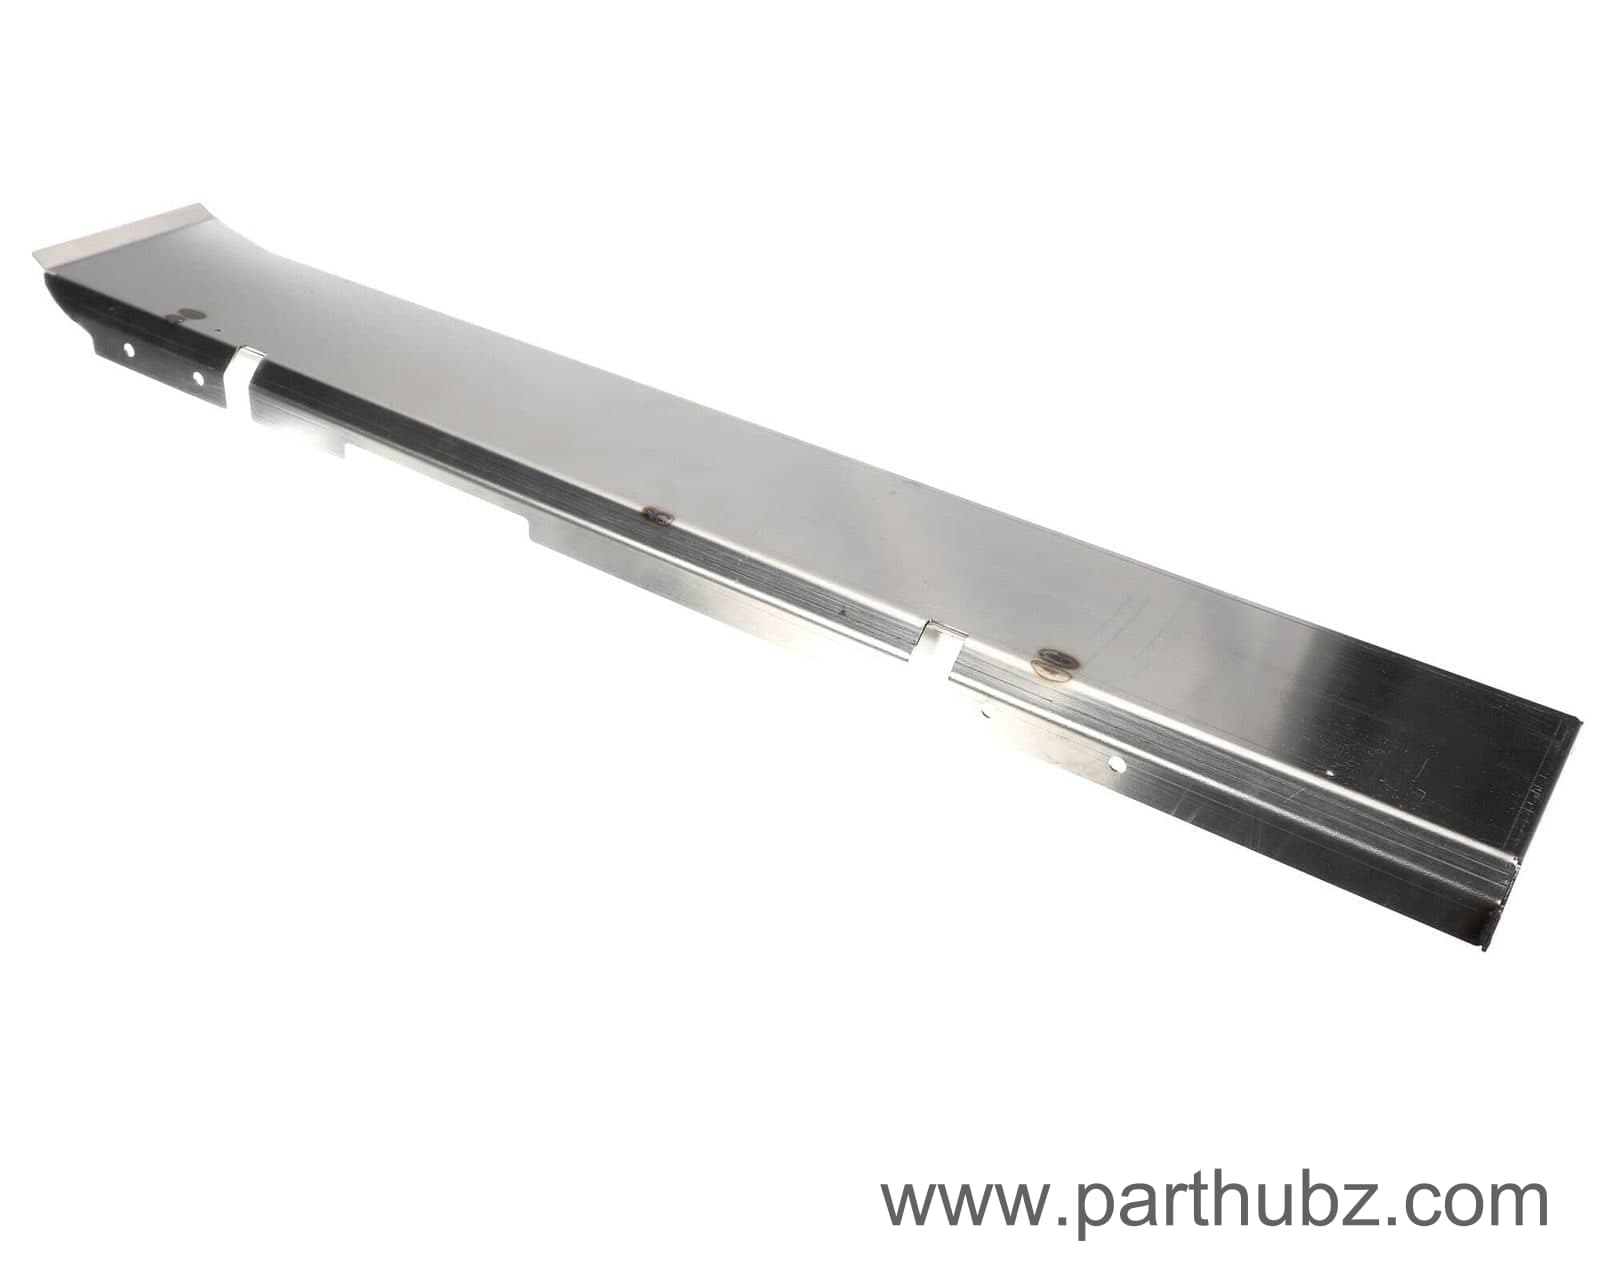
Pitco B6682601 Filter Pan Guide, Left Hand, SGM24, SGM34
 In Stock 360°
Pitco PP10962 Ball Valve with Handle, 1-1/4"
 In Stock 360°
Pitco A4021001-C Mounting Plate, Drain Valve, Interlock, Magnet, Divider, SG, PL, HDL
 In Stock 360°
Pitco 60128016 Flex Tubing with Fittings, Gas, 28", Yellow
 In Stock 360°
Pitco P0093300 Nut, Hex, KEP, 1/4-20, Zinc
 In Stock 360°
Pitco P6071355 Orifice Tip, #55, Propane Gas
 In Stock 360°
Pitco 60131007 Ball Valve, 1 1/4", FP NLKG RH SSH
 In Stock 360°
Pitco 60129403 Knob, Collet With Cap And Pointer
 In Stock 360°
Pitco B4005201 Handle Weldment, Waste Oil, SG/FBG24
 Discontinued
Pitco B6678505-C FLTR,PMP VKG 115V HT SG/LJ-FBG
 In Stock 360°
Pitco A1844001-C Cable Retainer, Cabinet
 Discontinued 360°
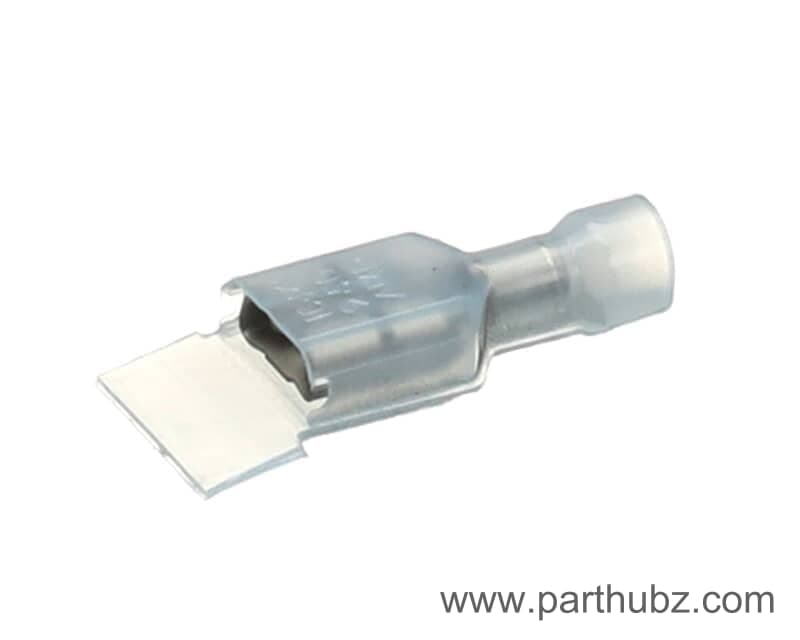
Pitco P5045508 Quick Disconnect, Pump Assembly, Insulated, Blue, .25
 In Stock


