

 Hobart
2712
2000 CE Series SlicerHobart 2712 Automatic Slicer
The Hobart 2712 is an automatic slicer in the 2000 Series, with manual operation and two adjustable automatic speeds. It has a 1/2 HP motor, a front-mounted meat grip and a Stay-Sharp contoured cast solid stainless steel knife.
- Phase
- Single-phase
- Plug Type
- Three-prong grounding plug
Hobart 2712
223 compatible parts available
Genuine OEM Parts
Sourced from the manufacturer
Canadian Owned
Based in British Columbia
Canada-Wide Shipping
Every province and territory
24hr Quote Response
Answered by a real technician
Manuals & Documents
About the Hobart 2712
Overview
The Hobart 2712 is an automatic slicer from Hobart’s 2000 Series. It can be operated manually by moving the carriage tray back and forth, or in automatic mode using its carriage drive. The automatic drive has two adjustable speed selections. For foodservice preparation, the slicer’s carriage tray, gauge plate and meat grip support slicing product such as meat or cheese; the manual specifically refers to both meat and cheese when describing cleaning and sharpening.
The manual identifies model 2712 as ML-134235 and also covers the 2712PHS, ML-134238. It lists previous 2712 models ML-104718 and ML-104822. The parts manual identifies the 2712 as part of the Model 2000 Series Slicer range.
Key Features
- Manual and automatic operation: The carriage can be moved by hand, or its drive can be engaged for automatic slicing.
- Two adjustable automatic speeds: The speed selector provides two selections and can be adjusted while the slicer is in automatic mode.
- Stay-Sharp knife: The manual describes an exclusive Hobart Stay-Sharp contoured cast solid stainless steel knife.
- Front-mounted meat grip: The standard meat grip holds product on the carriage tray. A heavy front-mounted meat grip is available as an accessory.
- Fence: The low carriage fence is standard on the 2712. A fence can be adjusted close to the product without pressing against it.
- Cleaning access: The top knife cover, deflector, sharpener and carriage tray/support arm can be removed for cleaning according to the manual’s instructions. The 2712 also has a lift lever for access underneath the slicer during cleaning.
Specifications
- Manufacturer: Hobart.
- Series: Model 2000 Series Slicer.
- Model: 2712.
- Model number in manual: ML-134235.
- Other model covered by the manual: 2712PHS, ML-134238.
- Previous 2712 models listed in the manual: ML-104718 and ML-104822.
- Motor: 1/2 HP.
- Electrical service: Single-phase service. The slicer is furnished with a cord and plug as standard equipment; check the machine data plate for the unit’s electrical specifications.
- Automatic slicing: Two adjustable speeds.
- Knife: Hobart Stay-Sharp contoured cast solid stainless steel.
- Meat grip: Front-mounted, standard equipment.
- Fence: Low carriage fence, standard on model 2712.
- Accessories identified in the manual: Tubular food chute, 4-inch leg set, slaw tray, heavy front-mounted meat grip, and high fence.
Installation & Requirements
After unpacking the slicer, inspect it for possible shipping damage. The manual says to retain the packaging material and contact the carrier within 15 days of delivery if damage is found. Before installation, test the electrical service to confirm that it agrees with the specifications on the machine data plate, located on the right side of the slicer base.
The 2712 is supplied with a cord and plug. The manual identifies the plug as a three-prong grounding plug and requires the outlet to be properly grounded. If the receptacle is not the proper grounding type, the manual directs the user to contact an electrician. The manual does not specify a clearance, gas connection or ventilation requirement.
Before use after installation, clean and sanitize the slicer thoroughly. Confirm that the carriage tray is secured by turning its support-arm knob clockwise until snug. The sharpener should be mounted on its bracket and locked in place, the top knife cover should be secured with its latch knob, and the deflector should be mounted below the knife.
Operation
Manual slicing
Close the gauge plate fully and pull the carriage all the way toward the operator until it reaches its stop. Move the meat grip out of the way, place the product on the carriage tray, and set the meat grip against it. On the 2712, make sure the operating lever is in the Manual position, down, before starting. Pull the switch knob forward until the slicer starts, then release it.
Turn the index knob to adjust the gauge plate to the desired slice thickness. The numbers on the index knob are not actual measurements; they can be used as a reference for repeating a setting. Use the carriage tray handle to push the carriage back and forth. If the meat grip is not needed, the manual describes moving it to the top of its travel, rotating it under the carriage tray and resting it in the retaining clip. When equipped with a fence, loosen its thumb screw, position the fence close to the product without pressing against it, then tighten the screw.
Automatic slicing
To use the automatic carriage drive, select the desired speed with the speed selector knob. The carriage must be in the HOME position, all the way forward, and the lever must initially be in the Manual position. Turn on the slicer, then move the lever up and to the right to select Automatic. Either of the two speed selections can be used to begin automatic operation, and the speed can be changed while the drive is running. To stop the carriage drive, move the lever down and to the left to return it to Manual.
For the optional food chute, place the meat grip on the retaining clip, fit the chute hangers around the meat-grip slide rod at the front, and lower the chute onto the carriage tray. Safety devices must be in their correct operating positions whenever the slicer is in use. The top knife cover must be installed and secured. Use the meat grip when slicing short ends to keep hands away from the knife. When the slicer is not running, turn the index knob fully clockwise, below zero, so the gauge plate covers the knife edge.
Cleaning & Maintenance
Daily cleaning and sanitizing
Clean and sanitize the slicer after each day’s operation or after it has been idle for an extended period. The knife is very sharp, so use extreme caution near it. Before cleaning, unplug the power cord and turn the index knob fully clockwise to close the gauge plate. Always unplug the slicer before cleaning or moving it. Use a clean cloth with mild detergent and warm water on machine surfaces, then rinse with a fresh cloth and clean water. Use only products formulated for stainless steel or aluminum.
To clean the carriage tray and support arm, close the gauge plate and pull the carriage all the way forward. Unscrew the knob on the carriage tray/support arm and tilt the assembly to the right until it is almost horizontal. It can be cleaned in that position or removed by lifting it straight up with both hands and washed in a sink. The manual notes that the last three digits of the slicer serial number are etched on the key, so the carriage tray can be matched to its slicer.
Remove the top knife cover by turning its latch knob counterclockwise and lifting the cover off its guide pins. Remove the deflector below the knife by rotating it downward. Wash the cover and deflector in a sink with warm soapy water and rinse with clean water. To remove the sharpener, push its lock lever to the left, raise its right side clear of the guide pin, then lift it off the left guide pin. Wipe residue from inside the sharpener housing, wash it in a sink and rinse it.
Clean around the ring guard by working a moistened, folded paper towel between the guard and knife, inserting it at the base of the ring guard. Manually rotate the knife so the towel wipes the ring guard and the edge of the gauge plate. Wash and rinse both sides of the knife by wiping outward from the centre. Use mild detergent or sanitizer only. Do not use steel pads. Follow the chemical manufacturer’s concentration instructions and do not exceed 200 parts per million of available chlorine. The manual gives an example: 1 tablespoon of 5.25% sodium hypochlorite bleach mixed with 1 gallon of water yields 200 ppm available chlorine. Stronger solutions can accelerate metal corrosion. Rinse with clean water.
Reinstall the sharpener by sliding its left slot over the left guide pin while tilting it slightly, then press down on the right side so the locking hole fits over the right guide pin. Slide the lock lever to the right and confirm the sharpener is securely engaged. Reinstall the top knife cover on its three guide pins, lock it by turning the latch knob to the left while lowering the cover, then release the knob and turn it to the right until snug. Replace the deflector by guiding the bottom of its socket onto the mount and rotating it upward. Match the digits on the carriage key to the last three digits of the slicer serial number. Lower the carriage tray/support arm so its key fits into the slot of the carriage pivot, tilt the tray back toward the gauge plate and turn its knob clockwise until snug.
To clean underneath the 2712, raise the lift lever past centre to its stop. After cleaning, slowly retract the lever to return the slicer to its normal position. Do not wash slicer components in a dishwasher, immerse the slicer base or motor in water, hose down the slicer or splash it excessively with water.
Knife sharpening
Before sharpening, unplug the slicer, close the gauge plate by turning the index knob fully clockwise, and remove the top knife cover. Thoroughly wash around the knife, its exposed surfaces and its edge so fat from meat or cheese does not transfer from the knife to the sharpener. Plug in the slicer and start it. If the sharpener handle does not hang downward, pull it fully forward for 5 seconds. If the handle hangs downward, lift it with the left hand until horizontal and pull it forward for 5 seconds. Release the handle slowly; repeat for another 5 seconds if necessary. Turn off and unplug the slicer, wipe away grinding particles with a clean damp cloth, and replace the top knife cover.
Carriage slide rod lubrication
Lubricate the carriage slide rod with the Lubriplate FMO-200-AW oil supplied with the slicer. The manual gives two methods: apply 8–10 drops in the wick hole on the carriage transport every 2–3 months, depending on usage; or apply 4–5 drops directly to the carriage slide rod on each side of the carriage transport once monthly. After applying oil, move the carriage tray back and forth a few times to spread it along the slide rod.
Applications
The 2712 is intended for commercial foodservice slicing tasks where an operator may choose manual carriage movement or the automatic drive. The manual’s instructions cover product held by the meat grip and specifically mention meat and cheese in its cleaning and sharpening guidance. The adjustable gauge plate supports setting and repeating a preferred slice thickness, while the two automatic speed selections provide a choice of carriage speed during automatic operation.
Hobart 2712 Specifications
- Phase
- Single-phase
- Plug Type
- Three-prong grounding plug
- Knife
- Stay-Sharp contoured cast solid stainless steel
- Model
- 2712
- Meat grip
- Front-mounted standard
- Manufacturer
- Hobart
- Motor horsepower
- 1/2 HP
- Electrical service
- Single-phase
- Low carriage fence
- Standard
- Standard equipment
- Cord and plug
- Available accessories
- Tubular food chute, 4-inch leg set, slaw tray, heavy front-mounted meat grip
- Automatic slicing speeds
- 2 adjustable speeds
- Compatible model numbers
- 2712 ML-134235; 2712PHS ML-134238
- Previous model numbers covered by manual
- 2712 ML-104718; 2712 ML-104822
Frequently Asked Questions
Is the Hobart 2712 a manual or automatic slicer?+
How do I start automatic slicing on the 2712?+
How do I change the slice thickness?+
What motor and electrical service does the 2712 use?+
How often should I clean the Hobart 2712?+
Can I put the 2712’s removable components in a dishwasher?+
How do I sharpen the 2712 knife?+
How often should I lubricate the carriage slide rod?+
Which accessories does the manual list for the Hobart 2712?+
Need Parts for This Model?
Get a free quote for parts, service, or maintenance for the Hobart 2712. We respond within 24 hours.
 Hobart
View all Hobart equipment →
Parts for the Hobart 2712
Browse genuine OEM components, gaskets, heating elements, thermostats, and replacement hardware guaranteed to fit this equipment.
 In Stock 360°
Hobart SD-024-29 Screw, Phillips Flat Head, 10-32 x 3/4", Self-Tapping Type TT
 In Stock 360°
Hobart 00-875320 Handle, Feed Grip
 In Stock 360°
Hobart SC-088-71 Set Screw, Flat Point, 8-32 x 3/8"
 In Stock 360°
Hobart 00-439045 Stud, Drive
 Available to Order 360°
Hobart 00-439691 Stone Service Kit for Knife Sharpener
 In Stock 360°
Hobart 00-478027 Bearing, Main Link, 2000 Series Slicer
 In Stock 360°
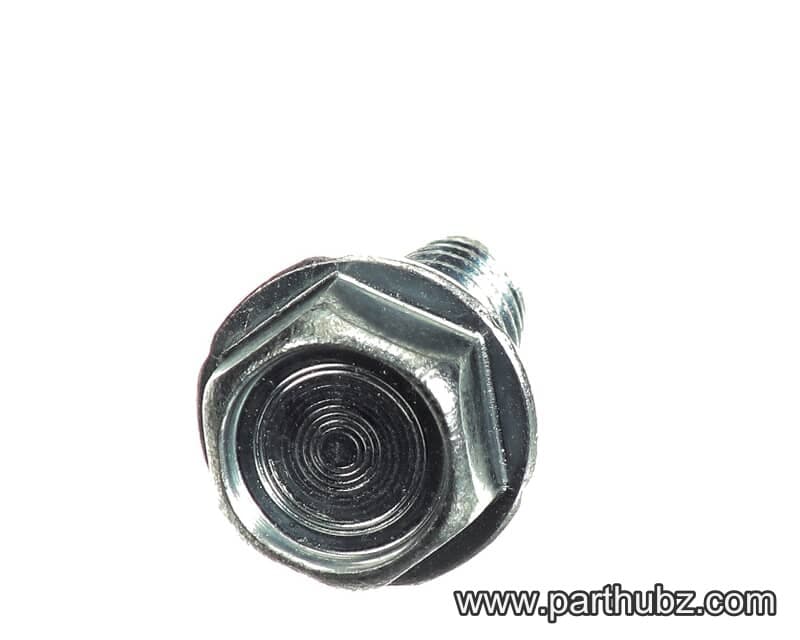
Hobart SD-038-18 Screw, Hex Washer Head, 5/16-18 x 3/4"
 In Stock 360°
Hobart 00-087714-042-3 Relay, 240V Coil, DPST, 20A
 In Stock 360°
Hobart 00-478040 Washer, Main Link
 In Stock 360°
Hobart 00-478409 Pin, 1/4" x 1", Auto/Manual Stop, 2000 Series
 In Stock 360°
Hobart WL-007-20 Lock Washer, External Tooth, 5/16"
 In Stock 360°
Hobart WL-013-08 Lock Washer, External Teeth, #8
 In Stock 360°
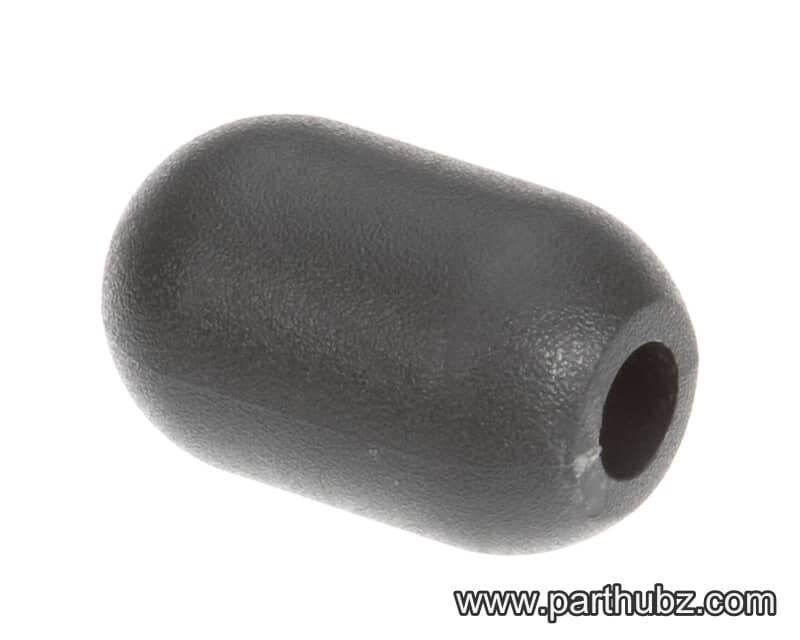
Hobart 00-875356 Handle, Lift Lever, Microban
 In Stock 360°
Hobart NS-018-01 Nut, Hex, 1/4-20, Stainless Steel
 In Stock 360°
Hobart SC-112-90 Screw, Phillips Pan Head, 4-40 x 1"
 In Stock 360°
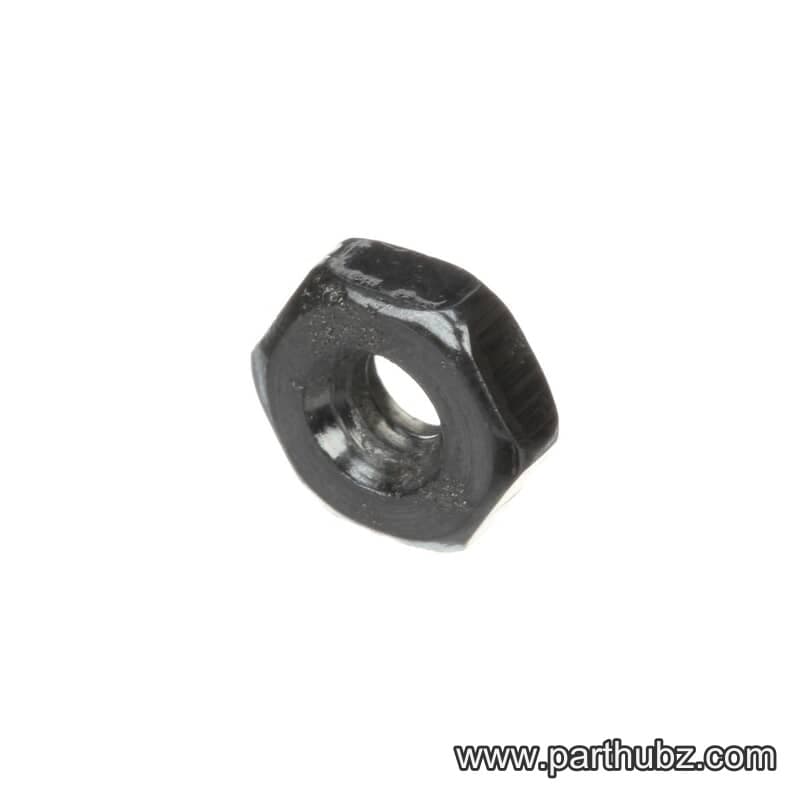
Hobart NS-009-02 Hex Nut, 4-40
 In Stock 360°
Hobart SC-129-13 Machine Screw, 6-32 x 1/4", Flat Phillips Head
 In Stock 360°
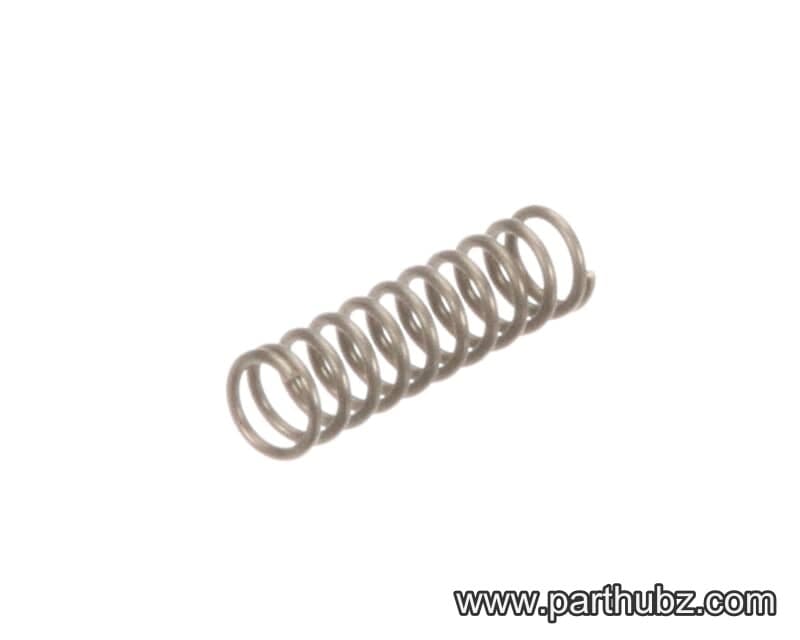
Hobart 00-478429 Spring, Pawl, Auto Engage, 2000 Series
 In Stock 360°
Hobart RR-009-07 Ring, Retaining 5160
 In Stock 360°
Hobart 00-087714-042-1 Relay, 115V, 20A, 2 Pole
 In Stock 360°
Hobart 00-915010 Cover with Decal, Knife Sharpener, 2000 Series Slicer
 In Stock 360°
Hobart 00-875345 Carriage Handle, Microban
 In Stock 360°
Hobart 00-873803 Cover, Switch, Mylar, 2000 Series
 In Stock 360°

