

 Hobart
6614
Meat SawHobart 6614 Commercial Meat Saw
The Hobart 6614 is a commercial meat saw with a water-resistant 3 HP motor and direct gear drive. Its removable components support cleaning, while the pusher plate helps keep hands away from the blade.
- Voltage
- 200-240 V
- Phase
- 1 phase
- Amps
- 16.5 A
Hobart 6614
278 compatible parts available
Genuine OEM Parts
Sourced from the manufacturer
Canadian Owned
Based in British Columbia
Canada-Wide Shipping
Every province and territory
24hr Quote Response
Answered by a real technician
Manuals & Documents
About the Hobart 6614
Overview
The Hobart 6614 is a commercial meat saw equipped with a water-resistant 3 HP electric motor and direct gear drive transmission. Its carriage uses stainless steel ball bearings for smooth travel. The design includes guards above and below the blade’s cutting zone, a carriage lock, and a pusher plate to help keep the operator’s hands away from the blade.
Hobart’s operator resources for the 6614 include an instructions manual and parts catalog. The manual covers installation, operation, cleaning, and care. Read the manual before operating the saw and keep it available for reference.
Key Features
- Water-resistant motor: The manual identifies a water-resistant 3 HP electric motor.
- Direct gear drive: The transmission uses a direct gear drive.
- Carriage movement: Stainless steel ball bearings support carriage travel.
- Blade guarding: The blade is guarded above and below the cutting zone. The upper guide and guard assembly can be adjusted to keep the exposed cutting zone only as high as required for the product.
- Pusher plate: The pusher plate holds meat against the gauge plate when cutting small products or making the last cuts. On a standard carriage, it fits at the right flanged end. An optional integrated pusher carriage has a built-in pusher that slides along a rod.
- Carriage lock: A carriage lock is standard.
- Removable components: The table, carriage, pulleys, guides, and wiper assemblies can be removed without tools for cleaning.
- Cleaning access: Moving parts are enclosed but accessible. Hobart describes its meat saw series as having an open design that can be hosed down.
- Blade supplied: The manual states that one long-life blade is furnished as standard equipment. It cannot be resharpened; replacement blades are available through a local Hobart Service Office.
Specifications
- Equipment type: Commercial meat saw
- Model: Hobart 6614
- Motor: Water-resistant electric motor
- Motor power: 3 HP
- Transmission: Direct gear drive
- Carriage bearings: Stainless steel ball bearings
- Carriage lock: Standard
- Pusher: Pusher plate supplied with a standard carriage; optional integrated pusher carriage
- Blade: One long-life blade furnished as standard equipment; not resharpenable
- Blade guards: Guarded above and below the cutting zone
- Cleaning: Tables, carriage, pulleys, guides, and wiper assemblies are removable without tools
- Electrical control box: Includes a heater to keep controls dry; the heater is automatically on when the saw is electrically connected
- For electrical specifications above 250 volts: A transformer provides a 115-volt control circuit voltage
- Thermal overload protection: Optional
The electrical service requirements for an individual saw must be checked against its machine data plate. The available source material does not state one universal voltage, phase, overall dimension, or blade length for every Hobart 6614.
Installation & Requirements
Unpacking and assembly
Inspect the saw for shipping damage immediately after receipt. If damage is found, the manual instructs the recipient to notify the carrier within five business days and the carrier’s local terminal immediately upon discovery, keeping a record of the time, date, and contact. Keep all original packing materials for inspection. The manual also says not to move, install, or modify a damaged saw before reporting it, and provides Hobart customer care at (800) 333-7447.
Before installation, test the electrical service against the specifications on the machine data plate, located on the column. With a standard carriage, the pusher plate and gauge plate handle are packed separately. Place the pusher plate in its storage location under the carriage support, then attach the gauge plate handle by screwing its stud into the threaded hole in the gauge plate support.
Levelling and electrical connection
Position the saw in its operating location and use a spirit level to level it front-to-back and side-to-side by turning the threaded feet in or out. The manual identifies a 7/8-inch-diameter hole at the upper rear of the column for 1/2-inch trade-size conduit. Use watertight connections. Refer to the machine data plate and the wiring diagram on the machine when making the electrical connection. The manual specifies copper wire rated at least 60°C for connecting the electrical supply leads to the pigtail leads.
For three-phase machines, check that the blade teeth at the cutting edge travel downward when viewed at the cutting zone. If they do not, disconnect power and follow lockout/tagout procedures before interchanging any two incoming supply leads. Reconnect power and briefly switch the saw on and off to verify the direction. The manual says the control-box heater turns on automatically when the machine is electrically connected. Keep the saw connected to power except during assembly, disassembly, cleaning, or maintenance.
Operation
Do not operate the saw without its covers and guards in place. Keep all doors, covers, and column guards closed while the machine is running. Before switching on, grasp the hand knob and slide the upper guide and guard assembly up or down so the cutting zone is no higher than needed for the piece being cut. Lower the upper guide and guard assembly fully when the saw is not in use.
Use the pusher plate to hold meat against the gauge plate when cutting small products or making the final cuts. On the standard carriage, position the pusher plate using the slot in the plate and the stop at the carriage’s right flanged end. Hold the pusher plate handle with the right hand and maintain a safe distance from the blade. Store the pusher under the carriage support when it is not in use.
If the saw has the optional integrated pusher carriage, its pusher plate moves along a rod on the right side of the carriage. Hold the handle with the right hand and maintain a safe distance from the blade. The pusher can be parked in its parking notch when not in use. It can be removed from the carriage for cleaning or cleaned with the carriage.
Cleaning & Maintenance
Disconnect electrical power and follow lockout/tagout procedures before cleaning. Thoroughly clean and sanitize the saw before first use, after each day’s operation, whenever it will be unused for an extended period, and before returning it to service after extended downtime. Use a neutral-pH cleaning agent mixed according to the supplier’s instructions. After washing, sanitize, rinse, and dry the saw and its components.
Components to remove for cleaning
The manual lists the following components for disassembly to allow access to all cleaning areas:
- Upper pulley cover
- Pulley wiper
- Lower cover, which serves as the scrap pan
- Blade scrapers
- Right- and left-hand tables
- Lower blade guide assembly
- Scrap tray
- Saw blade
- Pusher from an integrated pusher carriage, if fitted
- Upper guide and guard assembly, disassembled by unscrewing the hand knob
- Column guard
- Upper and lower pulleys
- Carriage
Hose-down or sink cleaning
For high-pressure cleaning, first scrape the machine and components to remove scrap particles. Hose the saw and components according to the cleaning equipment supplier’s instructions, directing the stream into corners. Brush stubborn soil if needed. The manual also allows the components to be disassembled and washed in a sink. For the base unit, use a cloth or brush, then wash, sanitize, rinse, and dry thoroughly.
Before reassembly after sink cleaning, apply a light coating of tasteless mineral oil to all metal surfaces. Lubricate the six ball bearings underneath the carriage with a small amount of mineral oil. Apply a few drops of mineral oil to the gauge plate slide rod and move the gauge plate assembly back and forth several times. If the saw has the optional integrated pusher carriage, use the same process for its integrated pusher slide rod. Reassemble components in reverse order, ensuring all parts are properly assembled.
Removing tables and covers
To remove the tables, raise the gauge plate to its vertical position. Lift the right side of the right table and remove it from its two pins. Once the right table is off, lift the left side of the left table and shift it to the right to free it from its two pins. To remove the stainless steel upper pulley cover, unlatch and open it, then lift it straight off its hinge pins. To remove the lower cover or scrap pan, release the clip at the top, pull it out, and lift it from the groove at the bottom of the lower panel. The column guard hangs on two shoulder-screw heads; the manual says to remove the right table and upper pulley cover first, then lift the guard free. The lower cover may also be removed.
Troubleshooting
Blade moving in the wrong direction on a three-phase machine
When viewed at the cutting zone, the teeth on the cutting edge should travel downward. If they do not, disconnect electrical power and follow lockout/tagout procedures. Interchange any two incoming power supply leads, reconnect power, and briefly switch the saw on and off to check the direction. The manual’s procedure is for three-phase machines; use the machine data plate and wiring diagram when checking electrical details.
Applications
The Hobart 6614 is a commercial meat saw suited to work such as cutting meat in butcher shops, meat-processing operations, and grocery-store meat departments. Its carriage, gauge plate, and pusher plate support controlled feeding of products through the blade. Follow the manual’s guarding, pusher, cleaning, and lockout instructions during use and care.
Hobart 6614 Specifications
- Length
- 34"
- Width
- 34"
- Height
- 68.8125"
- Voltage
- 200-240 V
- Phase
- 1 phase
- Amps
- 16.5 A
- Drive
- Direct gear drive transmission
- Motor power
- 3 HP
- Manufacturer
- Hobart
Frequently Asked Questions
What is the Hobart 6614?+
What motor and transmission does the Hobart 6614 have?+
Does the Hobart 6614 come with a blade?+
How many teeth per inch should a meat bandsaw blade have?+
What is the best bandsaw for cutting meat?+
Is the Hobart 6614 suitable for home use?+
How should I clean the Hobart 6614?+
What should I check if the blade runs in the wrong direction?+
Can the Hobart 6614 be cleaned without tools?+
Need Parts for This Model?
Get a free quote for parts, service, or maintenance for the Hobart 6614. We respond within 24 hours.
 Hobart
View all Hobart equipment →
Parts for the Hobart 6614
Browse genuine OEM components, gaskets, heating elements, thermostats, and replacement hardware guaranteed to fit this equipment.
 In Stock 360°
Hobart NS-025-01 Acorn Nut, 10-24, Stainless Steel
 In Stock 360°
Hobart PB-005-09 Plug Button/Cap, .875"
 In Stock 360°
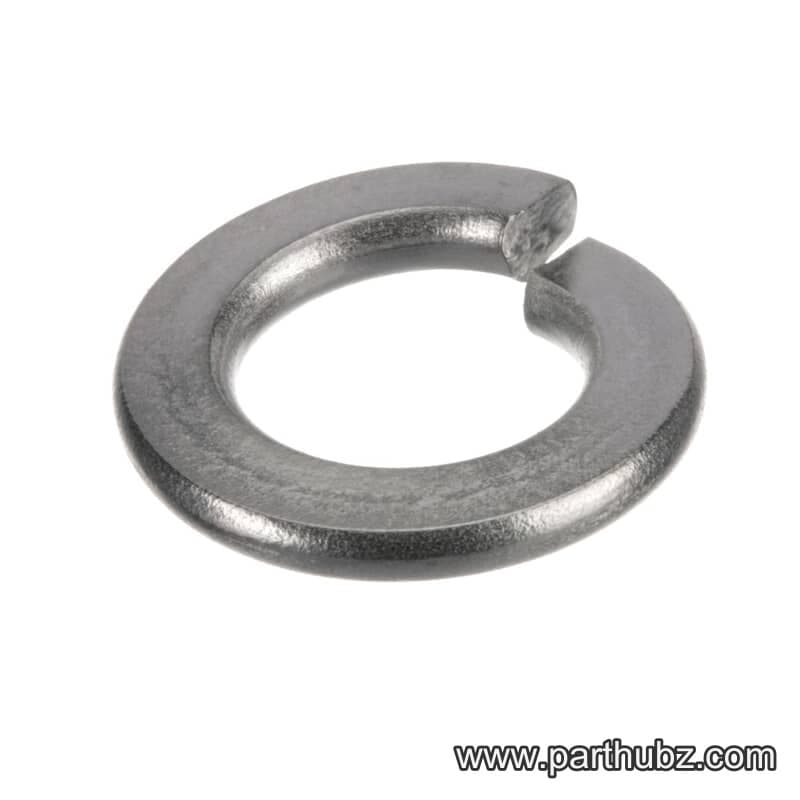
Hobart WL-006-27 Lock Washer, Split, 3/8", Stainless Steel
 In Stock 360°
Hobart SC-120-76 Screw, Hex Head, 10-24 x 1/2"
 In Stock 360°
Hobart WS-018-40 Washer, Pulley, AWS
 In Stock 360°
Hobart 00-290885 Knob, Switch
 In Stock 360°
Hobart 00-875234-00002 Holder, Lower Guide
 In Stock 360°
Hobart 00-291944 Gauge Plate, Meat Saw
 In Stock
Hobart BN-005-06 Needle Bearing
 In Stock 360°
Hobart 00-290787 Spring, Carriage Lock, 6801
 In Stock 360°
Hobart 00-875137 Gear Case/Housing
 In Stock
Hobart 00-290764 BUTTON, GLIDE
 Available to Order 360°
Hobart 00-291831 Block, Pulley Wiper, 6801
 In Stock 360°
Hobart 00-873502 Shaft Seal,
 Available to Order
Hobart 00-873986 Screw Shoulder, Meat Saw
 In Stock 360°
Hobart SC-022-34 Screw, Slotted, Flat Head, 1/4-20 x 7/8", Stainless Steel
 In Stock 360°
Hobart ML-134098-0000Z Pulley, 14", Lower, Meat Saw, ML, PK MTL
 In Stock 360°
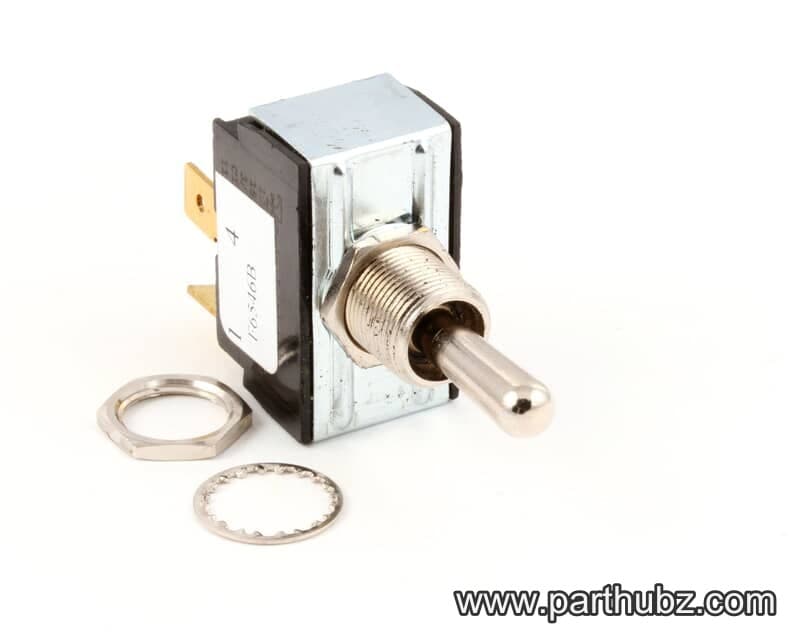
Hobart 00-875567 Switch, Toggle, DPST
 Available to Order
Hobart SC-041-34 BOLT
 In Stock 360°
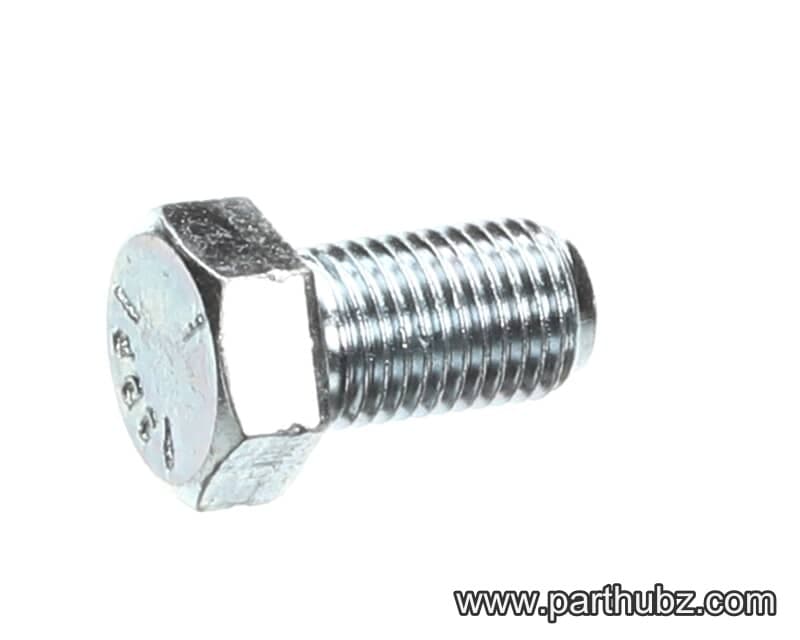
Hobart SC-036-93 Screw, Hex Head, 7/16-20 x 3/4"
 Available to Order
Hobart 00-875065 TRAY,SCRAP
 In Stock 360°
Hobart 00-291933 Spring, Guage Plate Lock
 In Stock
Hobart SC-067-06 Screw, Machine, Hex Head, 10-24 x 1/2"
 In Stock 360°


